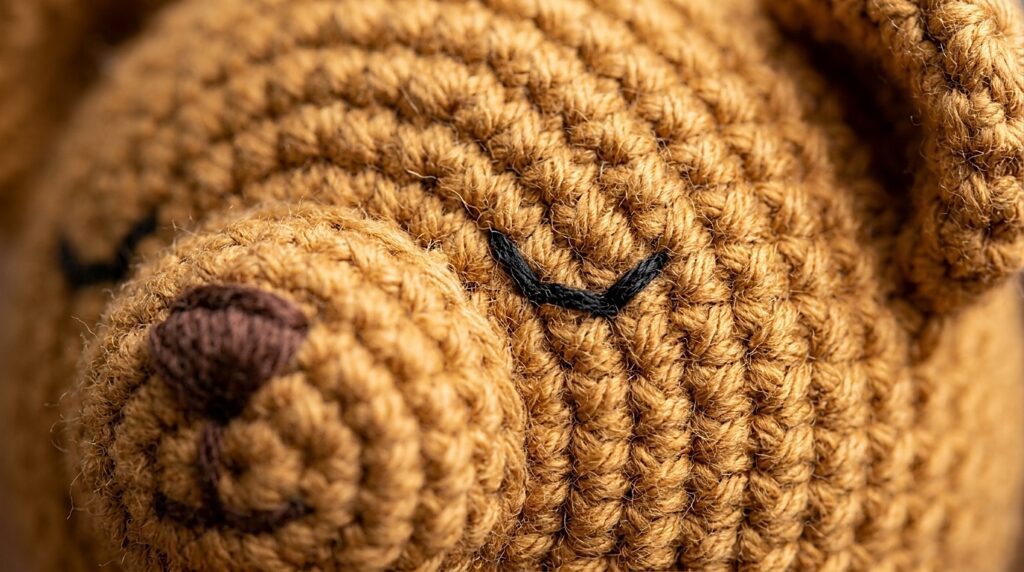
Crochet this adorable, palm-sized mini octopus in under 30 minutes with our beginner-friendly no-sew pattern. Worked from the crown downward in continuous spiral rounds, each of the eight curly tentacles is formed directly onto the lower body rim—eliminating fiddly needle assembly entirely.
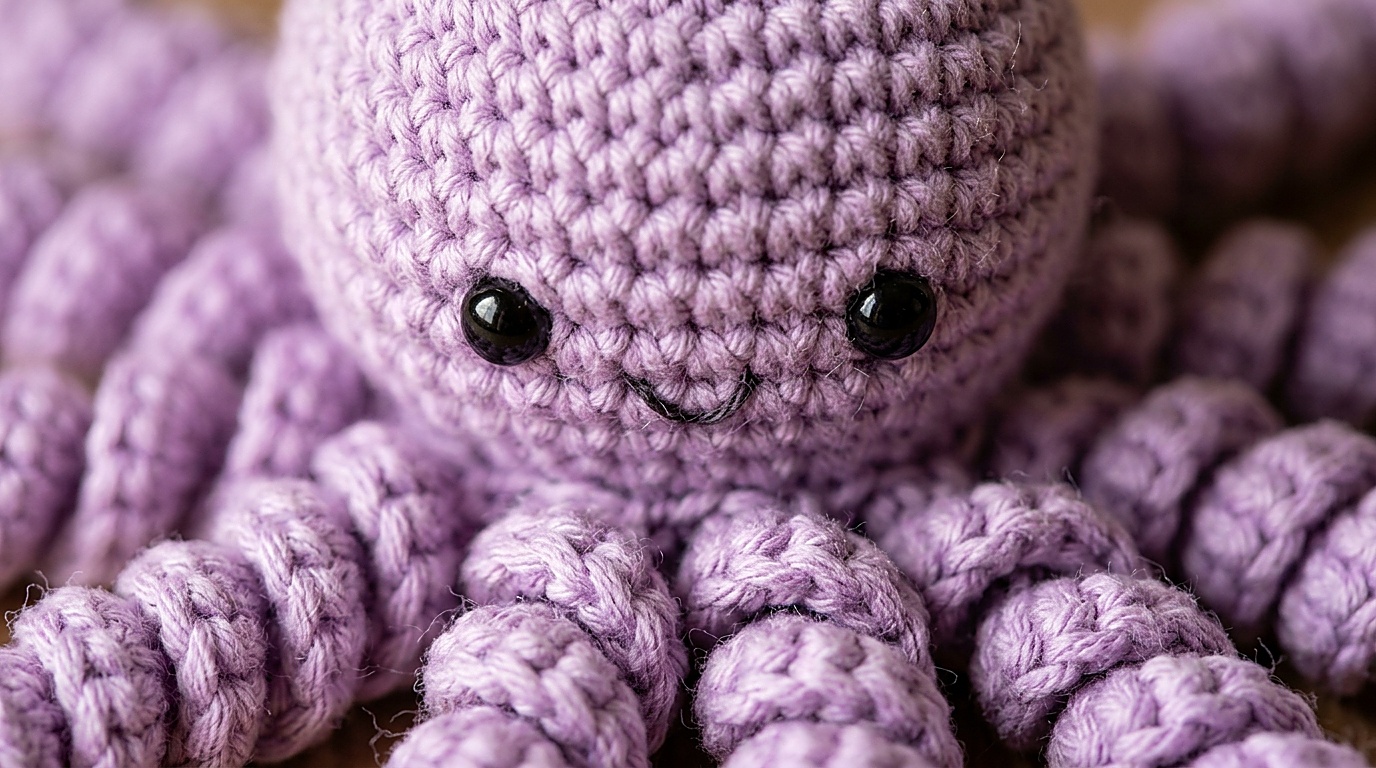
Amigurumi projects are celebrated for their portability and satisfying speed, but traditional multi-piece construction often requires hours of tedious sewing to attach tiny limbs securely. This seamless design uses single crochet increases to shape a smooth round dome, followed by strategic front-loop invisible decreases and an integrated chain-and-curl rim that produces eight springy tentacles in one continuous sequence of yarn.
Why You’ll Love This Pattern
- 100% No-Sew Construction: The entire octopus—dome head and all eight spiral tentacles—is crocheted in one continuous piece without sewing separate limbs.
- Quick 30-Minute Project: Designed for compact crafting, this micro companion consumes minimal yardage and finishes rapidly from start to finish.
- Perfect Stash-Buster: Requires approximately 20 to 25 grams of DK or light worsted weight cotton yarn, making it ideal for leftover scrap skeins.
- Springy Bouncing Tentacles: Working multiple single crochet stitches into each chain link causes the tentacles to coil naturally into durable, tactile spirals.
Key Materials & Smart Swaps

- Yarn: Approximately 20–25 g (40–50 yards) of DK or light worsted weight yarn (Category 3 or 4). Mercerized cotton delivers crisp stitch definition and prevents fiber fraying during handling. Acrylic yarn provides a softer, fluffier finish.
- Crochet Hook: 3.5 mm (US E-4) bamboo or ergonomic metal hook. Use a hook size 0.5 mm to 1.0 mm smaller than the yarn label recommends to maintain firm, tight stitches that prevent polyester stuffing from peeking through.
- Safety Eyes: One pair of 6 mm black plastic safety eyes with secure locking washer backings. (Safety Note: For toys intended for infants or young children under 3 years, embroider eyes using French knots with black embroidery floss instead.)
- Stuffing: High-loft premium polyester fiberfill.
- Notions: Locking stitch marker (essential for marking the first stitch of continuous rounds), blunt tapestry needle, and thread snips.
Pattern Specifications & Sizing Notes
- Finished Dimensions: Approximately 6.5 cm (2.5 inches) head diameter, with an 11 cm (4.3 inches) total span across opposite outstretched tentacles.
- Skill Level: Confident Beginner (familiar with magic rings, single crochet, increases, and decreases).
- Terminology: Standard US Crochet Terms.
- Gauge: 22 sc x 24 rounds = 10 x 10 cm (4 x 4 in) using a 3.5 mm hook in continuous single crochet. Precise gauge is not critical for this amigurumi toy; maintaining a tight, uniform fabric is the primary goal.
Step-by-Step Executable Pattern
Standard Abbreviations (US Terms)
ch: chain | sc: single crochet | inc: increase (2 sc in same st) | inv-dec: invisible decrease (insert hook into front loops only of next 2 sts, yarn over, pull through, yarn over, pull through 2 loops) | sl st: slip stitch | st(s): stitch(es) | [ ]: stitch count at end of round | *( ): repeat instructions between asterisks.
Note: This project is worked in continuous spiral rounds without joining with a slip stitch or turning at the end of rounds. Place a locking stitch marker in the first stitch of each round and move it upward as you progress.
Phase 1: Crown & Head Shaping
Round 1 (Foundation): Form an adjustable magic ring. Work 6 sc into the ring. Pull tail firmly to cinch the center ring completely closed. [6 sts].
Round 2 (Increase Round): Work 2 sc in each st around. [12 sts].
Round 3 (Increase Round): *(1 sc in next st, 2 sc in next st)* 6 times around. [18 sts].
Round 4 (Increase Round): *(1 sc in next 2 sts, 2 sc in next st)* 6 times around. [24 sts].
Rounds 5–9 (Body Rounds): Work 1 sc in each st around for 5 consecutive rounds. [24 sts per round].
Phase 2: Eye Placement & Facial Detailing
Pause before beginning decreases to install the facial features while the interior remains fully accessible:
- Insert the 6 mm safety eyes between Rounds 7 and 8, positioning them approximately 5 stitches apart. Press the washer backing firmly onto each post until it clicks securely into place.
- Thread a tapestry needle with an 8-inch strand of black embroidery floss or contrasting yarn. Embroider a small curved smile centered 1 round below the eyes, anchoring the yarn tails inside the head.
Phase 3: Tapering & Invisible Decreases

Round 10 (Decrease Round): *(1 sc in next 2 sts, inv-dec over next 2 sts)* 6 times around. [18 sts].
Stuffing Step: Fill the head dome firmly with polyester fiberfill. Push stuffing gently toward the outer walls first to shape a smooth round hemisphere without over-stretching the stitches.
Round 11 (Transition Rim): *(1 sc in next 7 sts, inv-dec over next 2 sts)* 2 times around. [16 sts]. Top up the fiberfill firmly so the head holds its shape securely.
Phase 4: 8 No-Sew Spiral Tentacles (Integrated Rim)

With 16 stitches remaining on the bottom rim, we now construct the 8 curling tentacles directly into the opening. Each tentacle repeat consumes exactly 2 base stitches (16 base stitches ÷ 2 stitches = 8 tentacles):
Round 12 (Tentacles): *(Sl st in next base st. Ch 10. Starting in the second ch from the hook, work 2 sc in each ch across the chain back toward the body [18 sc worked along chain]. Sl st into the next base st on the rim)*. Repeat from * 8 times around the circumference. [8 spiral tentacles completed; all 16 rim stitches consumed].
Phase 5: Closing & Final Assembly
- Fasten off the working yarn, leaving a 15 cm (6 inch) tail.
- Thread the tail onto a blunt tapestry needle. Weave the needle through the inner loops of the 8 slip-stitch anchor points inside the base of the tentacles.
- Gently draw the yarn tail firmly to cinch the small central base hole completely shut, trapping the fiberfill securely inside.
- Insert the needle through the center of the cinched base and exit through the opposite side of the head. Pull gently, trim the excess yarn flush against the fabric, and allow the tail to retract inside the toy.
- Gently twirl each tentacle around your index finger in the direction of its natural coil to set uniform spiral twists.
3 Maker Secrets for Flawless Amigurumi
1. The Front-Loop Invisible Decrease: Standard single crochet decreases (`sc2tog`) leave visible bumps and small gaps in amigurumi fabric. Always work invisible decreases by picking up only the front loops of the two adjacent stitches. The stitch appears virtually identical to a standard single crochet from the right side.
2. Uniform Spiral Twist Physics: Amigurumi tentacles curl automatically because working 2 single crochets into a single foundation chain forces the outer edge to travel twice as far as the inner spine, creating mechanical curve tension. For tighter corkscrew coils, work 3 single crochets into each chain link.
3. Density-Controlled Stuffing: Under-stuffing causes amigurumi heads to dimple and lose their spherical shape over time, while over-stuffing forces stitches apart and exposes white fiberfill. Roll small pinches of fiberfill between your palms into firm balls before inserting them, layering them gradually against the outer walls.
Styling & Creative Colorways

- Pastel Nursery Duo: Pair soft lavender with sage mint or buttercream yellow for soothing infant nursery decor or baby shower gift toppers.
- Playful Keychain Charms: Attach a small silver jump ring and lobster clasp to the crown of Round 1 to transform your octopus into a whimsical backpack charm.
- Sensory Desk Companion: Fill the lower half with a small pouch of clean plastic poly-pellets before adding fiberfill to create a weighted, calming tactile desk pet.
Care & Cleaning Instructions
- Spot Cleaning: Use a clean microfiber cloth dampened with cool water and mild wool wash or baby shampoo to gently wipe away surface dust.
- Machine Washing: Place the toy inside a mesh delicates laundry bag. Wash on gentle cycle with cold water. Reshape the head dome and finger-twist tentacles while damp, then lay flat on a dry towel to air dry. Never tumble dry.
Pattern Note: This pattern is an editorial design and has not undergone physical studio swatch testing. Stated gauge, finished dimensions, and yarn yardage requirements are approximate design estimates based on standard Category 3 and 4 cotton yarn, and individual maker tension may vary.
Frequently Asked Questions
Can I make this octopus with plush chenille or blanket yarn?
Yes! Using bulky chenille yarn (Category 6) with a 5.0 mm or 6.0 mm hook will scale this mini octopus up to a huggable palm-sized plushie measuring approximately 15 cm (6 inches) across. Ensure you use larger 12 mm safety eyes to match the proportional head size.
Why are my tentacles not curling naturally?
Tentacle curling depends on the stitch-to-chain ratio. Ensure you are working a full 2 single crochet stitches into every single chain space. If your tension is loose, increase to 3 single crochet stitches per chain link, which will force a tighter spring coil.
How do I ensure my magic ring never unravels?
After cinching the ring closed in Round 1, leave a 4-inch tail. When finishing your project, thread this tail onto a tapestry needle and weave it through the initial 6 stitches in the original direction, then reverse direction through 3 stitches to securely lock the fibers.
Save This Octopus Pattern to Pinterest
Planning your next quick crochet project? Pin these step-by-step visual guides to your favorite Pinterest crochet toys or amigurumi board!