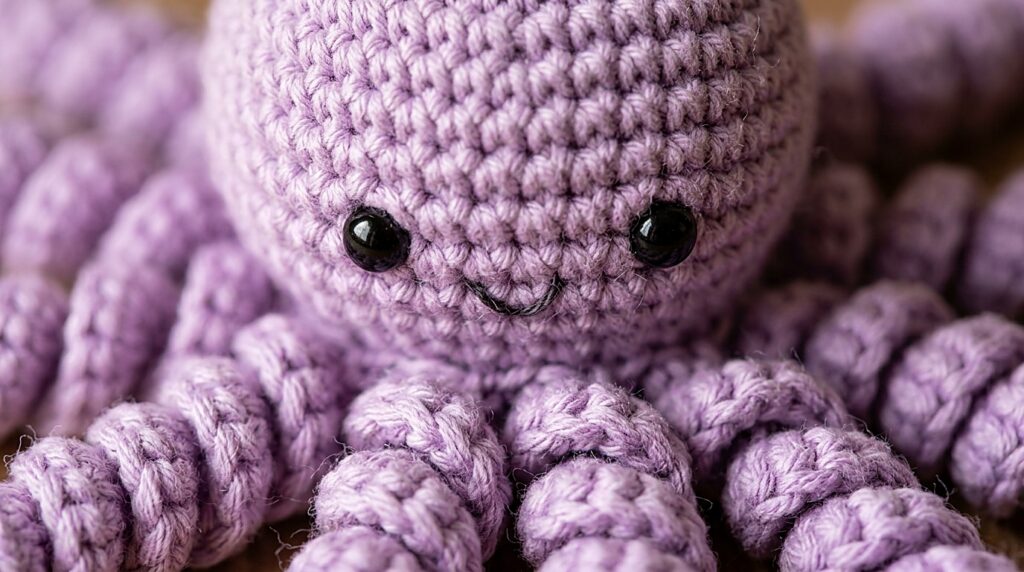
Amigurumi demands an entirely different mechanical mindset than blankets or wearables: instead of relaxed drape and loose loops, sculptural toy crochet relies on rigid stitch density, microscopic tension consistency, and structural tension that traps fiberfill without leaking. This pocket-sized teddy bear is engineered with seamless continuous spiral rounds and clean anatomical shaping, creating a sturdy heirloom keepsake designed to fit comfortably in the palm of your hand.
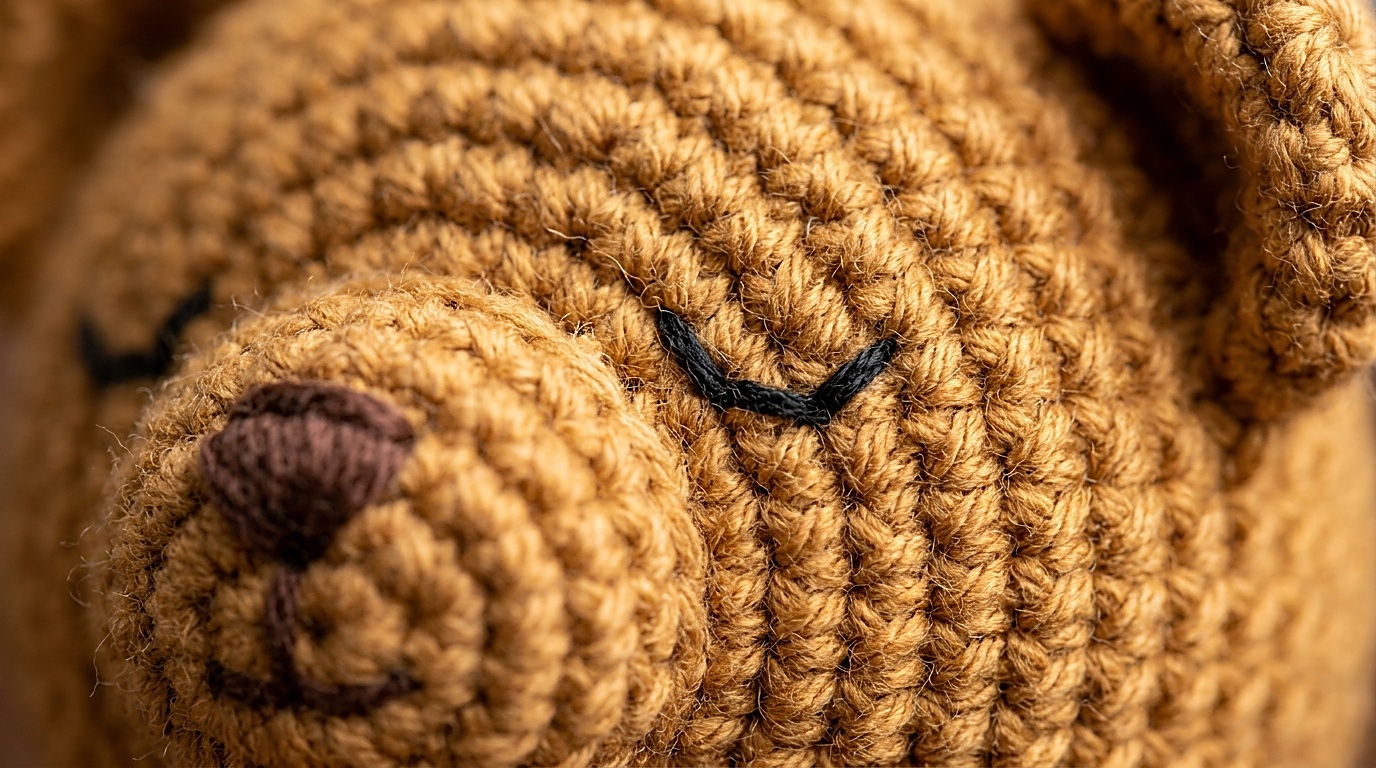
Child Safety Standards: Safety Eyes vs. Hand-Embroidered Features
Before selecting hardware for any stuffed toy, the maker must determine the intended recipient. Plastic craft “safety eyes” utilize a grooved post and a mechanical washer that locks into place behind the crochet fabric. While secure against casual tugging, safety eyes can separate under heavy repeated chewing, moisture exposure, or forceful toddler handling, presenting a severe, fatal choking hazard for infants and children under three years of age.
- For Infants, Toddlers, and Nursery Keepsakes: Use 100% hand-embroidered facial features exclusively. Work French knots or clean satin stitches with mercerized black embroidery floss or split DK cotton yarn directly into the finished head, anchoring thread tails deeply inside the stuffed fiber core.
- For Children Aged 3+ and Decorative Display: 6 mm plastic safety eyes may be installed. Always insert posts between Rounds 7 and 8 before closing the head cavity, and press the locking washer down until it clicks flush against the inner fabric backing.
Continuous Spiral Mechanics & The Invisible Decrease (invdec)
Traditional flat crochet joins each round with a slip stitch and a turning chain, which leaves an unsightly, stiff diagonal seam crawling up the head and torso. Amigurumi solves this by working in a continuous unbroken spiral.
Because there is no joining slip stitch, row ends blend into the next. To avoid losing your place, never crochet without a running stitch marker—a 15 cm strand of contrasting scrap yarn placed across the working loop at the first stitch of every round and flipped backward and forward as you ascend.

When decreasing to close rounds, a standard single crochet decrease (sc2tog) pulls two full loops together, creating a thick bar and a small hole that allows white polyester fiberfill to poke through. Instead, this pattern utilizes the Invisible Decrease (invdec):
- Insert your hook into the front loop only (FLO) of the first stitch.
- Without wrapping the yarn, pivot the hook tip downward and insert it directly into the front loop only of the immediate next stitch (two front loops on hook).
- Yarn over and draw through both front loops.
- Yarn over and draw through the remaining two loops on your hook to complete the single crochet. The finished decrease rests flat and is indistinguishable from standard single crochet stitches.
Reference Specifications & Hook Downsizing Law
To produce an amigurumi shell stiff enough to contain polyfill without stitch distention, you must downsize your hook by 1.0 mm to 1.5 mm below the manufacturer’s ball band recommendation.
- Reference Yarn Category: Category #3 DK Weight (100% Combed Cotton or High-Twist Anti-Pilling Acrylic). Example: Rico Creative Ricorumi DK or Paintbox Yarns Cotton DK.
- Reference Hook: 2.50 mm (US B/1 or C/2) ergonomic hook.
- Target Finished Height: Approximately 10.0 cm / 4.0 inches sitting upright (NEEDS PHYSICAL VERIFICATION: depends on individual hand tension and packing density).
- Estimated Yarn Consumption: Approximately 65–75 yards / 60–70 meters for primary color; scrap lengths for snout and embroidery (THEORETICAL ESTIMATE / NEEDS PHYSICAL VERIFICATION).
- Target Amigurumi Gauge:
24 sc × 26 rounds = 10 × 10 cmworked in continuous spiral (GAUGE: NEEDS PHYSICAL VERIFICATION).
Step-by-Step Anatomical Pattern Walkthrough
Part 1: Head & Torso (Worked Top-Down)
Round 1: Begin with an adjustable magic ring. Work 6 sc into ring. Pull tail firmly to seal center hole. Do not slip stitch. [6 active stitches]
Round 2: 2 sc in each stitch around. [12 active stitches]
Round 3: (1 sc in next st, 2 sc in next st) repeat 6 times around. [18 active stitches]
Round 4: (1 sc in next 2 sts, 2 sc in next st) repeat 6 times around. [24 active stitches]
Rounds 5–9 (5 rounds): 1 sc in each stitch around. [24 active stitches]
Round 10: (1 sc in next 2 sts, 1 invdec over next 2 sts) repeat 6 times around. [18 active stitches]
Assembly check: If using 6 mm safety eyes, install them between Rounds 7 and 8, spaced approximately 5 visible stitches apart. If embroidering features, you may do so now or after assembly. Begin adding small tufts of polyfill, packing the top crown firmly.
Round 11 (Neck Transition): (1 sc in next st, 1 invdec over next 2 sts) repeat 6 times around. [12 active stitches]
Round 12 (Torso Expansion): (1 sc in next st, 2 sc in next st) repeat 6 times around. [18 active stitches]
Rounds 13–16 (4 rounds): 1 sc in each stitch around. [18 active stitches]
Round 17: (1 sc in next st, 1 invdec over next 2 sts) repeat 6 times around. [12 active stitches]
Add final polyfill firmly into torso, ensuring the neck junction is packed densely so the head does not droop.
Round 18: Invdec 6 times around. [6 active stitches]. Fasten off leaving a 20 cm tail. Thread needle through front loops of remaining 6 stitches, pull tight like a drawstring to close, knot firmly, and hide tail inside body.

Part 2: Ears (Make 2)
Round 1: Magic ring, 6 sc. [6 stitches]
Round 2: (1 sc in next st, 2 sc in next st) repeat 3 times. [9 stitches]
Round 3: 1 sc in each stitch around. [9 stitches]. Sl st to next st, fasten off leaving 20 cm seaming tail. Do not stuff. Press flat into semi-circular cups.
Part 3: Muzzle / Snout
Round 1: In contrasting cream/sand yarn: Magic ring, 6 sc. [6 stitches]
Round 2: 2 sc in each stitch around. [12 stitches]. Sl st to next st, fasten off leaving 25 cm seaming tail. Embroider small “Y” shaped nose and mouth with black floss before sewing to head.
Part 4: Arms & Legs (Make 2 Arms, 2 Legs)
Arms (Make 2): Round 1: Magic ring, 6 sc [6]. Rounds 2–5 (4 rounds): 1 sc in each stitch around [6]. Lightly stuff bottom half only. Press opening flat and sc 3 stitches across top to seal.
Legs (Make 2): Round 1: Magic ring, 6 sc [6]. Round 2: (1 sc in next st, 2 sc in next st) repeat 3 times [9]. Rounds 3–4 (2 rounds): 1 sc in each st around [9]. Round 5: (1 sc, 1 invdec) repeat 3 times [6]. Stuff firmly. Fasten off with seaming tail.
Pinning Workflow & Structural Stuffing Density
Amigurumi assembly succeeds or fails in the pinning phase. Never attempt to sew freehand without locking every component with long steel ball pins:
- Stuffing Physics: Pull polyester stuffing apart into small, cloud-like wisps before inserting. Shoving large, dense balls into the toy creates uneven lumpy zones and distorts circular stitches. The body must feel like a firm ripe plum, not a squishy sponge.
- Facial Alignment: Pin the muzzle centered across Rounds 7 through 10 of the head. Pin ears symmetrically on Rounds 4 through 6, curving slightly forward.
- Whipstitch Anchor Technique: Pick up one full stitch of the body, then pass the tapestry needle through both loops of the edge of the limb/ear. Maintain steady tension so stitches pull completely flush into the crevices without pulling the toy lopsided.

Laundering & Care for Handcrafted Toys
Because amigurumi contains internal fiberfill that can absorb moisture and clump if agitated harshly, wash with extreme gentleness:
- Spot Cleaning: Use a damp microfiber cloth with a drop of mild wool wash or baby shampoo to gently dab surface soils.
- Deep Cleaning: Submerge in lukewarm water with no-rinse delicate soap. Press water out between two clean terrycloth towels without wringing or twisting. Reshape limbs and air-dry flat away from direct sunlight or radiator heat for 24–48 hours until core stuffing is completely dry.
Save This Amigurumi Pattern
Save this mini bear tutorial to your crochet toy or amigurumi board on Pinterest for your next weekend pocket project.