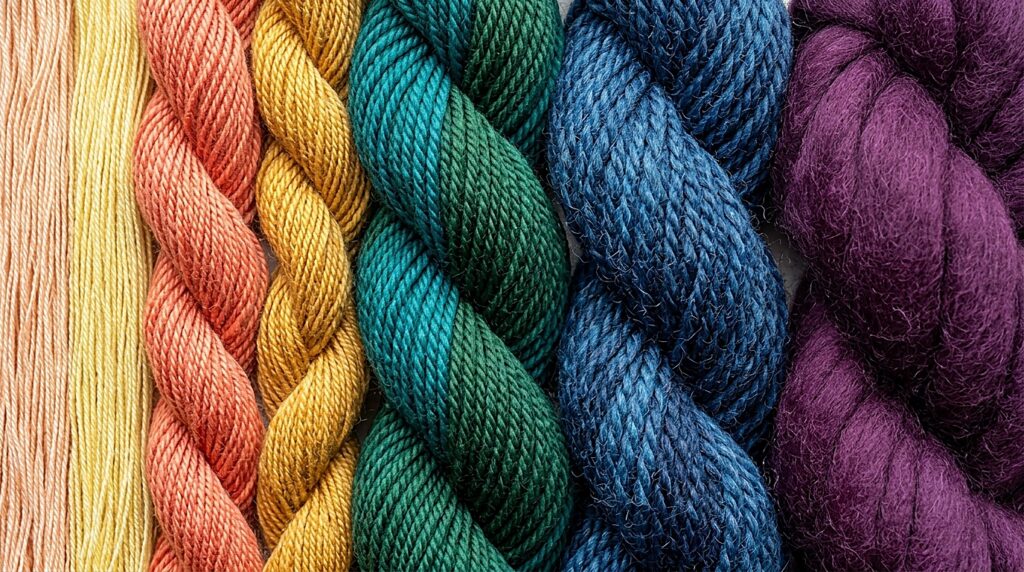
Transitioning between yarn colors is one of the quickest ways to elevate handmade crochet from simple to striking. However, tying knots or introducing new yarns mid-stitch creates unsightly lumps, unraveling risks, and jagged color steps. In this technique guide, we explore the four foundational methods professional makers use to change colors cleanly across flat rows, circular rounds, and tapestry colorwork—ensuring transitions remain secure and virtually unnoticeable.
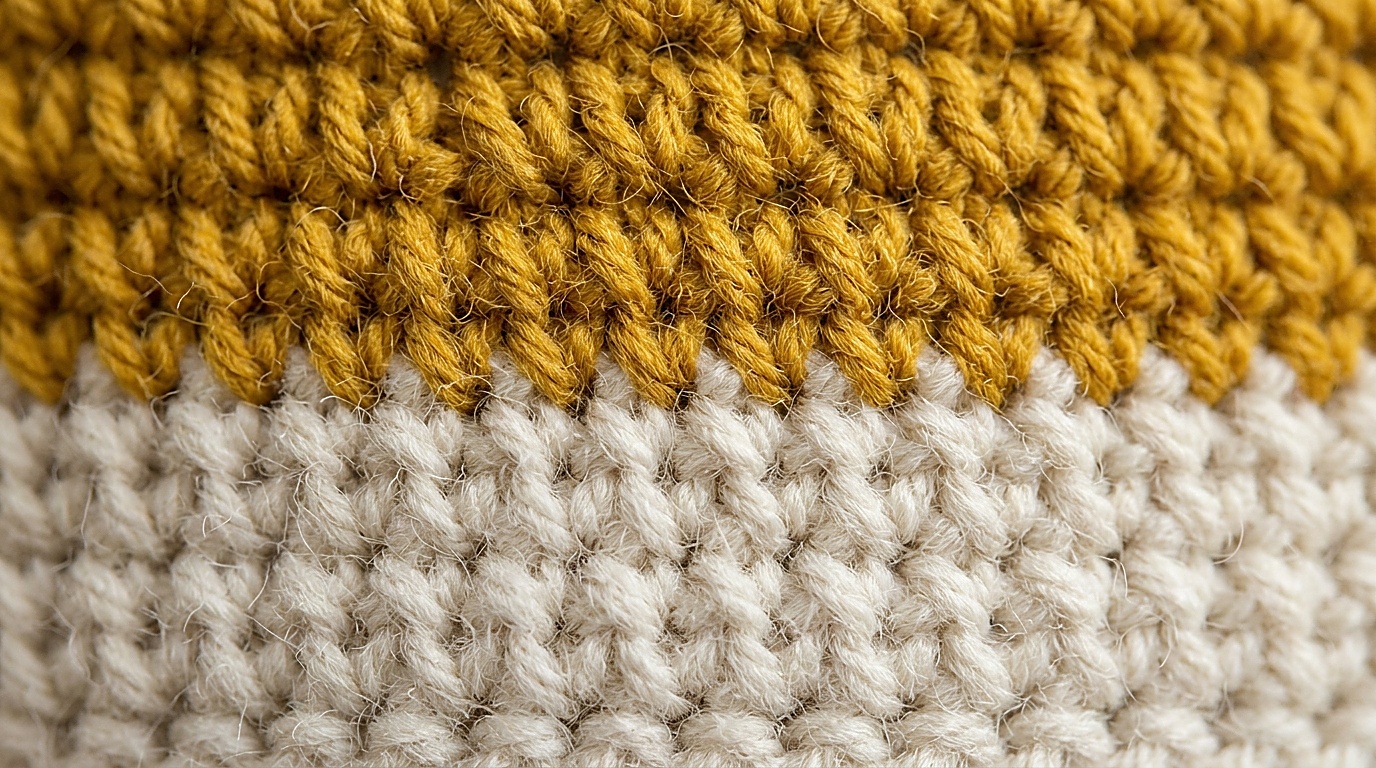
The core problem with changing colors in crochet comes from the anatomy of the stitch itself. The loop that sits on top of any given stitch is actually created by the yarn-over of the previous stitch. If you wait until a stitch is fully completed before introducing a new color, the crown of the old stitch will display a mismatched fleck of the new color. Understanding this mechanical sequence solves 90% of color change errors.
The Problem with Knots: Why Traditional Joins Pull Apart
Tying old and new yarn tails in a square knot or granny knot introduces severe structural vulnerabilities:
- Friction Failure: Knots in slick acrylic or mercerized cotton easily slip open after agitation in laundry machines.
- Hard Lumps: Knots form hard nodules that cannot be blocked out and irritate bare skin in wearable sweaters, beanies, or baby items.
- Tension Distortion: Tying tails together pulls the two anchor stitches unnaturally tight, creating small holes directly adjacent to the knot.
Method 1: The Final Yarn-Over Pull-Through (Flat Rows)

This is the universal gold standard for stripes worked in flat back-and-forth rows:
- Work the final stitch of the old color right up until the very last step (for single crochet: insert hook, pull up loop, 2 loops on hook; for double crochet: yarn over, insert, pull up, pull through 2, 2 loops on hook).
- Drop the old yarn strand to the wrong side of the work.
- Pick up Color B, leaving a 6-inch yarn tail. Place Color B over your hook.
- Yarn over and pull Color B through the final two loops on your hook.
- Color A forms the body of the stitch, while Color B becomes the working loop resting on your hook, ready to execute the turning chain in the new shade with zero color bleed.
Method 2: The Standing Stitch for Fresh Yarn Introductions
When joining a new color to a completed motif (such as granny squares or new garment sections), the standing stitch eliminates awkward beginning chains:

- How It Works: Start with a slip knot of the new color on your hook. Holding the slip knot steady with your index finger, yarn over (for a dc), insert your hook directly into the target stitch, yarn over, pull up a loop, and complete the stitch as normal.
- Why It Excels: Standing stitches look identical to all subsequent stitches in the row, preventing the skinny, hollow appearance of traditional chain-3 starts.
Method 3: The Jogless Join in Continuous Rounds
When crocheting stripes in amigurumi or seamless hats worked in spirals, color changes leave an offset “step” or jog due to the continuous nature of the helix. To smooth this transition:
- Change to the new color on the final pull-through of the last stitch of Round 1.
- Work the first stitch of Round 2 as a slip stitch into the first stitch of the round.
- Continue working normal single crochets for the rest of the round.
- When you return to that slip stitch on Round 3, work your stitch directly into the top loops of the slip stitch. This pulls the jog level, making the color line appear horizontal.
Managing Carried Yarn & The 3-Direction Tail Lock

How you secure yarn tails determines whether your colorwork survives laundering:
- The 3-Direction Weaving Rule: Thread your yarn tail onto a blunt tapestry needle. Weave the tail through the center of 5 or 6 stitches in direction 1. Turn and weave back in direction 2, passing slightly through the fibers. Turn once more and weave in direction 3 before trimming. This three-point lock prevents tails from working free.
- Carrying Along Edges: For 2-row stripes, do not cut the inactive color. Gently carry the strand up the side edge. The carried yarn will be cleanly enclosed later when you work a border around the project.
Save This Technique Guide to Pinterest
Elevating your crochet craftsmanship? Save these technical guides to your Pinterest boards to keep these four methods handy.