
The alpine stitch is one of the most visually captivating textured patterns in crochet, creating an interlocking diamond relief that resembles miniature alpine peaks. By combining alternating rows of single crochet with staggered front-post double crochet stitches worked into rows below, this alpine stitch tutorial guides you through mastering this thick, tactile fabric. Perfect for blankets, cardigans, and throw pillows, alpine stitch delivers dense, architectural warmth with a surprisingly simple 4-row sequence.
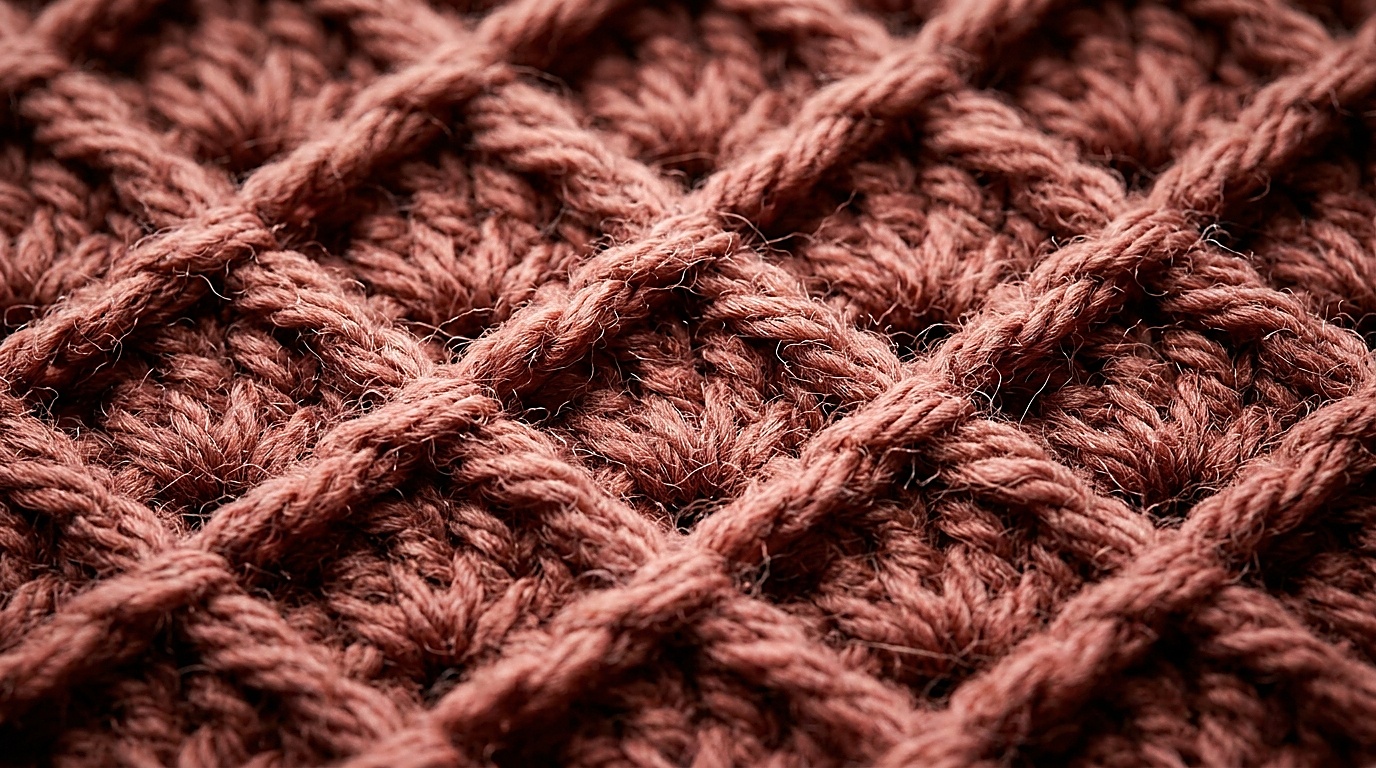
Mastering the alpine stitch requires understanding vertical stitch alignment. Many makers experience diagonal curling or an uneven “hourglass” pull when beginning this texture. These issues occur because post stitches must travel downward past an intervening single crochet row; if the post stitch is pulled too tight, it compresses the fabric height. In this masterclass, we examine the mechanics of yarn elongation and staggered vertex placement.
Stitch Mechanics: Why Dropped Post Stitches Create Diamonds
The structural secret of alpine stitch lies in how its stitches interact across alternating rows:
- Right Side (RS) Rows: These are the texture rows. You alternate between a standard double crochet and a front-post double crochet (fpdc) worked around the stem of a dc two rows beneath.
- Wrong Side (WS) Rows: These are reset rows. Worked entirely in plain single crochet, they stabilize the fabric width and establish the baseline for the next set of post stitches.
- The Stagger Effect: Every subsequent texture row offsets the post stitches by one position. A post stitch is never placed directly over the post stitch below it; instead, it wraps around the standard dc nestled between the previous points, generating diamond vertices.
Multiple Math & Swatch Specifications

- STITCH_MULTIPLE: Multiple of 2 + 1 (for foundation chain: multiple of 2 + 2, allowing for the turning chain).
- RECOMMENDED_YARN: Category #4 Worsted or Category #5 Bulky with smooth, tight plies (avoiding boucle or highly fuzzy yarns that obscure the diamond ridges).
- RECOMMENDED_HOOK: 5.0 mm (US Size H/8) for worsted weight, or size needed for flexible drape.
- TARGET_GAUGE: [Target Pattern Standard — GAUGE: NEEDS PHYSICAL VERIFICATION for maker tension]
14 sts × 12 rows = 10 × 10 cm (4 × 4 inches) in alpine stitch sequence.
The 4-Row Master Sequence (Step-by-Step Swatch)
Work a practice swatch on a foundation of 24 chains (21 active stitches + 1 multiple + 2 turning ch):
Row 1 (RS – Setup DC): Double crochet into the 3rd chain from the hook (the 2 skipped chains count as the first dc). Dc in each chain across to the end. Turn. (23 active stitches)
Row 2 (WS – Reset SC): Ch 1 (does not count as a stitch here and throughout). Sc in the very first stitch and in each stitch across to the end. Turn. (23 stitches)

Row 3 (RS – First Texture Row): Ch 2 (counts as first dc). Skip the first st. *Work 1 fpdc around the dc from Row 1 directly below the next st, work 1 regular dc into the next sc of Row 2*. Repeat from * to * across to the final stitch. Work 1 dc in the last stitch. Turn.
Row 4 (WS – Reset SC): Ch 1. Sc in each stitch across to the end. Turn. (23 stitches)
Row 5 (RS – Staggered Texture Row): Ch 2 (counts as first dc). Skip the first st. *Work 1 regular dc in the next sc of Row 4, work 1 fpdc around the standard dc from Row 3 two rows below*. Repeat from * to * across until 2 stitches remain. Dc in each of the last 2 stitches. Turn.
Subsequent Rows: Repeat Rows 2 through 5 sequentially. The pattern naturally emerges as the front-post stitches zigzag across alternating columns.
Correcting the “Hourglass Pinch” & Edge Curl
If your swatch begins curling upward or pulling inward along the sides, apply these two technical adjustments:
- Draw Up the Golden Loop: When executing the front-post stitch around the row below, pull your working yarn loop up to the exact working height of the current row before completing the stitch. If you keep the loop tight, the fabric bunches vertically.
- Maintain Symmetrical Edge Anchors: Always begin and end every texture row with a standard double crochet anchor stitch. Never place a front-post stitch on the extreme outer edge of a project, which causes wavy, distorted side borders.
Project Applications & Fabric Characteristics

Because alpine stitch creates a dense, non-reversible fabric (textured on the right side, smooth and flat on the wrong side), it excels in specific home and fashion items:
- Cushions & Pillows: The dense backing prevents pillow inserts from showing through.
- Winter Sweaters & Cardigans: When worked in wool blends, it produces garment panels with substantial wind resistance.
- Heirloom Throws: The geometric texture provides satisfying tactile interest across expansive solid-color blankets.
Save This Tutorial to Pinterest
Ready to add diamond texture to your crochet repertoire? Save these step-by-step tutorial pins to your Pinterest crochet boards for easy reference.


