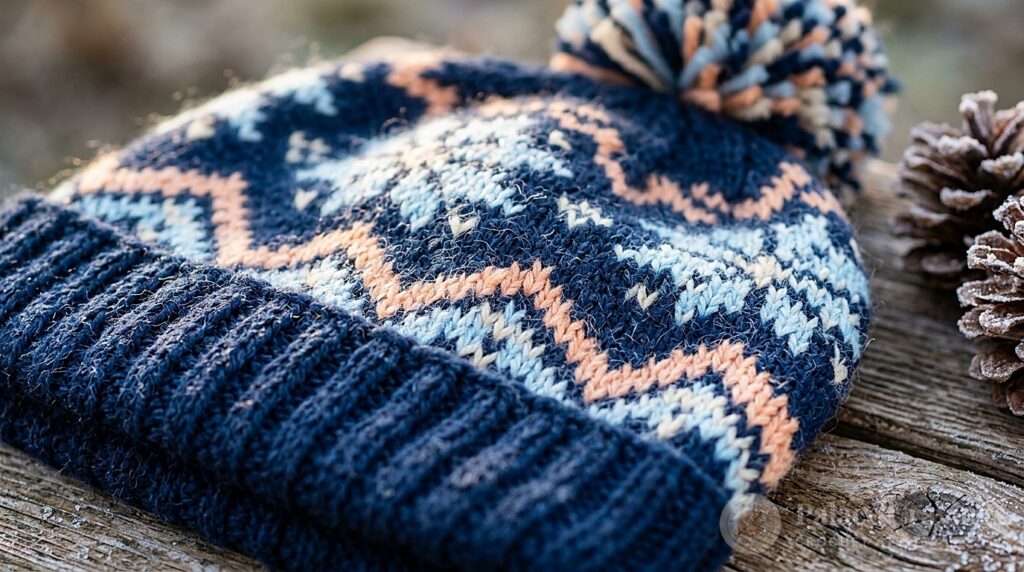
When brisk autumn gusts sweep in and winter chill takes hold, nothing rivals the cozy luxury of a thick, handcrafted winter hat. This Modern Chunky Ribbed Crochet Beanie offers that coveted high-end boutique knit aesthetic while relying entirely on simple, beginner-friendly crochet stitches. Worked flat as a flat rectangle with clever stitch heights, it delivers deep elastic ribbing, a generous fold-over brim, and a plush oversized pom-pom.
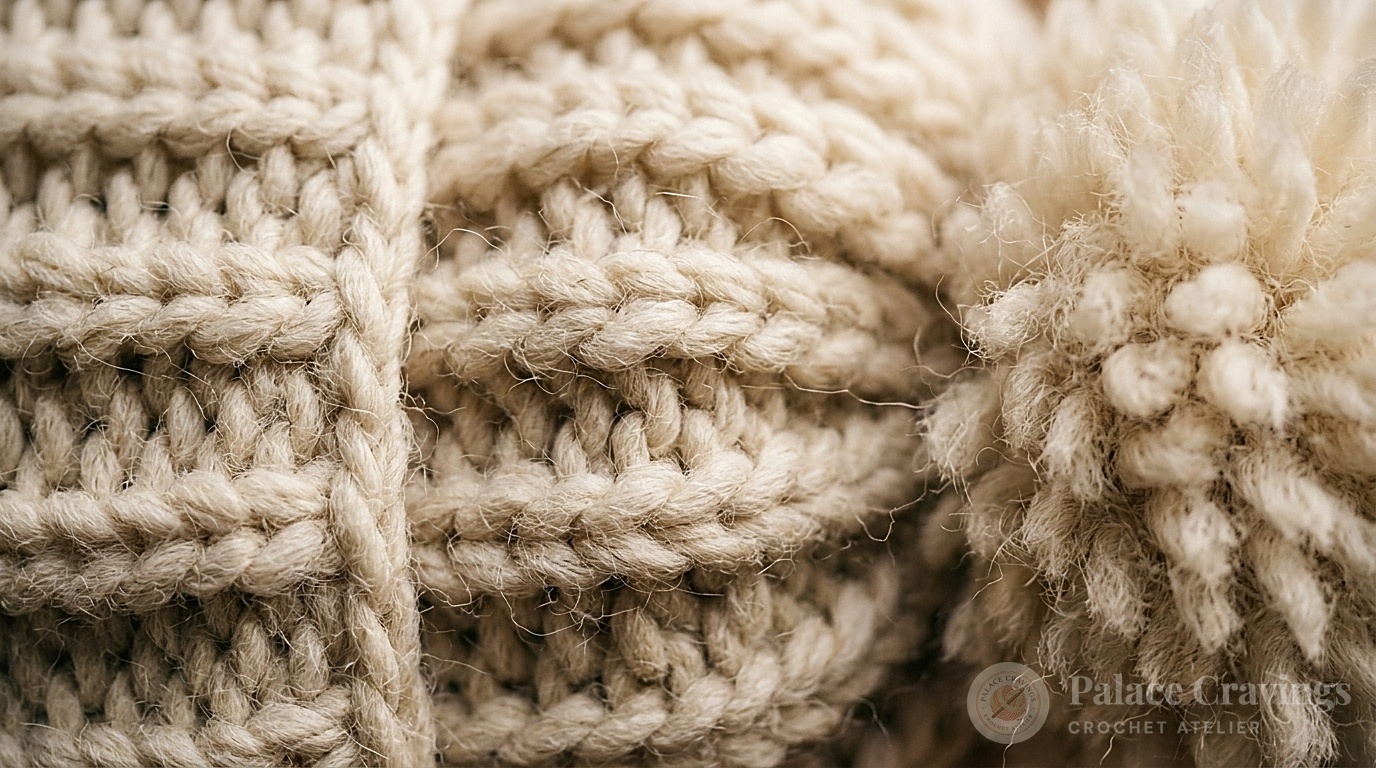
Most traditional crochet beanies worked top-down in the round suffer from stiff fabric and bulky crown gathers that stand upright awkwardly. In contrast, this design is worked horizontally side-to-side. By dropping from half double crochet stitches along the body down to single crochet stitches at the top crown edge, each row creates an intrinsic taper that cinches into a perfectly smooth, flattering curve when finished.
Why You’ll Love Crocheting This Chunky Ribbed Beanie
- The 1-Hour Weekend Project: Thanks to category 6 super bulky yarn and an 8.0mm crochet hook, an entire adult-sized beanie works up in approximately 60 to 75 minutes.
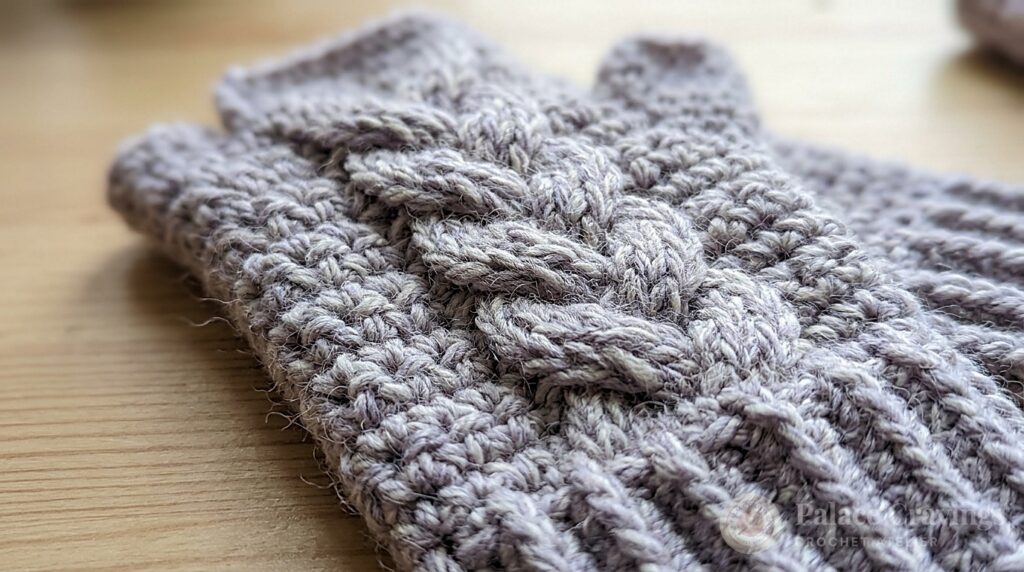
- Faux-Knit Ribbing with Zero Complexity: Working half double crochets into the horizontal third loop pushes the top two loops outward into clean vertical ribs that mirror classic 1×1 circular knitting.
- Complete Family Sizing: Includes full instructions for Child 2/4 Years (19 in.), Child 6/10 Years (20 in.), and Adult (21–22 in.), allowing you to craft matching holiday sets with ease.
- Economical Single-Skein Project: A single large 400g ball of Bernat Softee Chunky yields 2 complete adult beanies or up to 4 child hats, making it the ultimate stash-buster for holiday gifting.
Essential Tools for Chunky Wearables
Working with chunky yarn requires notions specifically sized to manage thick fibers effortlessly without splitting:
Clover Amour Ergonomic Hook (Size L / 8.0mm)
Specially designed wide elastomer handle reduces hand fatigue when working with thick bulky fibers, gliding effortlessly through back loops and third bars.
Clover Large Pom-Pom Maker Set (3-3/8″ & 4-1/2″)
The gold standard tool for crafting ultra-dense, perfectly symmetrical yarn pom-poms in minutes without cardboard templates slipping.
Clover Jumbo Bent-Tip Tapestry Needle Set
Featuring an extra-large eye and curved blunt tip, it threads super bulky yarn smoothly for mattress-stitching invisible side seams.
Clover Jumbo Locking Stitch Markers (Set of 12)
Large enough to clip securely onto thick bulky yarn plies without snagging, ideal for marking row 10 checkpoints and crown transitions.
Key Materials, Yardage & Sizing Specifications
To recreate the exact drape, stitch relief, and hand-feel of our studio model, work with the official worsted or super bulky specifications below. For fiber substitutions, consult our Essential Crochet Yarn Weights Guide.

Special Stitches & Technique Notes
Before casting on your foundation chain, review these essential technique definitions:
- Horizontal Third Loop Bar (Camel Stitch): When looking at the front/top of a half double crochet stitch, locate the diagonal horizontal strand sitting just below the standard top two loops on the wrong side. Inserting your hook into this bar forces the “V” loops forward to form a clean knit-look rib.
- Front Loop Only (FLO): Insert hook only under the front strand closest to you. Used during the single crochet crown section to maintain elastic vertical stretch.
- Foundation Tail Allowance: Always leave a generous 24-inch [61 cm] yarn tail at the very beginning of your foundation chain. You will use this exact tail to weave through the crown stitches and cinch the top shut without adding extra joins.
Step-by-Step Beanie Pattern Walkthrough
Instructions are written for Child 2/4 yrs, with changes for Child 6/10 yrs and Adult indicated in parentheses: 2/4 yrs (6/10 yrs – Adult). When only one number is given, it applies to all sizes.
Foundation Chain: Leaving a 24-inch [61 cm] tail for crown gathering and seaming, loosely chain 23 (28 – 32).
Row 1 (RS): Work 1 hdc in 3rd ch from hook. Work 1 hdc in each of next 15 (19 – 22) ch. Work 1 sc in each of last 5 (6 – 7) ch. Turn. [21 (26 – 30) total sts]. (Note: The beginning ch-2 does not count as a stitch).
Row 2 (WS): Ch 1. Working in front loops only, work 1 sc in each of first 5 (6 – 7) sc. *Work 1 hdc into the horizontal bar created below the stitch in previous row (third loop). Repeat from * across to end of row. Turn.

Row 3 (RS): Ch 2. *Work 1 hdc into the horizontal bar below stitch in previous row. Repeat from * 15 (19 – 22) times more. Working in front loops only, work 1 sc in each of last 5 (6 – 7) sc. Turn.
Repeating Rows 2 & 3: Continue repeating Rows 2 and 3 until the hat panel (measured at its widest bottom brim point) reaches approximately 17 (18 – 19) inches [43 (45.5 – 48) cm], ending on an even Row 2. Fasten off, leaving an 18-inch tail for seaming the side edges.
Crown Assembly & Seaming
- Cinch the Crown: Thread the initial 24-inch foundation tail into a jumbo tapestry needle. Weave the needle in and out through the edge of the single crochet section along the short top edge of the hat. Pull firmly like a drawstring to cinch the top crown hole tightly shut. Knot securely on the inside.
- Seam the Side: Align the two long sides of the rectangle with right sides facing together. Using your tapestry needle and the remaining yarn tail, work a mattress stitch or whipstitch through the edge loops. Keep tension flexible so the seam stretches with the hat.
- Fold the Cuff: Turn the hat right-side out. Fold up the bottom brim 2.5 to 3.5 inches [6 to 9 cm] to create a plush double-thick ear warmer cuff.
Crafting the Fluffy Yarn Pom-Pom
To top your beanie with an artisanal pom-pom:
- Wind your yarn around 3 (4 – 4) fingers approximately 70 (80 – 80) times (or use a 3.5-inch Clover Pom-Pom Maker).
- Slip the yarn bundle off your fingers and tie a separate 12-inch piece of yarn tightly around the exact center of the bundle with a secure double knot.
- Using sharp shears, snip through all loops on both sides.
- Trim the loose outer strands in a circular motion until you achieve a dense, perfectly round sphere measuring approximately 3 (4 – 4) inches [7.5 (10 – 10) cm] in diameter.
- Using your tapestry needle, pass the center tie strings through the cinched crown hole to the inside of the hat and tie firmly.
3 Atelier Secrets for Flawless Hat Fitting
1. Respect Negative Ease: Crochet ribbing stretches significantly when worn. When measuring your panel width along Row 2, the un-stretched measurement should be 2 to 3 inches smaller than actual head circumference. If you crochet the panel to match exact head size, the beanie will slip over the eyes after a day of wear.
2. Keep Turning Chains Relaxed: When working the Ch-2 at the beginning of Row 3, make sure not to pull the chain tightly. A relaxed turning chain ensures the bottom brim edge remains supple and elastic when folded up.
3. Use a Separate Tie for the Pom-Pom: Acrylic yarn can snap if pulled too vigorously when securing pom-pom centers. Use a durable matching strand of cotton crochet thread or double your yarn when knotting the core to allow maximum tightening without fiber breakage.

Frequently Asked Questions
Can I use a lighter worsted weight yarn for this pattern?
Yes! If using Category 4 worsted weight yarn, hold two strands together throughout the pattern and use an 8.0mm or 7.0mm hook to match the required chunky gauge.
How do I adjust the hat to be slouchy instead of fitted?
To add extra slouch, increase your starting foundation chain by 4 to 6 chains (working the extra stitches as half double crochets in the body section). This adds 2 to 3 inches of height to the body while maintaining the tapered crown.
How should I wash and care for this chunky beanie?
Hand wash in lukewarm water with a drop of gentle wool wash. Squeeze water out gently in a clean dry towel without wringing. Reshape the beanie and lay flat to dry. Fluff the pom-pom with a quick burst from a cool hairdryer.
Pin This Pattern for Later
Save this modern chunky ribbed crochet beanie to your favorite crochet accessories or winter patterns board on Pinterest so you have the stitch counts, size adjustments, and pom-pom tutorial ready whenever cold weather strikes!