The modern hexagon cardigan is celebrated throughout the crochet community as a triumph of geometric origami: by folding two oversized six-sided flat granny motifs in half, they snap into three-dimensional L-shaped jackets that form the chest, back, and sleeve simultaneously. However, poorly calculated hexagons often result in clownishly oversized sleeves or tight, bunching backs. Here is the architectural solution—complete with back-panel bridge engineering and size-inclusive grading.
Hexagon Folding Physics & The “Wide Back” Problem
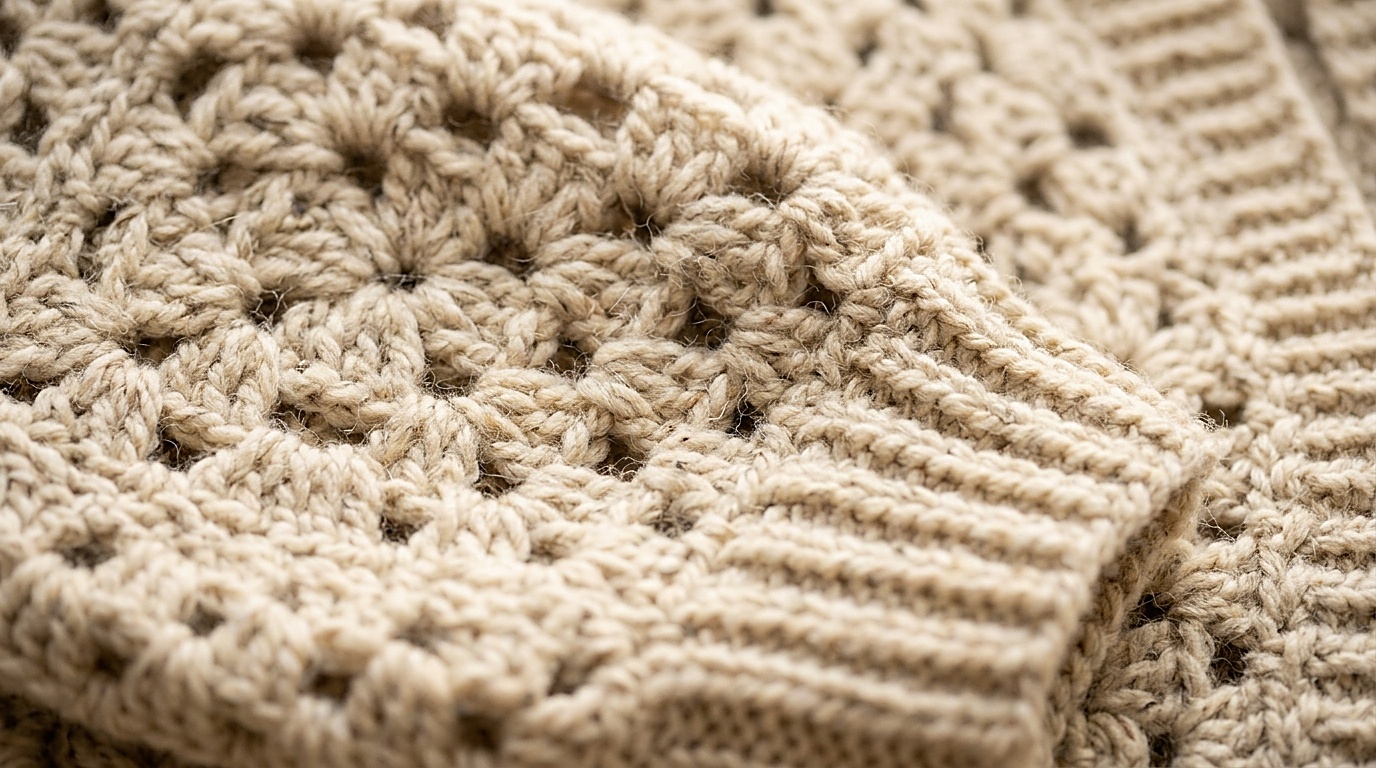
A classic granny hexagon consists of six corners separated by straight sides. When you fold a flat hexagon in half across two opposite corners, three consecutive edges bend at right angles:
- One side forms the upper shoulder seam and top sleeve.
- The inner fold forms the underarm corner.
- The bottom side forms the lower sleeve seam and side torso.
The Proportional Flaw: Human bodies are wider across the shoulders and back than the circumference of their upper arms. If you simply keep crocheting rounds until the hexagon meets across your back, the sleeve depth balloons out of control, resulting in sleeves that are excessively loose and drag awkwardly at the wrist.
The Architectural Bridge: The professional remedy is to stop expanding the hexagons when the sleeve width fits your bicep comfortably, and then add 4 to 8 rows of granny clusters along only ONE side of each hexagon (the center back edge). This back-panel bridge adds 10 to 18 cm of width across the spine without adding a single centimeter to sleeve depth.

Sizing Architecture & Reference Specifications (XS to 3XL)
Cardigan fit is designed with 10–15 cm (4–6 in) of relaxed positive ease for a cosy, oversized drape:
- XS/S (Bust 76–86 cm / 30–34 in): 14 Hexagon Rounds (~42 cm depth) | No back bridge needed | Est. Yardage: ~1050 yds (THEORETICAL ESTIMATE / NEEDS PHYSICAL VERIFICATION)
- M/L (Bust 91–104 cm / 36–41 in): 17 Hexagon Rounds (~48 cm depth) | 4-row back panel bridge | Est. Yardage: ~1250 yds (THEORETICAL ESTIMATE / NEEDS PHYSICAL VERIFICATION)
- XL/2XL (Bust 109–122 cm / 43–48 in): 20 Hexagon Rounds (~55 cm depth) | 6-row back panel bridge | Est. Yardage: ~1500 yds (THEORETICAL ESTIMATE / NEEDS PHYSICAL VERIFICATION)
- 3XL (Bust 127–137 cm / 50–54 in): 22 Hexagon Rounds (~60 cm depth) | 8-row back panel bridge | Est. Yardage: ~1700 yds (THEORETICAL ESTIMATE / NEEDS PHYSICAL VERIFICATION)
- Reference Hook: 6.00 mm (US J/10) ergonomic hook.
- Reference Yarn Category: Category #4 Medium / Worsted Weight (Premium anti-pilling acrylic or 80/20 acrylic-wool blend with fluid drape). Example: Lion Brand Heartland or Caron Simply Soft.
- Reference Gauge:
1 Granny cluster (3 dc) + 1 ch space = 4.5 cm wide; 7 rounds of hexagon = 20 × 20 cm(GAUGE: NEEDS PHYSICAL VERIFICATION).
Step-by-Step Executable Pattern (Make 2 Identical Hexagons)
Phase 1: The 6-Corner Granny Foundation
Begin with an adjustable magic ring.
Round 1: Ch 3 (counts as first dc). Work [2 dc, ch 2] into ring. Work [3 dc, ch 2] 5 more times into ring. Pull tail snugly to close center hole. Sl st to top of starting ch-3 to join. [6 corners: 6 granny clusters, 6 ch-2 spaces].
Round 2: Sl st into the first ch-2 corner space. Ch 3, (2 dc, ch 2, 3 dc) in same corner space. Ch 1. *(3 dc, ch 2, 3 dc) in next ch-2 corner space, ch 1.* Repeat from * to * 4 more times around. Sl st to top of ch-3 to join. [6 double-cluster corners, 6 ch-1 side spaces].

Phase 2: Progressive Hexagon Expansion
Round 3: Sl st into first corner space. Ch 3, (2 dc, ch 2, 3 dc) in corner. *Ch 1, 3 dc in next ch-1 side space, ch 1, (3 dc, ch 2, 3 dc) in next corner.* Repeat around. Sl st to join.
Rounds 4–17 (for Size M/L): Continue expanding outward, working 3 dc clusters in every ch-1 side space and (3 dc, ch 2, 3 dc) in all 6 corner spaces. Fasten off on second hexagon.
Phase 3: Back-Panel Extension (Sizes M–3XL)
Identify the edge of each folded L-shape designated as the back center seam. Rejoin yarn at one corner and work 4 rows of granny clusters along only that single back edge, turning after each row. This creates the ergonomic back-panel bridge that relieves underarm tension.
Assembly, Sleeve Tapering & Ribbed Collar
- The Origami Fold: Fold both hexagons in half to form two matching L-shaped jacket halves. Pin the top sleeve edges together from collar down to cuff. Pin the center back seam together along the extended back panel.
- Mattress Seam: Using a yarn needle, seam top sleeve and back seams from the wrong side using an elastic mattress stitch to maintain natural give.
- Sleeve Ribbing: Join yarn at sleeve cuff. Work 1 round of sc decreases to reduce cuff circumference from 38 cm down to 22 cm. Work 6 rounds of alternating Front Post / Back Post Double Crochet (FPdc/BPdc) to create a snug knit-look wrist cuff.
- Continuous Collar & Hem: Join yarn at bottom front corner. Work continuous rounds of hdc ribbing along bottom hem, up the front right opening, around back neck, and down the left front.

Blocking & Drape Maintenance
Cardigans constructed from granny stitch clusters require wet blocking to open up the eyelet lace and settle the drape:
- Submerge garment in cool water with gentle wool rinse. Gently squeeze out excess water in clean bath towels.
- Pin out flat on blocking mats, gently smoothing the shoulder seams and squaring the front hemline. Air dry completely.
- Always store folded: Hanging heavy crochet garments on coat hangers causes shoulder distortion under the garment’s own weight.
Pin This Hexagon Cardigan Pattern
Save this cosy hexagon cardigan tutorial to your crochet sweaters or wearable crafts board on Pinterest.