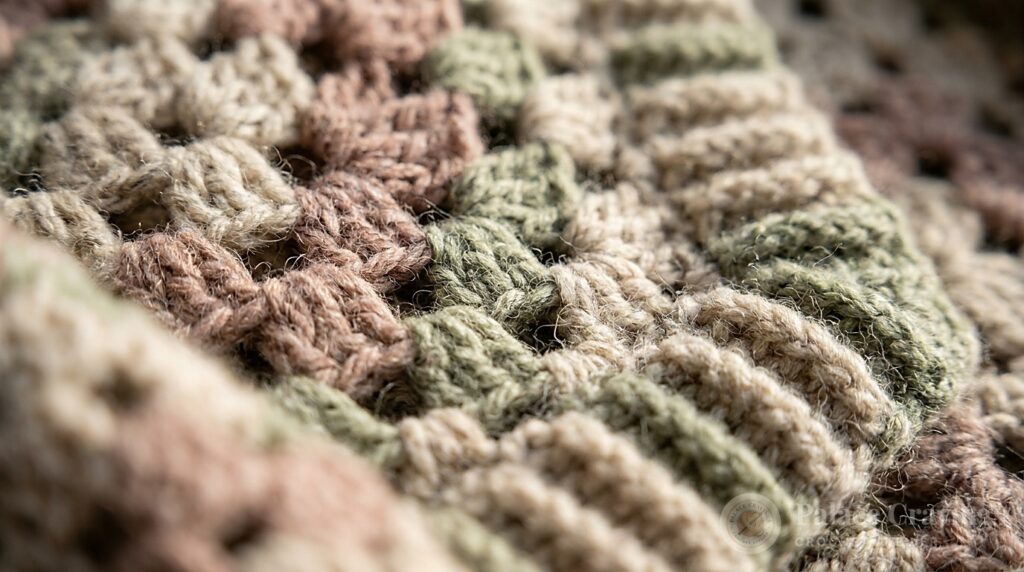
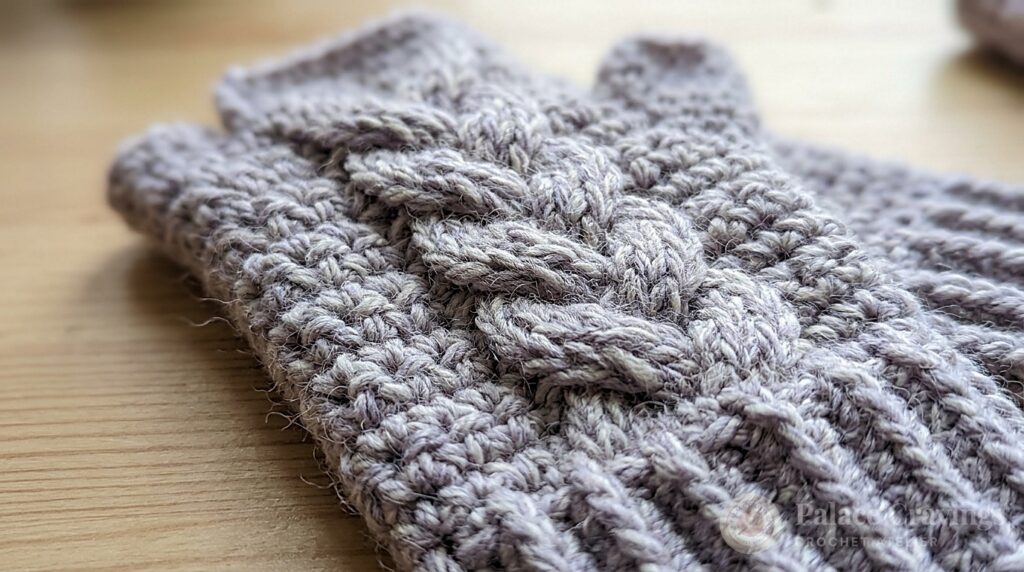
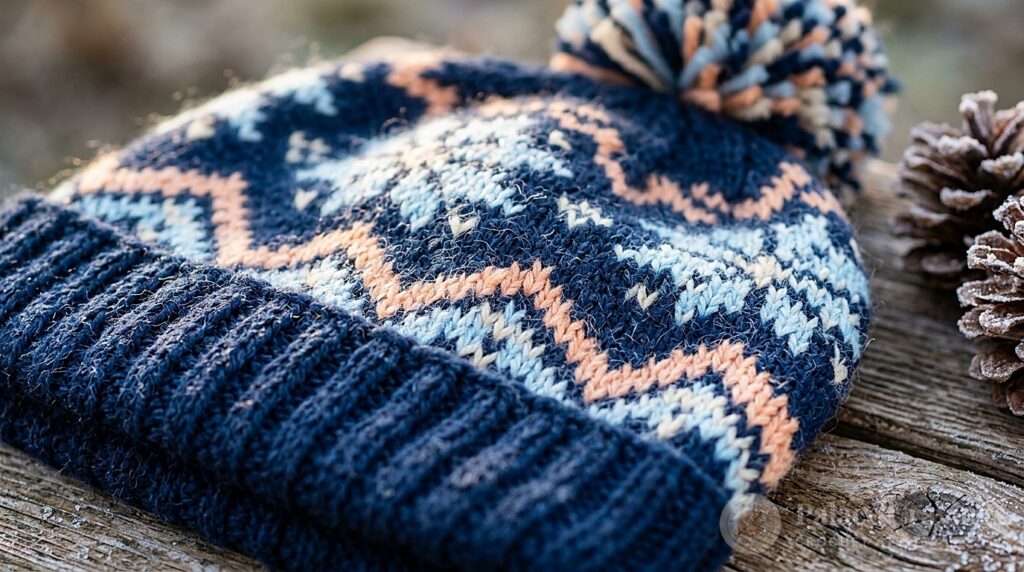
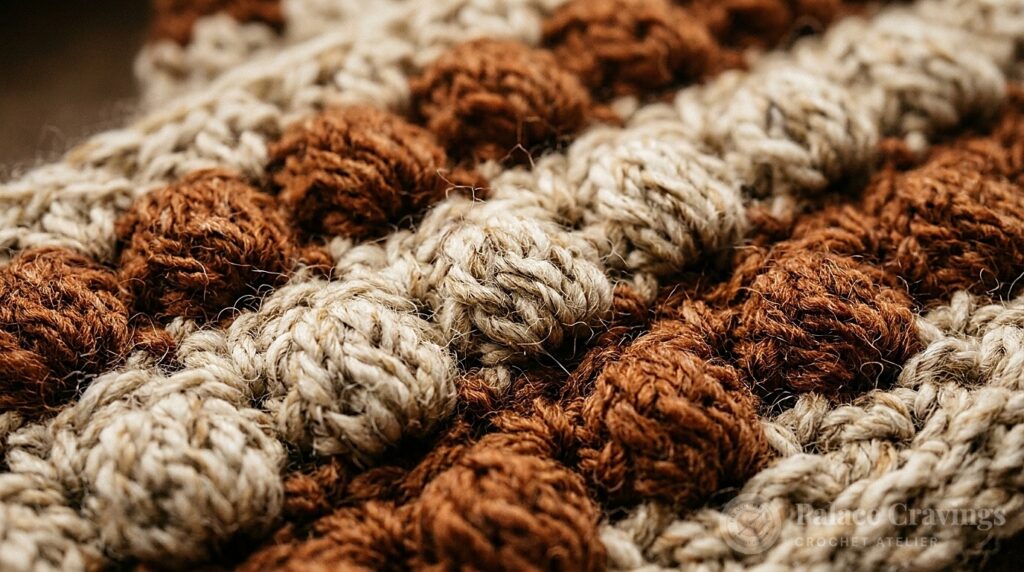
Many crochet beanies struggle with two widespread structural flaws: they either look stiff and bulky like a rigid helmet, or they require gathering a massive raw fabric tube at the crown that produces an uncomfortable, bunched-up knot. By crocheting a flat ribbed rectangle sideways with integrated short-row crown tapering, this modern beanie mimics the clean elasticity of fine 1×1 knitwear while folding down into a snug apex with zero bulk.
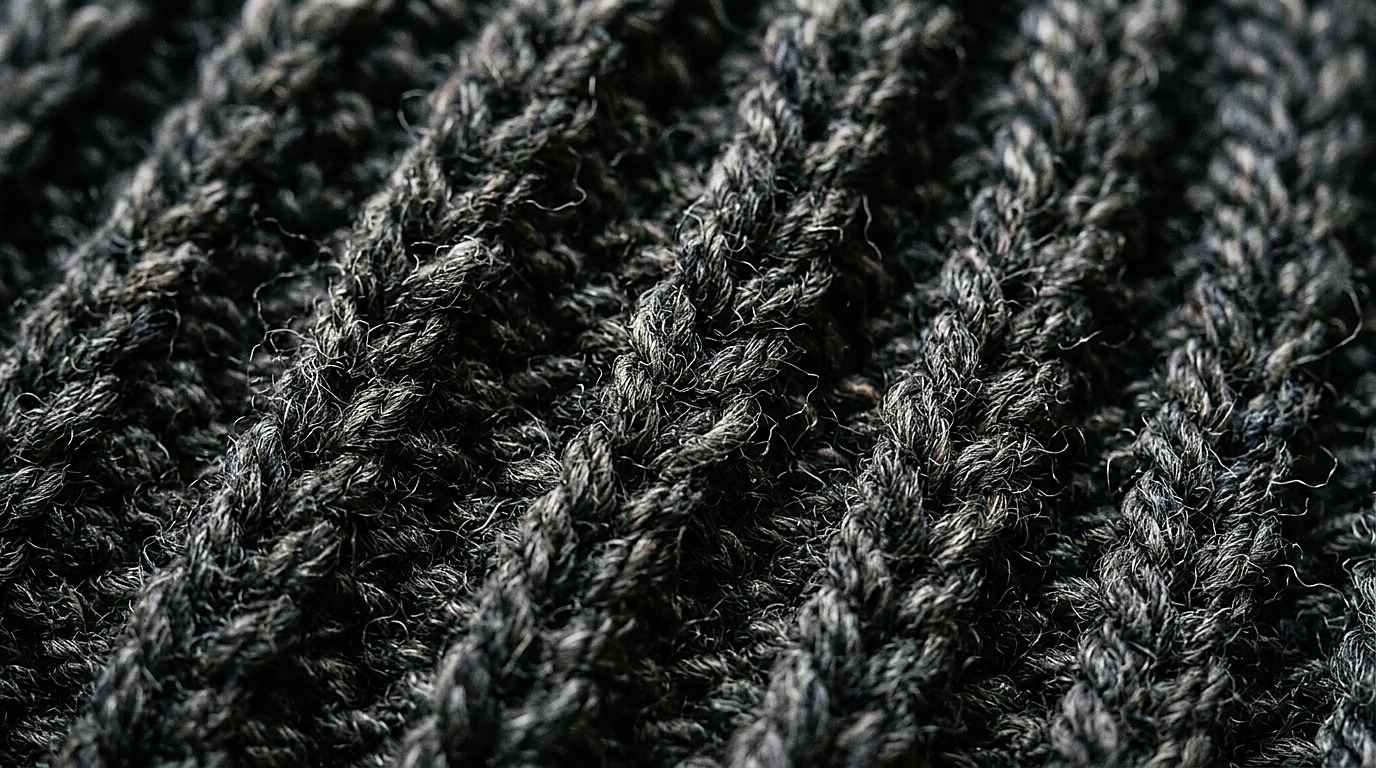
Sideways Ribbed Geometry vs. Top-Down Round Construction
Traditional beanies crocheted in the round from the crown downward produce concentric horizontal circles that lack true springiness. In contrast, crocheting sideways in rows using Half Double Crochet through the Back Loop Only (hdc BLO) places the stretch axis horizontally around the head:
- Spring & Elastic Recovery: Hdc BLO forms accordion-like vertical ridges that expand smoothly to accommodate different head sizes and snap back without sagging.
- Integrated Crown Tapering: By stepping down the final stitches of each row at the top edge into slip stitches, the rectangle naturally curves inward at the crown as it grows, eliminating excess fabric before seaming.
- Reversible Fabric: The resulting ribbing is identical on both faces, allowing the brim to fold upward cleanly with zero exposed “wrong side” seams.
Negative Ease Dynamics & Sizing Matrix
To prevent a beanie from slipping down over your eyes or popping off, the finished flat fabric must be smaller than actual head circumference. This intentional stretch difference is known as negative ease. Hdc BLO ribbing requires 10% to 15% negative ease for a comfortable, secure grip.
- Toddler / Child (Head 48–51 cm / 19–20 in): Target Flat Width: ~42 cm | Flat Height: ~24 cm
- Adult Small / Medium (Head 53–56 cm / 21–22 in): Target Flat Width: ~46–48 cm | Flat Height: ~28–29 cm (allows 7 cm folded brim)
- Adult Large / Slouchy (Head 57–60 cm / 22.5–23.5 in): Target Flat Width: ~50–52 cm | Flat Height: ~31–32 cm
- Reference Hook: 5.00 mm (US H/8) ergonomic hook.
- Reference Yarn Category: Category #4 Worsted Weight (Wool blend or premium acrylic with good elastic memory). Example: Lion Brand Wool-Ease or Cascade 220 Superwash.
- Reference Gauge:
15 hdc BLO × 11 rows = 10 × 10 cm(GAUGE: NEEDS PHYSICAL VERIFICATION). - Estimated Yarn Consumption: Approximately 190–225 yards / 175–205 meters (THEORETICAL ESTIMATE / NEEDS PHYSICAL VERIFICATION).

Step-by-Step Executable Pattern (Adult Medium)
Foundation & Turning Conventions
Foundation: Chain 45 loosely. (To ensure the brim edge does not pinch, use a 0.5 mm larger hook for the foundation chain only, or chain with relaxed hand tension).
Turning Rule: Ch 1 at the start of rows does NOT count as a stitch. Always work the first stitch into the very first active stitch of the row.
The 2-Row Master Ribbing Sequence
Row 1 (Foundation Row): Hdc in 3rd ch from hook and in each ch across until 6 chs remain. Work 1 sl st in each of the final 6 chains (these 6 sl sts form the tapered crown curve). Turn. [43 active stitches: 37 hdc, 6 sl st].
Row 2 (Crown Return): Ch 1. Working strictly in the Back Loop Only (BLO): sl st in each of the first 6 sl sts (keep these slip stitches loose so working back into them remains easy). Hdc in BLO in each of the remaining 37 stitches across to the brim. Turn. [43 active stitches].
Row 3 (Brim to Crown): Ch 1. Hdc in BLO across first 37 stitches. Sl st in BLO across final 6 crown stitches. Turn. [43 active stitches].

Stopping Rule & Row Count Estimation
Rows 4–52: Repeat Rows 2 and 3 in continuous succession.
Primary Stopping Rule: Do not rely solely on row counts. Measure your ribbed piece un-stretched across its width. Stop repeating when the fabric measures approximately 46 cm to 48 cm (18 to 19 inches) wide across the brim edge, ending on an even-numbered row so working yarn finishes at the crown. (Calculated estimate: approximately 50 to 54 rows based on target gauge; NEEDS PHYSICAL VERIFICATION).
Seamless Side Assembly & Crown Closure
Once width is achieved, do not fasten off your working yarn:
- The Invisible Seam: Fold the rectangle in half with right sides facing inward, bringing the foundation chain edge flush against Row 52. Slip stitch through the back loop of Row 52 and the original foundation chain loop simultaneously along the entire height. This creates a flat seam that sits flush with neighboring ribs.
- Cinching the Crown: Fasten off leaving a 35 cm tail. Thread a bent-tip tapestry needle. Because the 6 short-row slip stitches tapered the crown during crocheting, the top opening is already small. Weave the needle in and out through every ridge loop around the crown circumference.
- Securing the Apex: Pull the yarn tail firmly like a drawstring bag until the center hole closes completely flat. Make two small reinforcement stitches across the closed center, knot firmly on the inside, and weave tail through 5 cm of ribbing.

Brim Styling & Wool Elasticity Maintenance
Fold the lower 7 cm (2.75 inches) of the beanie upward to form a classic fisherman-style cuff. To maintain elastic memory over seasons of winter wear:
- Hand wash in cool water with gentle wool soak. Never hang by the brim when wet; gently press out moisture in a dry bath towel.
- Dry flat in its relaxed cylindrical shape. Do not aggressively block or iron with steam, which permanently relaxes the acrylic/wool memory and flattens the ribbed spring.
Pin This Modern Beanie Pattern
Save this ribbed beanie tutorial to your winter accessories or crochet wearables board on Pinterest for your next weekend make.