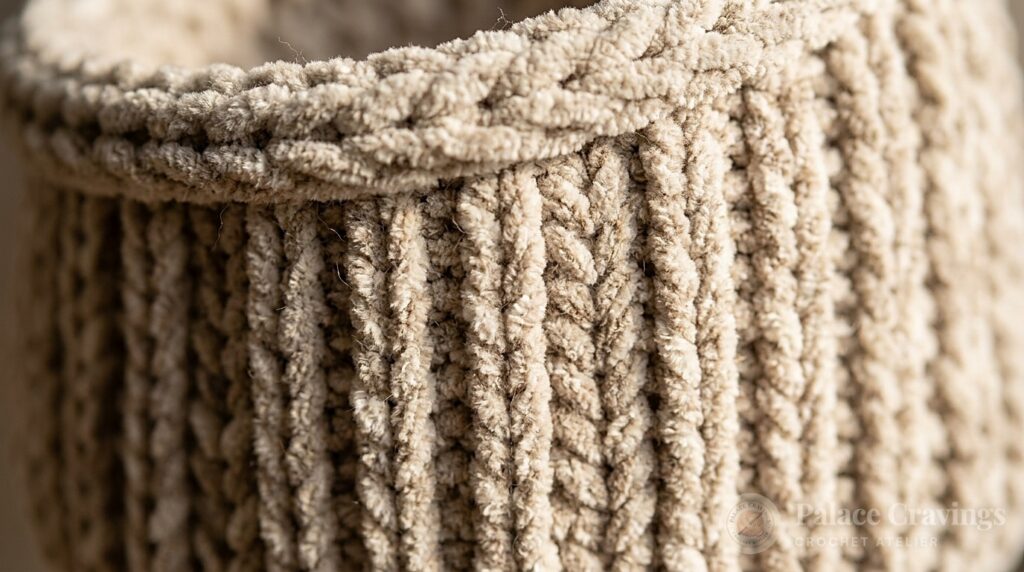
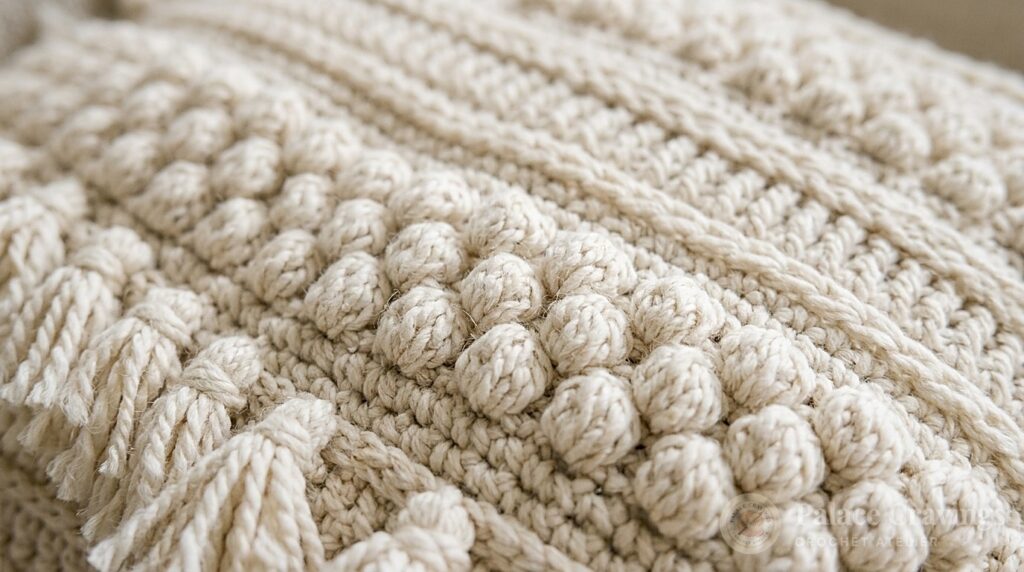
Transform your living space with the elevated texture of modern minimalist crochet. This Modern Ridged Crochet Birch Throw Pillow features dramatic horizontal ridges that emulate the clean, linear beauty of hand-knit brioche, contrasted with rustic natural wooden buttons. Sized to fit standard 18-inch cushion inserts, this architectural home decor accent is crocheted with bulky velvety yarn using half double crochets worked entirely through the front horizontal third loop. The result is an exceptionally plush, structural fabric that elevates any sofa, reading nook, or bedroom bench with effortless Scandinavian warmth.
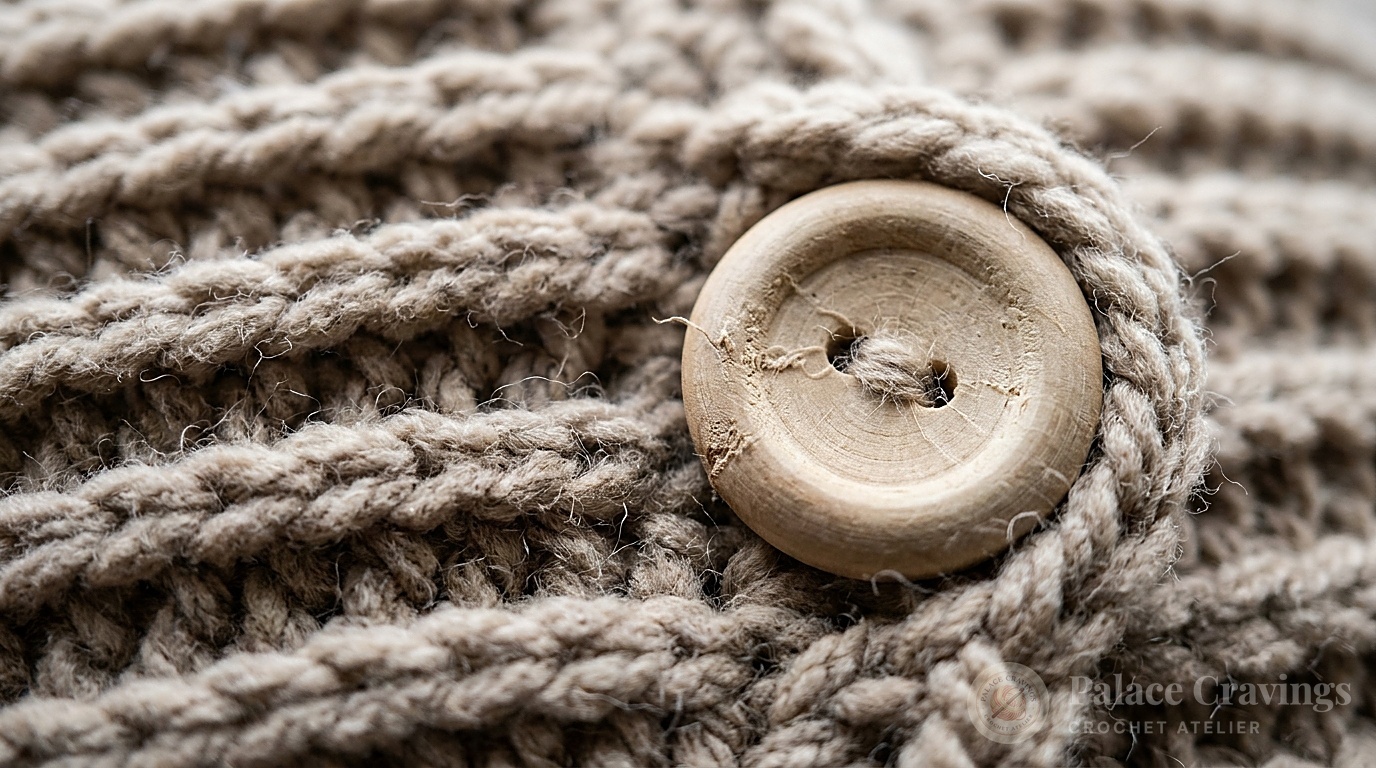
Originally engineered by the design team at Bernat for their luxurious Suede-ish line, this envelope cushion pattern proves that sophisticated home styling does not require intricate stitch charts. By inserting your hook into the horizontal bar that naturally sits below the top loops on the front of your work, the standard half double crochet pushes the traditional V loops forward into prominent parallel ribs. Coupled with functional buttonhole rows on both top and bottom edges, this removable cover allows for easy laundering and effortless seasonal styling.
Why You’ll Love Crocheting This Modern Ridged Pillow
- Knit-Look Aesthetics with Crochet Speed: Working through the horizontal bar pushes the top loops forward, replicating a rhythmic chunky ribbed knit in half the time.
- Functional Button Closure Design: Features 12 natural wood buttons across dedicated buttonhole rows, making it simple to insert and remove the pillow form for washing.
- Thick, Cushioned Fabric Integrity: Bulky weight yarn paired with dense half double crochet produces a firm, supportive textile that holds its crisp geometric shape over years of daily lounging.
- Neutral High-End Styling: The subtle heathered birch tone and clean linear geometry blend seamlessly with modern farmhouse, Japandi, and contemporary Scandinavian interiors.
Key Materials, Yarn Specifications & Notions

To achieve crisp, well-defined ribs without stiff fabric tension, select a supple bulky weight yarn with velvety drape:
- Recommended Base Yarn: Bernat Suede-ish (Bulky #5; 80% Acrylic, 20% Polyester; 100 g / 3.5 oz, 91 m / 100 yds).
- Colorway: Birch (Warm oatmeal / natural stone) — 5 balls (approx. 450 meters / 495 yards).
- Alternative Yarns: Hue & Me (Bulky #5), Bernat Maker Home Dec (doubled or single on gauge), or Lion Brand Wool-Ease Chunky.
- Crochet Hook: Size U.S. J-10 (6.0 mm) (or size needed to obtain gauge).
- Pillow Form: One 18-inch [45.5 cm] square pillow insert (feather-down or firm polyester).
- Buttons: 12 natural wooden buttons, approximately 3/4 inch [2 cm] in diameter.
- Essential Notions: Bent-tip tapestry yarn needle for seaming and button attachment, locking stitch markers, and a flexible metric/imperial tape measure.
Pattern Specifications & Working Notes
- Skill Level: Easy (Suitable for confident beginners familiar with half double crochet and working in specialized loop locations).
- Finished Dimensions: Approximately 18 inches [45.5 cm] square when assembled and buttoned over the form.
- Gauge: 14 sts and 9 rows = 4 inches [10 cm] in ridged stitch pattern. (13 sc and 14 rows = 4 inches [10 cm]). Be sure to check gauge to ensure your cover fits your cushion insert comfortably without slack.
- Turning Chain Rule: Ch 2 at beginning of row does not count as a stitch throughout. Place your first half double crochet directly into the very first stitch.
- Stitch Technique (Horizontal Bar / 3rd Loop): When looking at the front of your work on the current row, observe the horizontal yarn strand that runs right beneath the normal two top loops (the “third loop” of the hdc). Insert your hook under this horizontal bar only from bottom to top, leaving the top two loops undisturbed to push forward as a bold raised rib.

Step-by-Step Crochet Instructions
PART 1: THE BUTTONHOLE PANEL (Front)
With Birch bulky yarn and 6.0mm hook, Ch 61 loosely.
- 1st Row (RS): Work 1 hdc in 3rd ch from hook and in each ch to end of chain. Turn. (59 hdc)
- 2nd Row: Ch 2 (does not count as st). Working in horizontal bar only, created by hdc at front of work, 1 hdc in each st to end of row. Turn. (59 hdc)
- 3rd Row (Buttonhole Row – RS): Ch 2. Working in horizontal bar only, 1 hdc in each of first 6 sts. *Ch 2. Skip 2 sts. 1 hdc in each of next 7 sts. Repeat from * to last 8 sts. Ch 2. Skip 2 sts. 1 hdc in each of last 6 sts. Turn. (Creates 6 buttonholes evenly spaced).
- 4th Row: Ch 2. Working in horizontal bar only, 1 hdc in each st to end of row, working 2 hdc in each ch-2 sp. Turn. (59 hdc)
- 5th Row: Work as 2nd row. (59 hdc)
- Pattern Repeat: Repeat 2nd row for pattern until work from beginning measures 16½ inches [42 cm], ending on a Wrong Side (WS) row.
- Next 2 Rows (Second Buttonhole Set): Work as 3rd and 4th rows to create the second set of 6 buttonholes on the opposite end.
- Next Row: Work as 2nd row. Fasten off, leaving a clean end.
PART 2: THE BUTTON PANEL (Back)
The back panel provides the supportive anchor for the pillow form, worked in the exact same tactile ridge pattern without the buttonhole openings.
- With Birch bulky yarn and 6.0mm hook, Ch 61.
- 1st Row (RS): Work 1 hdc in 3rd ch from hook and each ch to end of chain. Turn. (59 hdc)
- 2nd Row: Ch 2. Working in horizontal bar only, 1 hdc in each st to end of row. Turn. (59 hdc)
- Pattern Repeats: Repeat 2nd row continuously until piece measures the exact same length as the Buttonhole Side. Fasten off.
Assembly & Button Attachment
1. Positioning the Buttons: Lay the Button Side flat on your work surface. Align the Buttonhole Panel over it to mark the exact locations of all 12 buttonholes (6 along the top edge and 6 along the bottom edge). Using sturdy matching yarn and your yarn needle, securely sew the 3/4-inch natural wooden buttons in place, knotting firmly on the wrong side.
2. Seaming the Sides: Fold the cushion flat with right sides facing inward, positioning the button rows centrally across the front and back as designed in the envelope layout. Using mattress stitch or whipstitch, seam the two side edges together smoothly.
3. Inserting Pillow Form & Fastening: Turn the cover right side out. Insert your 18-inch cushion form through the buttoned opening, gently pressing it into each corner. Fasten all 12 wooden buttons securely through their corresponding buttonholes to complete your tailored designer pillow.

3 Atelier Secrets for Picture-Perfect Ridged Pillows
1. Locate the True Third Loop with Ease: When turning your row, tilt the fabric slightly forward toward you. The third horizontal loop sits directly below the top V loops. Consistently hooking under this front bar ensures every single ridge aligns with laser precision across the entire face of the cushion.
2. Keep Turning Tension Relaxed: Because half double crochets worked in the third loop tend to draw in slightly at the edges, avoid pulling the beginning ch-2 tight. Keeping your first and last stitches supple ensures perfectly straight, vertical side seams that sew together effortlessly.
3. Opt for a Plump Insert: For a high-end designer look, choose an 18-inch feather-down insert or an overstuffed microfiber form. The generous filling pushes outward against the crocheted ridges, highlighting the dimensional stitch architecture and preventing any hollow corners.
Pin This Modern Crochet Pillow for Later
Love this contemporary home decor pattern? Save these Pins to your Modern Crochet Home Decor and DIY Pillow boards on Pinterest so you always have the free tutorial ready!