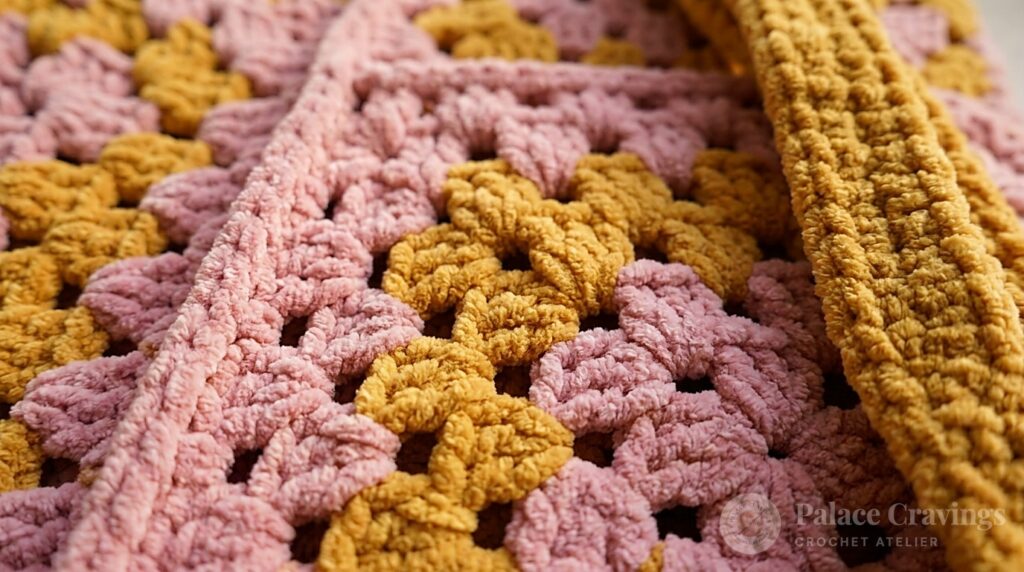
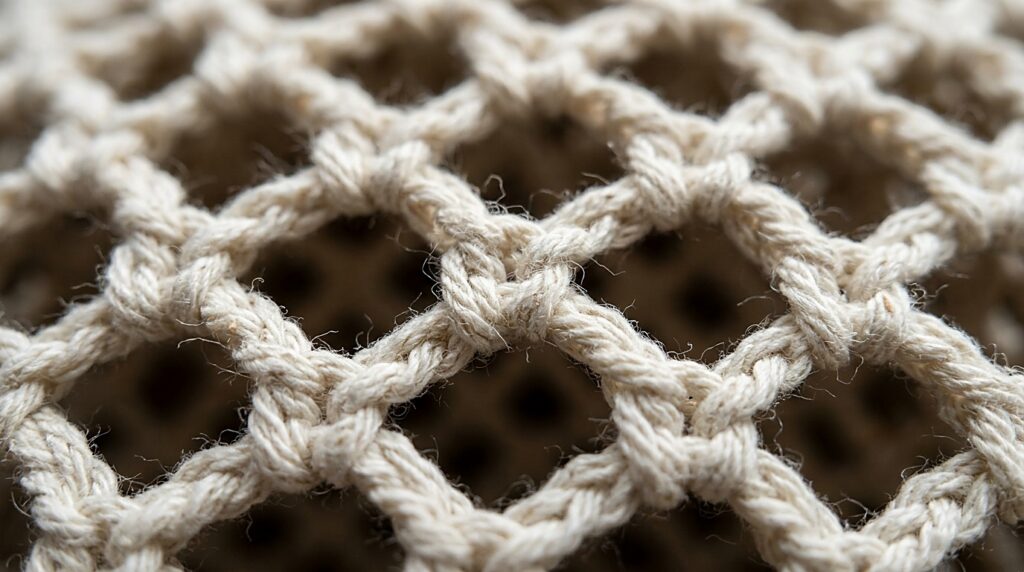
A truly exceptional crochet tote bag must achieve two demanding structural qualities simultaneously: architectural firmness that refuses to sag under the weight of weekend essentials, and tactile surface interest that feels elevated enough for Parisian market mornings or city carry-on travels. This modern boho carry-on tote fulfills both promises through a clever combination of diagonal 3D popcorn diamond geometry, deep contrast side gussets, and dense tubular cotton cord that holds its crisp silhouette without requiring an internal fabric lining.
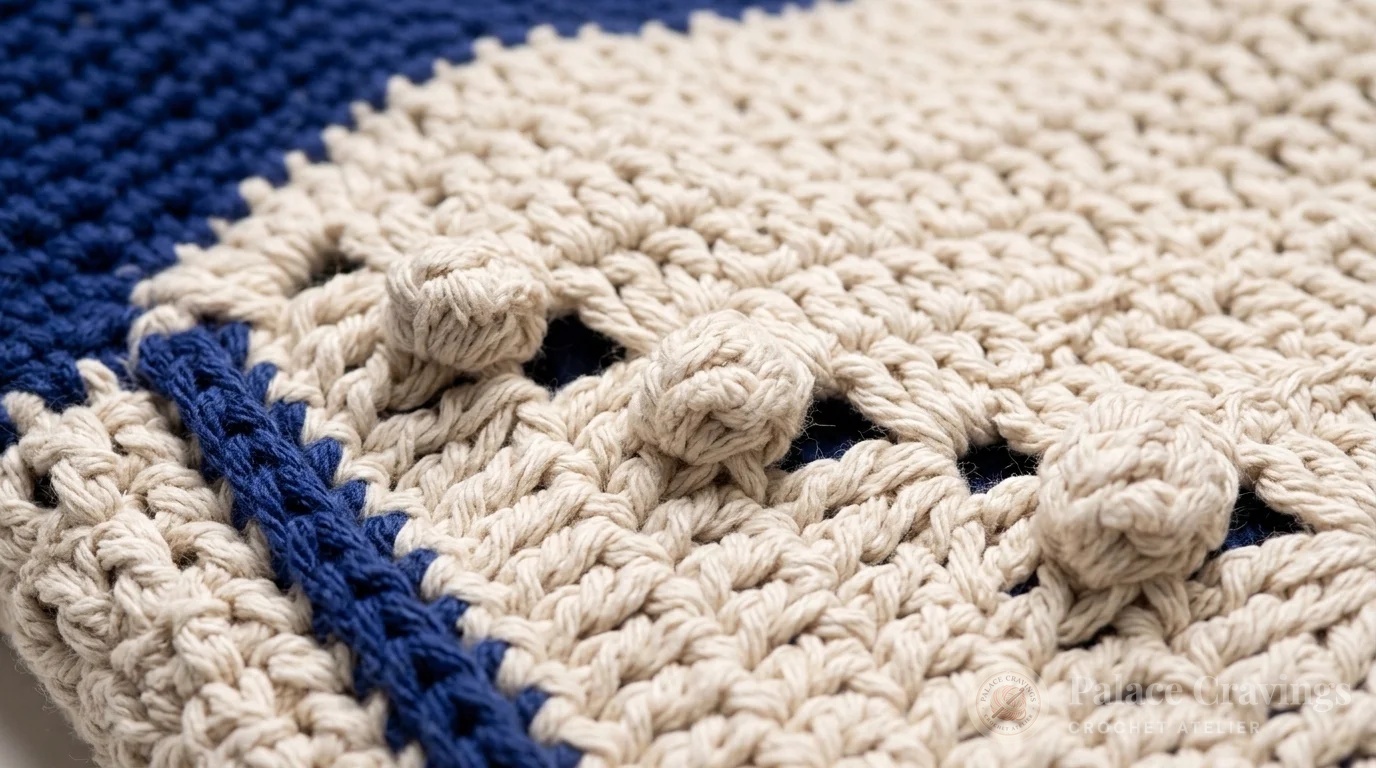
Most commercial market totes suffer from stretch failure: after carrying a hardback novel, a water bottle, and a skein of travel knitting, the base balloons outward into an unshaped pouch. To solve this common frustration, this design borrows architectural principles from heritage carpetry. We construct two independent square motifs worked from the center outward, frame them in high-contrast navy single crochet worked strictly in the front loops, and then seamlessly join them with an 8-row deep perimeter gusset worked in the remaining back loops. The resulting raised ridge forms an external structural skeleton that distributes weight evenly across the entire bag perimeter.
Why You’ll Love Working This Carry-On Tote
- Architectural Zero-Sag Structure: Worked in bulky category-5 tubular cotton cord yarn, the dense single-crochet base and side gussets support substantial weight without stretching out of proportion.
- Mesmerizing Popcorn Geometry: Five-double-crochet popcorn stitches are grouped into radiating diagonal lines that expand from the center ring, creating an organic boho texture that pops against minimalist decor.
- No-Sew Continuous Construction: Side gussets, base panels, top borders, and long over-the-shoulder straps are worked continuously using clever back-loop joins and foundation chains—eliminating tedious mattress-stitch finishing.
- Modern Coastal Atelier Palette: Crisp natural cream paired with deep nautical navy delivers a timeless French Riviera aesthetic that pairs effortlessly with linen summer dresses, wool trench coats, and weekend denim.
Essential Tools for Crafting This Carry-On Tote
To achieve crisp stitch definition and prevent wrist fatigue when working dense bulky cotton cord, our studio testing team recommends the following verified best-selling notions:
Clover Amour 6.0mm (Size J) Crochet Hook
Features an ergonomic elastomeric handle and ultra-smooth aluminum head engineered to glide through bulky tubular cotton cord without snagging or hand strain.
Clover Amour 10-Piece Ergonomic Hook Set
Includes 10 precision aluminum hooks from 2.25mm to 6.00mm. The gold standard for slow-crafting makers who create bags, blankets, and garments.
Clover Locking Stitch Markers (Set of 30)
Indispensable for pinning corner popcorn repeats, marking the 8-row side gusset depth, and keeping strap stitch counts balanced across 92 foundation stitches.
Fiskars 5″ Precision Micro-Tip Scissors
Hardened surgical stainless steel blades deliver crisp, razor-clean cuts across bulky knitted tubular cords without fraying the internal synthetic core.
Key Materials, Yardage & Sizing Specifications
To recreate the exact drape, structured posture, and contrast definition seen in our studio sample, work with the official bulky tubular cotton blend specified below. For alternative weights, consult our Essential Crochet Yarn Weights Guide.

Step-by-Step Popcorn Motif Construction (Make 2)
Each bag face begins as an expanding square motif worked in the round with Main Color (Cream). Read through our stitch glossary before commencing Round 1.
- Popcorn Stitch Definition: Work 5 double crochet (dc) in the indicated space or stitch. Drop the active loop from the hook. Insert the hook from front to back into the top of the first dc of the 5-dc cluster, hook the dropped working loop, and pull it cleanly through. Chain 1 tightly to secure and close the popcorn bud.
- Turning Chain Rule: The beginning chain 3 counts as a double crochet throughout all motif rounds.
Foundation: With Main Color (Cream), ch 4. Join with a sl st to the first ch to form a center ring.
Round 1 (RS): Ch 3 (counts as dc here and throughout). Work 3 dc into the center ring. [Ch 2, work 4 dc into ring] 3 times. Join with a half double crochet (hdc) into the top of the beginning ch-3 (this hdc forms the final corner ch-2 space). [16 dc total; 4 corner spaces].
Round 2: Ch 3. Work (3 dc, ch 2, 4 dc) into the corner space just created. *Ch 1. Work (4 dc, ch 1, 4 dc) in the next corner ch-2 space. Repeat from * twice more. Ch 1. Join with a sl st to the top of the beginning ch-3. Turn work if desired or proceed in continuous facing.
Round 3 (First Popcorn Round): Ch 3. Work 1 dc in each of next 3 dc. *(1 dc, Popcorn, 1 dc) all in the next corner ch-1 space. Work 1 dc in each of next 4 dc, 1 dc in the ch-1 space, 1 dc in each of next 4 dc. Repeat from * twice more. (1 dc, Popcorn, 1 dc) all in the last corner ch-1 space. Work 1 dc in each of next 4 dc, 1 dc in the last ch-1 space. Join with a sl st to the top of the beginning ch-3.
Round 4: Ch 3. Work 1 dc in each of next 4 dc. *(1 dc, 1 tr, ch 1, 1 tr, 1 dc) all into the top of the next popcorn stitch. Work 1 dc in each of the next 11 dc. Repeat from * twice more. (1 dc, 1 tr, ch 1, 1 tr, 1 dc) all into top of last popcorn. Work 1 dc in each of last 5 dc. Join with sl st to top of ch 3.
Round 5: Ch 3. Work 1 dc in each dc across to the next corner ch-1 space. *(2 dc, Popcorn, 2 dc) all into the corner ch-1 space. Work 1 dc in each dc across to the next corner space. Repeat from * twice more. (2 dc, Popcorn, 2 dc) all into the last corner ch-1 space. Work 1 dc in each remaining dc to end of round. Join with sl st to top of ch 3.
Round 6: Ch 3. Work 1 dc in each dc across to the next popcorn. *(1 dc, 1 tr, ch 1, 1 tr, 1 dc) all in the top of the next popcorn. Work 1 dc in each dc across to the next popcorn. Repeat from * twice more. (1 dc, 1 tr, ch 1, 1 tr, 1 dc) in top of last popcorn. Work 1 dc in each dc to end of round. Join with sl st to top of ch 3.
Rounds 7 & 8: Repeat Rounds 5 and 6 once more.
Round 9: Repeat Round 5 once more. Fasten off MC cleanly. Note: The exact point of fastening off marks the bottom edge of your tote bag motif.

Motif Edging, Deep Side Gussets & Structural Assembly
Once both cream motifs are completed, we frame them in deep navy contrast edging and construct the 3-sided continuous gusset that gives this tote its generous carry-on capacity.
Contrast Motif Edging (RS): Join Contrast Navy (A) with a slip stitch into the front loop only of the right corner popcorn in Round 9. Working strictly in front loops only, work 1 sc in each stitch down the side of the motif to the next corner popcorn. Work 3 sc in the front loop only of the corner popcorn. Working in front loops only, work 1 sc in each stitch across the bottom of the motif (where you fastened off) to the next corner popcorn. Work 3 sc in the front loop only of the corner popcorn. Work 1 sc in each front loop up the opposite side of the motif to the final corner popcorn. Work 1 sc in the popcorn. Fasten off Navy. [Three sides edged; top edge remains open].
Constructing the Continuous Side Section: With the right side of 1 motif facing you, locate the unworked remaining back loops from the Motif Edging round. Join Main Color (Cream) with a sl st in the first remaining back loop. Work 1 sc in the same space. Work 1 sc in each remaining back loop along the exact three sides edged in Navy. This leaves the Navy ridge standing outward on the right side. Turn.
Rows 2 to 8: Ch 1. Work 1 sc in each single crochet across to the end of the row. Turn. At the end of Row 8, do not fasten off.
Joining to the Second Motif: Locate the unworked remaining back loops along the 3 edged sides of your second motif. With the right sides of both pieces facing each other, align Row 8 of the side section with the remaining back loops of the second motif. Working through both thicknesses simultaneously, slip stitch the last row of the side section directly into the remaining back loops. Fasten off. When turned right side out, both motifs display identical raised navy ridges framing the bag perimeter!
Top Border & Seamless Ergonomic Shoulder Straps
The top border unites the front motif, side gussets, and back motif into a continuous oval, transitioning seamlessly into heavy-duty reinforced shoulder straps.
Round 1 (RS): Join Contrast Navy (A) with a slip stitch on the upper edge into the top of the Navy ridge on the left corner of the motif. Ch 1. Work 9 sc across the top of the side section. Work 1 sc in each stitch across the top edge of the front motif (37 sc). Work 9 sc across the top of the second side section. Work 1 sc in each stitch across the top edge of the back motif (37 sc). Join with a sl st to the first sc. [92 sc total around top opening].
Rounds 2 to 7: Ch 1. Work 1 sc in each single crochet around the opening. Join with a sl st to the first sc.
Round 8 (Place Shoulder Straps): Ch 1. Work 1 sc in each of the first 15 sc. Ch 51 loosely (this creates the first shoulder strap). Skip the next 25 sc on the motif top edge. Work 1 sc in each of the next 21 sc (traversing across the side gusset). Ch 51 loosely for the second shoulder strap. Skip the next 25 sc. Work 1 sc in each of the remaining 6 sc. Join with a sl st to the first sc.
Round 9: Ch 1. Work 1 sc in each single crochet and 1 sc in each chain stitch around the entire perimeter including both straps. Join with a sl st to the first sc. [144 sc total].
Rounds 10 to 12: Ch 1. Work 1 sc in each sc around both straps and openings. Fasten off Navy. Weave in all loose ends securely with your large-eye tapestry needle.

3 Atelier Secrets for Bag Longevity & Shape Retention
1. Steam Block the Motifs Before Gusset Assembly: Bulky tubular cotton tends to curl slightly at the corners after Round 9 due to the dense popcorn tension. Pin each motif out to a true 13 × 13 inch square on grid blocking mats and apply a gentle warm steam treatment (holding the iron 2 inches above the fibers). Let dry completely before working the Navy front-loop edging.
2. Work Through the Back Hump of the Strap Chains: In Round 8, when working single crochets into the 51 strap foundation chains during Round 9, insert your hook into the bottom ridge (back hump) of each chain link. This leaves the smooth chain V-braid on both the top and underside of the handle, providing a soft, comfortable grip against bare shoulders.
3. Optional Base Reinforcement: If you plan to carry heavy tech gear or multiple water bottles, cut an 8-row piece of plastic canvas (available at craft stores) matching your gusset dimensions (approx. 3.5 × 13 inches) and slip-stitch it between two rows of single crochet along the interior base. The tubular cord hides the canvas completely while providing 100% rigid flat-bottom support.
Frequently Asked Questions
Can I use standard worsted weight acrylic yarn instead of tubular cord?
Standard worsted (#4) yarn worked with a 6.0mm hook will produce a floppy, open lace fabric unsuitable for a heavy-duty carry-on tote. If you wish to use worsted yarn, hold two or three strands together simultaneously and drop down to a 5.5mm hook to maintain the required 14 sc / 4-inch gauge.
Do I need to line this crochet tote bag with cotton fabric?
Because Bernat Maker is a dense tubular cord worked at a tight gauge with 14 sc per 4 inches, the fabric is remarkably opaque and sturdy. Small items like pens, lipstick, and keys will not slip through the stitches. However, adding a sewn linen lining with an interior zipper pocket provides added peace of mind for international travel.
How do I wash and care for this tote after travel?
Machine wash on gentle cycle in cold water inside a mesh laundry bag. Reshape the bag while damp by inserting a rolled towel inside to smooth out the corner popcorns, then lay flat to air dry. Never tumble dry on high heat, as synthetic cores can stiffen.
Pin This Pattern to Your Crochet Boards
Save this pattern to your Pinterest boards so you can easily reference the motif diagram, stitch counts, and strap construction whenever you are ready to craft your weekend travel tote!