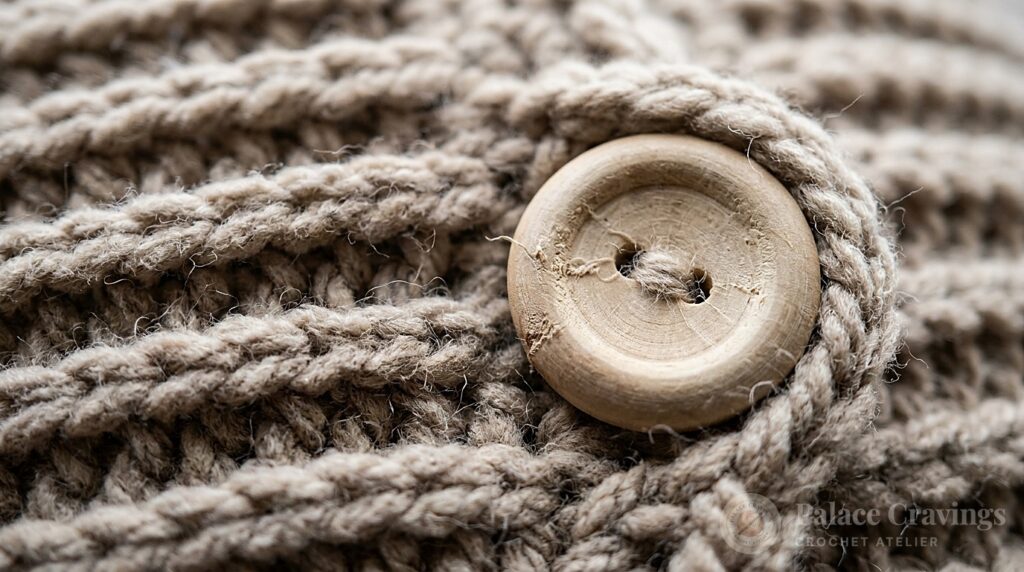
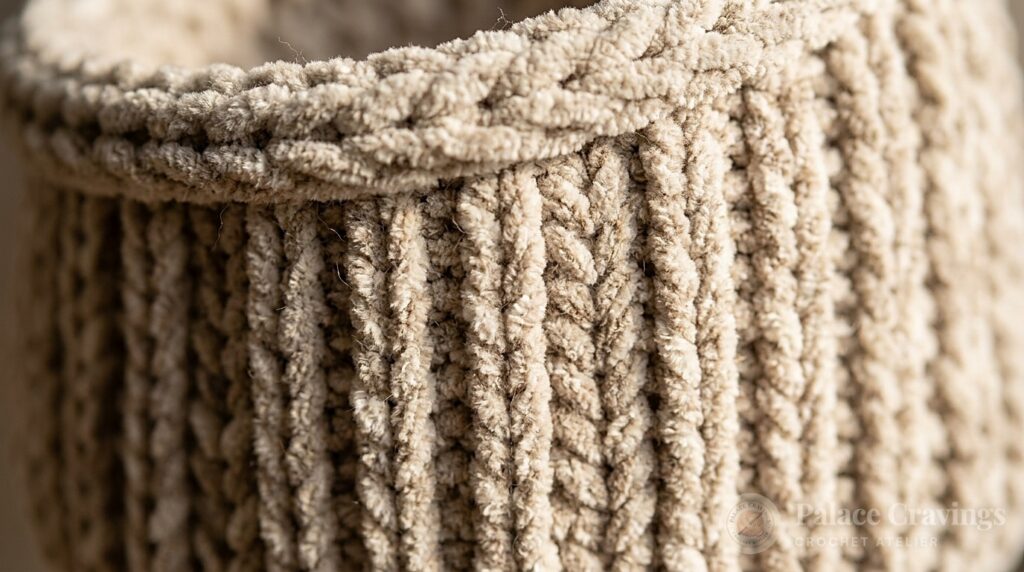
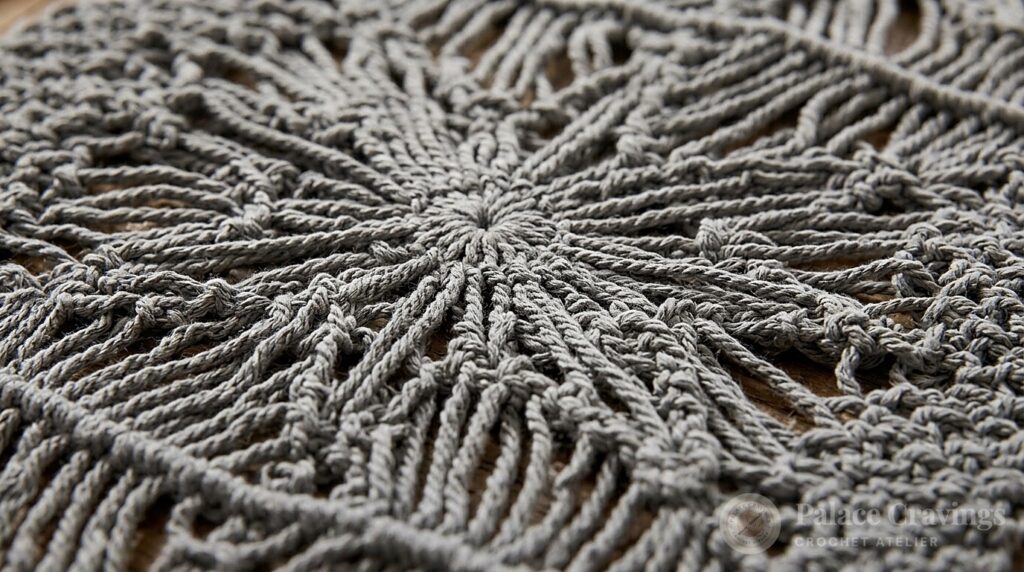
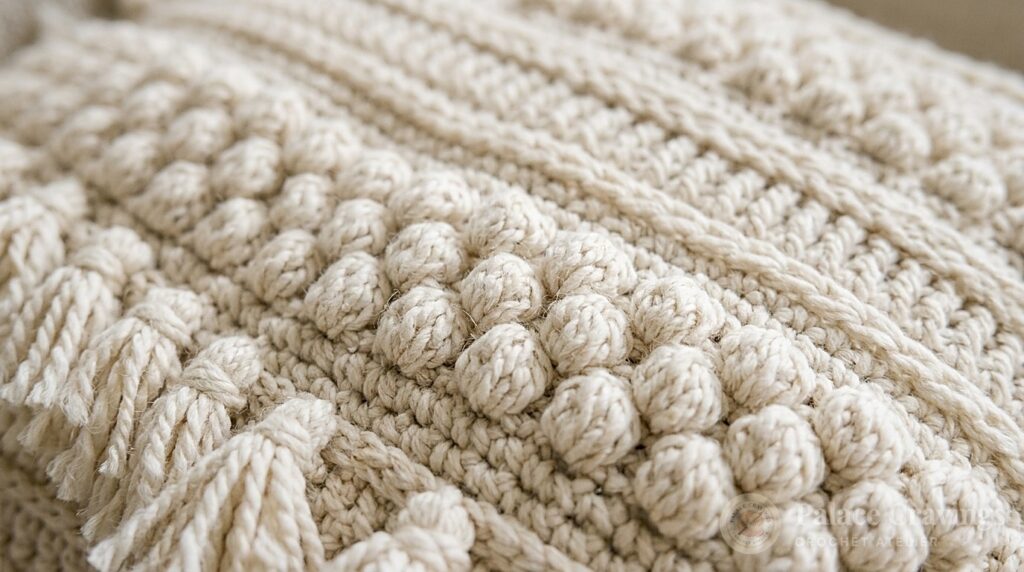
There is an unmistakable charm to gathering around a dining table set with handcrafted textiles. These Rustic Farmhouse Crochet Placemats blend old-world French country elegance with everyday modern practicality. Worked in natural cream and almond taupe cotton yarn, this classic oval table setting protects your tabletop from hot dishes while creating an inviting, layered texture for family breakfasts and holiday dinner parties alike!
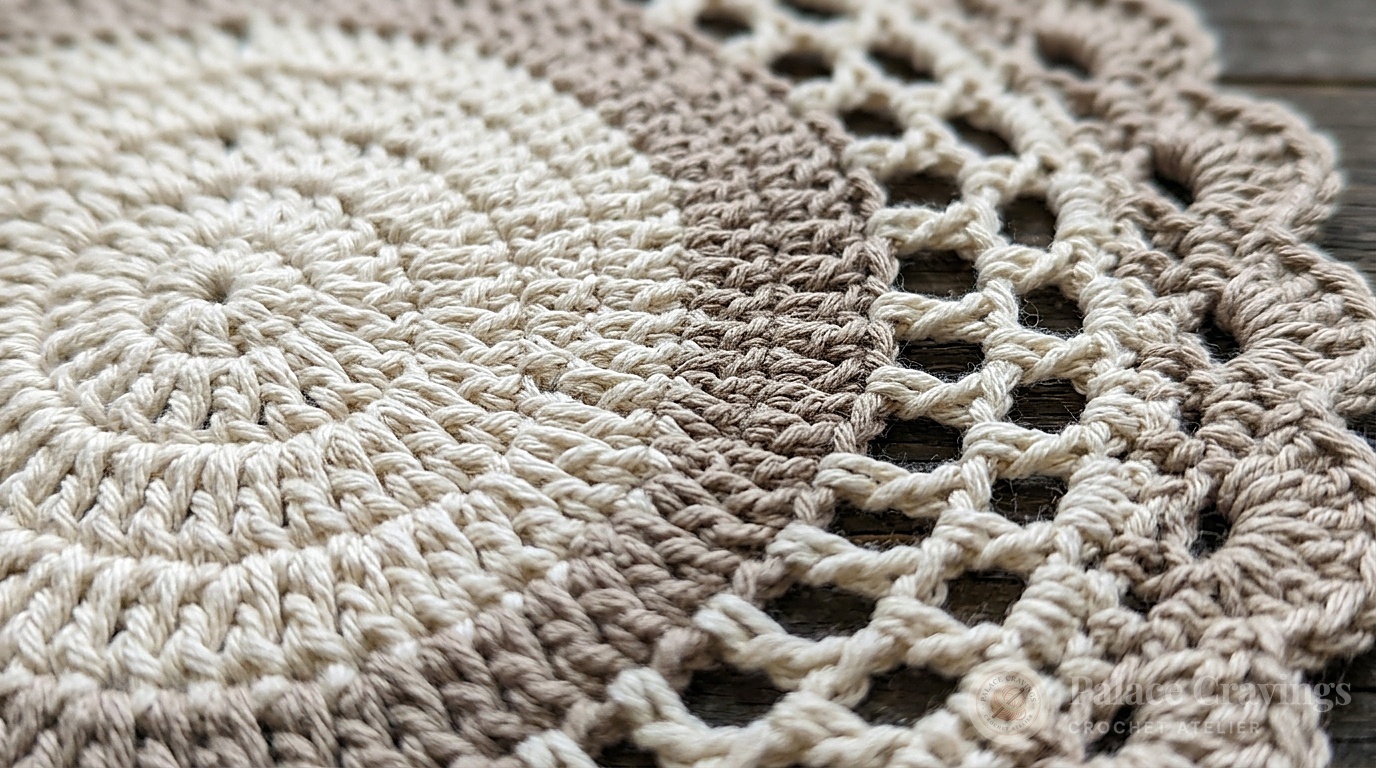
Crocheted seamlessly in the round from a central foundation chain, the placemat expands outward into a graceful elongated ellipse. Smooth solid double crochet rounds provide firm, flat stabilization for dinner plates and glassware, while decorative eyelet rounds introduce an airy lace lattice that lightens the visual weight. Completed with a charming two-tone scalloped shell border and accompanied by a matching mug coaster, this pattern is the ultimate weekend home décor project.
Why You’ll Love Crocheting These Farmhouse Placemats
- Timeless Table Setting: The harmonious combination of natural ecru cotton and subtle almond taupe complements any dining table, from rustic distressed oak to sleek marble.
- Tabletop Heat & Spill Protection: Pure worsted weight cotton acts as a dense thermal barrier, shielding sensitive wooden surfaces from hot ceramic plates and morning coffee mugs.
- Includes Matching Coasters: The pattern includes instructions for coordinated 5½-inch round drink coasters using the identical stitch motif.
- Washable & Hard-Wearing: Sturdy cotton yarn can be tossed in the washing machine and laid flat to dry, maintaining its structural integrity through years of daily meals.
Key Materials & Smart Swaps

- Worsted Weight Cotton Yarn (#4): The original specifications require 2 balls of Color A (Vanilla / Cream, approx 290 yds) and 1 ball of Color B (Almond / Taupe, approx 145 yds) per placemat and coaster set. Smart Swaps: Lily Sugar’n Cream (Ecru & Jute), Bernat Handicrafter Cotton, or WeCrochet Dishie deliver phenomenal stitch crispness.
- Crochet Hook: Size U.S. I-9 (5.5 mm) crochet hook, or size needed to obtain gauge. A smooth ergonomic inline hook allows rapid working without catching cotton plies.
- Tapestry Needle: Large blunt eye needle for seamlessly weaving in tails along back stitch ridges.
- Locking Stitch Markers: Essential for marking curved end increase points to guarantee symmetrical oval curves.
- Tape Measure: For checking round 1 gauge (6 inches long by 1¼ inches wide).
Tested Studio Essentials for This Project
★ 4.9 (48k+ reviews)
Clover Amour 5.5mm (Size I-9) Ergonomic Hook
Ergonomic elastomeric rubber handle relieves hand strain when working dense cotton stitches, keeping tension perfectly uniform.
★ 4.9 (24k+ reviews)
Clover Locking Stitch Markers (Set of 30)
Mark the exact 14 straight side stitches and rounded corner arcs to maintain precise oval symmetry round after round.
★ 4.8 (8k+ reviews)
Clover Jumbo Bent-Tip Tapestry Needles
Glides invisibly beneath thick cotton double crochets to secure yarn ends neatly on the wrong side without showing through.
As an Amazon Associate, Palace Cravings earns from qualifying purchases.
Step-by-Step Pattern Walkthrough
Gauge & Sizing:
Gauge: Round 1 of Placemat = 6 inches [15 cm] long by 1¼ inches [3 cm] wide.
Finished Placemat: Approximately 14 inches [35.5 cm] high by 19 inches [48 cm] wide.
Finished Matching Coaster: 5½ inches [14 cm] in diameter.

Foundation & Round 1 (Oval Center Foundation):
With Color A (Vanilla / Cream), chain 19 loosely.
Round 1: Work 4 dc in the 4th chain from hook (the skipped 3 chains count as your first dc), dc in next 14 chains, work 5 dc in last chain. Now, rotate your work to crochet along the opposite unworked side of the beginning chain: dc in each of the next 14 chains; join with a slip stitch to the top of the beginning ch-3. (38 stitches total – 14 straight stitches on each long side, with 5-dc fans at each rounded tip).
Round 2:
Ch 3, dc in same chain as joining, [2 dc in next dc] 4 times, dc in next 14 dc, [2 dc in next dc] 5 times, dc in next 14 dc; join with slip st to top of ch-3. (48 stitches total).
Round 3:
Ch 3, dc in same chain as joining, [2 dc in next dc] 9 times, dc in next 14 dc, [2 dc in next dc] 10 times, dc in next 14 dc; join. (68 dc total).
Rounds 4 to 7 (Lattice Eyelet Openwork):
Round 4: Ch 1, work (sc, ch 4, sc) all in the same chain as joining, skip next dc, *work (sc, ch 4, sc) in next dc, skip next dc; repeat from * around; join with slip stitch to the first sc.
Round 5: Slip stitch into first ch-4 space, ch 1, *(sc, ch 4, sc) all in space; repeat from * around; join.
Rounds 6 & 7: Repeat Round 5, forming 4 airy rows of decorative farmhouse lace mesh.
Round 8 (Transition Round):
Slip stitch into space, ch 1, 3 sc in space, *[ch 2, 3 sc in next space] 9 times, ch 2, [2 sc in next space] 7 times, ch 2 **, 3 sc in next space; repeat from * to **; join.
Rounds 9 to 11 (Solid Double Crochet Stabilization):
Round 9: Ch 3, skip first sc, dc in next 2 sc, *[3 dc in next space, dc in next 3 sc] 9 times, 3 dc in next space, dc in next 14 sc, 3 dc in next space **, dc in next 3 sc; repeat from * to **; join.
Rounds 10 & 11: Ch 3, dc in each dc around; join. Fasten off Color A.
Rounds 12 to 15 (Contrasting Almond Taupe Border):
Round 12: Attach Color B (Almond Taupe) in same chain as joining. Ch 1, (sc, ch 4, sc) all in same chain, skip next dc, *(sc, ch 4, sc) all in next dc, skip next dc; repeat from * around; join to first sc.
Rounds 13 to 15: Repeat Round 5. Fasten off Color B and weave in all ends securely.
Matching Drink Coaster Instructions:
Round 1: With Color A, ch 4. Work 11 dc in 4th chain from hook; join with sl st to top of ch-3. (12 dc).
Round 2: Ch 3, dc in same ch as joining, [2 dc in next dc] 11 times; join. (24 dc).
Round 3: Ch 3, [2 dc in next dc] twice, *dc in next dc, [2 dc in next dc] twice; repeat from * around; join. (40 dc). Fasten off Color A.
Round 4: Attach Color B. Ch 1, (sc, ch 4, sc) in same ch, skip next dc, *(sc, ch 4, sc) in next dc, skip next dc; repeat from * around; join.
Round 5: Sl st into space, ch 1, *(sc, ch 4, sc) all in space; repeat from * around; join. Fasten off and weave in ends.
3 Chef & Crafter Secrets for Perfectly Flat Placemats
1. Maintain Symmetrical Tension Around the Oval Turns:
When working around the curved ends in Rounds 1 through 3, ensure your double crochet stitches don’t become overly loose. Excessively tall stitches at the rounded ends will cause the placemat to ruffle or form waves instead of laying completely flat.
2. Steam Block with a Damp Pressing Cloth:
Cotton possesses wonderful stitch memory but benefits tremendously from blocking. Lay your finished placemat flat on an ironing board or blocking mat, place a damp cotton cloth over it, and gently hover a steam iron across the surface without pressing down hard. Pat into an exact 14×19-inch ellipse and allow to air dry.
3. Optional Fabric Stiffener for Crisp Dining Sets:
For formal entertaining or holiday dinner tables, dilute a small amount of liquid starch with cold water in a spray bottle. Lightly mist the back side of the placemat and press lightly with a dry iron. This imparts a tailored, boutique-grade crispness that resists spills and wrinkles.
How to Style & Set Your Farmhouse Table

Elevate everyday dinners into warm gatherings with simple styling touches:
- Distressed Wood & Layered Ceramics: Lay the placemats directly onto bare natural oak or reclaimed pine dining tables. Top with handcrafted stoneware plates and raw-edge linen napkins tied with simple jute twine.
- Coordinate with Our Table Runner: For long harvest dining tables, pair 4 or 6 placemats with our matching Modern Rustic Farmhouse Crochet Table Runner for an authentic country home aesthetic.
- Holiday Tablescapes: Dress up the setting for Thanksgiving or Christmas by tucking a fresh rosemary sprig or small pinecone into each napkin fold, alongside our Harvest Ribbed Crochet Pumpkins centerpieces.
Care, Washing & Storage Instructions
- Machine Wash Gentle: Wash in cold water on a delicate cycle using mild detergent. Placing placemats inside a mesh laundry bag prevents the openwork chain loops from catching on buttons or zippers.
- Reshape & Dry Flat: Avoid high-heat machine drying, which can cause natural cotton to shrink. Remove while slightly damp, gently smooth out the oval edges with your hands, and lay flat on a towel.
- Flat Storage: Store placemats flat in a shallow linen drawer or linen box rather than folding, preserving crisp, crease-free table presentation.
Frequently Asked Questions
Can I make this in a solid single color?
Yes! A monochromatic set in pure cream, natural unbleached ecru, or soft slate gray looks strikingly minimalist and modern. Simply omit the color change in Round 12 and continue working with Color A through the outer border.
How can I make the placemat larger or smaller?
To adjust the length of the oval, alter your initial foundation chain in increments of 2 stitches. Each 2 additional chains will lengthen your placemat by approximately 1 inch while retaining exact stitch alignment for the curved end increases.
Why is the center of my placemat curling upward?
If your center curls or forms a bowl shape in Rounds 1 through 3, your starting foundation chain was worked too tightly. Switch to a hook one half-size larger (such as a 6.0mm / J-10 hook) just for the initial chain of 19, then switch back to your 5.5mm hook for the remainder of the project.
Pin This Farmhouse Project for Later
Love this free crochet pattern? Save these pins to your Crochet Home Decor or Farmhouse Table Settings boards on Pinterest so you have the instructions ready whenever you pick up your hook!