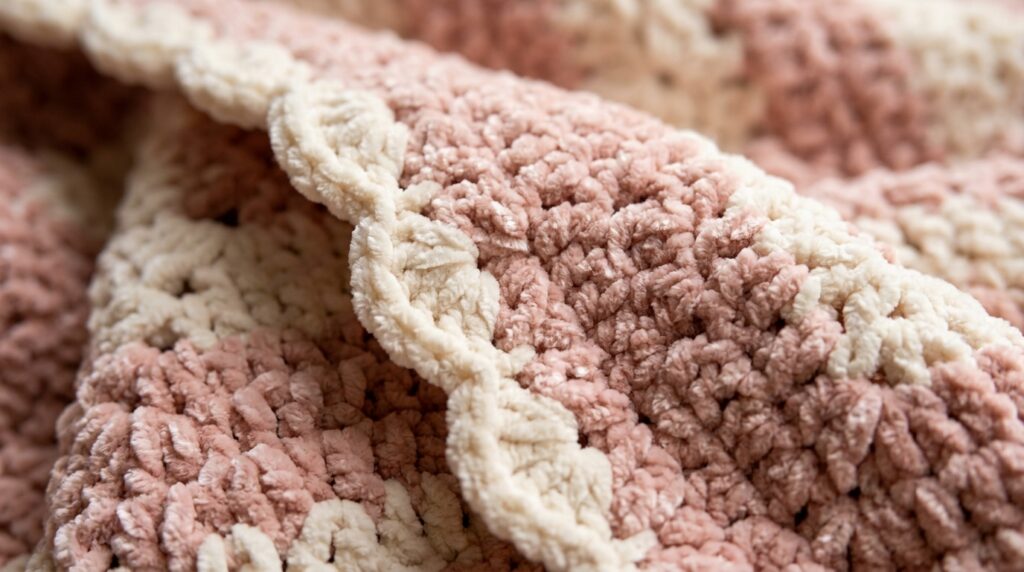
Crochet baby booties are notorious for a frustrating structural flaw: without precise anatomical shaping and elastic ankle containment, infant kicking motions instantly dislodge the footwear. By pairing a balanced oval foundation sole with centered toe decreases and a snug ribbed ankle cuff, this pattern creates soft, ergonomic booties that stay securely on tiny feet while safeguarding delicate infant circulation.
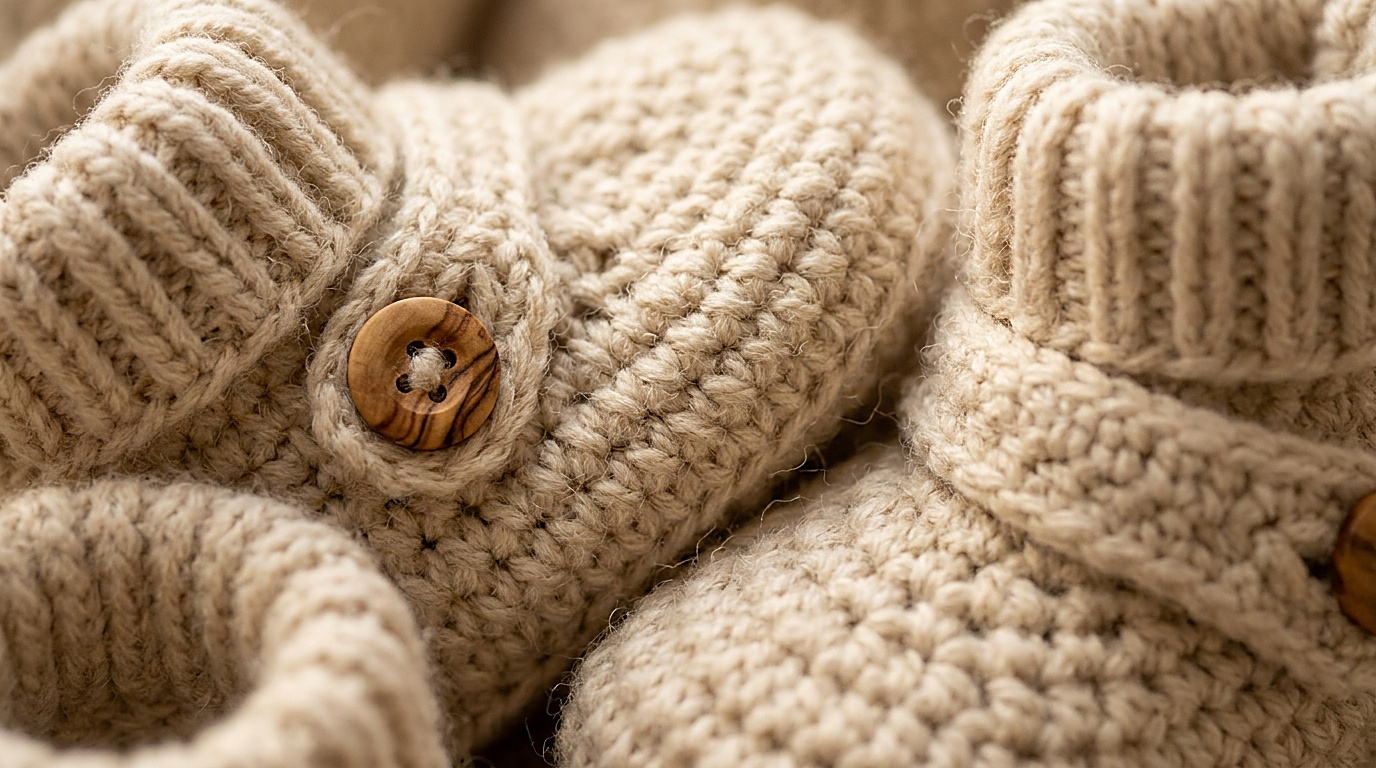
Infant Ergonomics & The “Stay-On” Mechanical Challenge
Infant feet do not possess developed arches; they are soft, rounded, and constantly in motion. Standard flat-soled crochet sacks slip right off because they lack three critical physical features:
- A Contoured Heel Cup: A distinct 90-degree transition from the sole to the foot wall that cups the calcaneus securely.
- Centered Instep Decreases: Concentrated decreases over the toe box that pull the upper backward against the ankle joint rather than gaping open.
- Elastic Upper Containment: Stretchy post-stitch ribbing or an adjustable woven cord placed precisely at the narrowest point of the ankle.
Pediatric Safety Standards & Yarn Selection
Baby garments must meet uncompromising safety and hygiene standards:
- Zero Choking Hazards: Never attach plastic buttons, wooden toggles, beads, or loose faux-fur pom-poms to baby footwear. Infants easily chew small accessories loose. All closures must be constructed from soft crochet yarn.
- Drawstring Safety Law: If threading a tie around the ankle, ensure the cord is securely anchored at the center back with stitches, and keep free tie tails under 10 cm (4 inches) to eliminate entanglement risks.
- Fiber Selection: Choose 100% Superwash Merino Wool (for natural thermal regulation and elasticity) or a premium 50/50 Bamboo/Organic Cotton blend. Avoid scratchy rustic wools or low-grade acrylics that pill and leave synthetic fibers between tiny toes.

Sizing Architecture & Reference Gauge
Infant growth occurs rapidly across the first year. Use this sizing framework as your structural baseline:
- Newborn to 3 Months: Target Sole Length: ~9.0 cm (3.5 in) | Foundation Chain: 10 chains
- 3 to 6 Months: Target Sole Length: ~10.0 cm (4.0 in) | Foundation Chain: 12 chains
- 6 to 12 Months: Target Sole Length: ~11.0 cm (4.3 in) | Foundation Chain: 14 chains
- Reference Hook: 3.50 mm (US E/4).
- Reference Gauge:
20 hdc × 16 rows = 10 × 10 cm(GAUGE: NEEDS PHYSICAL VERIFICATION). - Estimated Yarn Consumption: Approximately 45–65 yards / 40–60 meters per pair (THEORETICAL ESTIMATE / NEEDS PHYSICAL VERIFICATION).
Step-by-Step Executable Pattern (Size 0–3 Months)
Phase 1: The Oval Sole Foundation
An oval sole is crocheted by working down the primary side of a foundation chain, placing a fan of stitches in the terminal chain, and working back along the opposite unworked bottom loops.
Foundation: Chain 10. (Ch 2 does NOT count as a stitch throughout).
Round 1: Work 2 hdc in 3rd ch from hook. Hdc in next 6 chs. In the final chain, work 6 hdc (this fans around the corner to form the toe). Working along the opposite side of foundation chain: hdc in next 6 chs. Work 2 hdc in the very first chain space (heel curve). Sl st to top of first real hdc to join. [22 active hdc]
Round 2: Ch 1 (does not count). 2 sc in first 2 sts. Sc in next 6 sts. 2 hdc in each of the next 6 toe sts. Sc in next 6 sts. 2 sc in last 2 sts. Sl st to first sc to join. [32 active stitches: sole complete].

Phase 2: Rising Foot Wall & 90-Degree Boundary
Round 3 (Ridge Round): Ch 1 (does not count). Working in the Back Loop Only (BLO): sc in each of the 32 stitches around. Sl st to first sc to join. [32 sts]. Working in the BLO forces the fabric to fold upright at a crisp 90-degree angle, separating the sole plane from the vertical foot walls.
Round 4: Ch 1 (both loops now and throughout). Hdc in each of the 32 stitches around. Sl st to join. [32 sts].
Phase 3: Centered Toe Box Shaping (Decreases)
Mark the exact center 12 stitches across the rounded toe with stitch markers.
Round 5: Ch 1. Sc in next 10 sts. (Hdc2tog over next 2 sts) repeat 6 times across marked toe box. Sc in remaining 10 sts. Sl st to join. [26 active stitches].
Round 6: Ch 1. Sc in next 9 sts. (Sc2tog over next 2 sts) repeat 4 times across front toe. Sc in remaining 9 sts. Sl st to join. [22 active stitches: foot base sculpted].
Phase 4: Elastic Ankle Ribbing Cuff
Round 7 (Eyelet / Transition Round): Ch 2 (counts as first dc). Dc in each st around. Sl st to top of ch-2 to join. [22 dc].
Rounds 8–10 (Ribbing): Ch 2. Alternate Front Post Double Crochet (FPdc) around next post, then Back Post Double Crochet (BPdc) around following post. Repeat alternating post stitches around. Sl st to top of ch-2 to join. Fasten off and weave in ends with a blunt tapestry needle.

Washing & Fiber Care Guidelines
Baby garments require frequent laundering due to spills and wear:
- Place booties inside a zippered mesh laundry bag to prevent post stitches from catching on snaps or zippers.
- Machine wash on gentle wool/delicate cycle with cold water (under 30°C / 85°F) using gentle fragrance-free detergent.
- Reshape booties gently over your fingers and lay flat on a dry towel to dry naturally. Never tumble dry, which risks shrinking natural animal fibers.
Pin This Baby Bootie Pattern
Save this infant bootie guide to your baby crochet board on Pinterest for your next baby shower gift or nursery project.