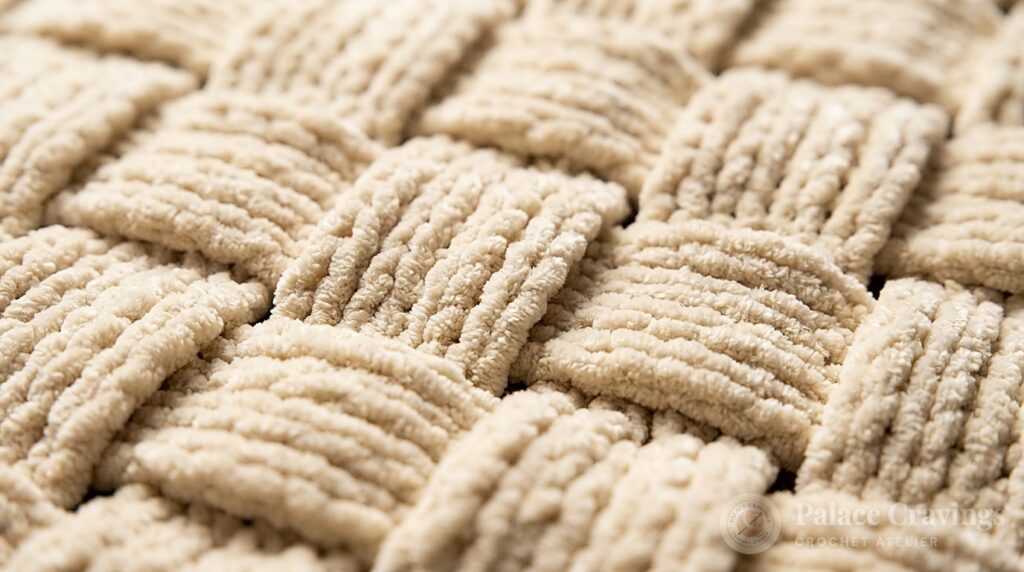
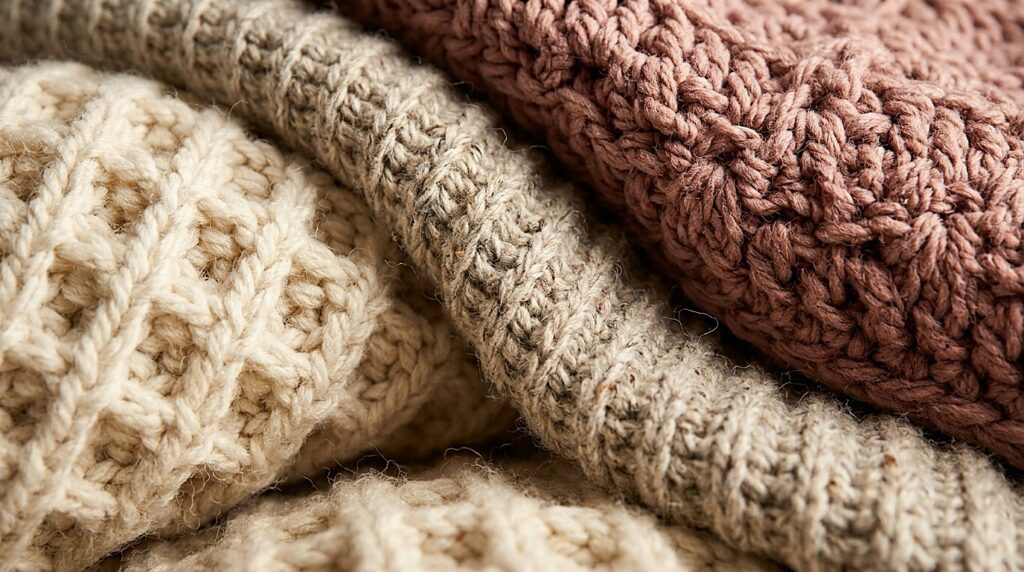
There is an enduring quiet luxury to a classic braided cable throw blanket that few other textile crafts can rival. While knitters have long claimed ownership over dramatic aran twists, modern crochet post techniques allow us to sculpt three-dimensional cable braids with astonishing depth, architectural stability, and plush thermal warmth. This cozy cable throw blanket unites interlocking front-post treble braids with grounding single-crochet channels, creating an heirloom afghan that looks like it belongs in an alpine ski chalet or an elegant Nordic living room.
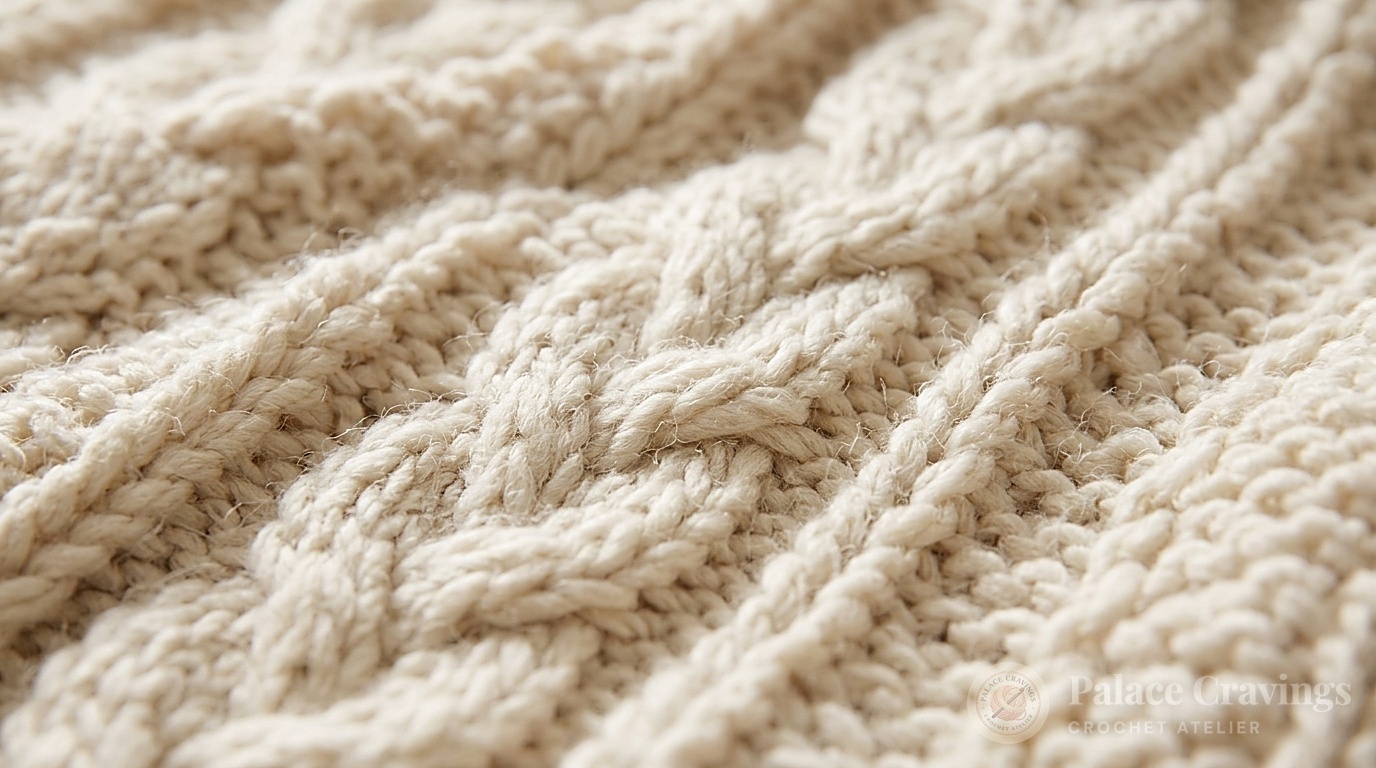
Crocheting cables can initially intimidate makers accustomed to flat double-crochet blankets, yet the underlying geometry is delightfully straightforward. Instead of inserting your hook under the standard top loops, you work around the vertical stem (the “post”) of stitches two rows below. By crossing three front-post treble stitches in front of three adjacent post stitches, you create an unbroken braided weave that appears to float seamlessly over the background fabric. Paired with generous knotted fringe along the top and bottom borders, this project is as deeply satisfying to make as it is to wrap yourself in on chilly autumn evenings.
Why You’ll Love Working This Braided Cable Blanket
- Striking Three-Dimensional Relief: Front-post treble crochets (trfp) sit boldly above the fabric surface, producing deep shadow lines and authentic aran braid texture that won’t flatten over time.
- Substantial Thermal Warmth: Worked with dense worsted weight yarn on an I/9 (5.5mm) hook, the overlapping cable fabric traps pocketed air, making it significantly warmer than airy lace throws.
- Logical 4-Row Rhythm: Once the initial 3 set-up rows are established, the entire body follows a memorable 4-row repeat cycle that quickly becomes meditative and intuitive.
- Timeless Minimalist Aesthetic: In neutral off-white or natural oatmeal, this textured afghan complements modern bouclé sofas, mid-century leather armchairs, and rustic farmhouse bedscapes alike.
Essential Tools for Crafting This Cable Throw
To achieve crisp stitch definition and prevent wrist fatigue when executing hundreds of front-post cable stitches, our studio testing team recommends these verified best-selling essentials:
Clover Amour 5.5mm (Size I/9) Crochet Hook
Features a smooth matte aluminum head that slides effortlessly around deep post stems and an ergonomic rubber grip that minimizes wrist tension during repetitive cable crossings.
Caron One Pound Yarn (Off White, 16oz)
Massive 812-yard center-pull skein of durable, machine-washable worsted acrylic. Excellent stitch memory ensures cables remain crisp and lofty after repeated washes.
Clover Locking Stitch Markers (Set of 30)
Critical for marking cable panel boundaries, tracking 4-row crossing repeats, and keeping stitch counts accurate across 141 foundation stitches.
KnitIQ Blocking Mats for Crochet & Knitting
Dense grid-aligned foam tiles essential for wet or steam blocking your completed cable blanket to straighten edges and open up compressed cable twists evenly.
Key Materials, Yardage & Sizing Specifications
To recreate the exact drape, stitch relief, and hand-feel of our studio model, work with the official worsted weight yarn specifications below. For alternative weights, consult our Essential Crochet Yarn Weights Guide.

Special Stitches & Cable Anatomy
Before casting on your foundation chain, review these essential post stitch definitions:
- Dcfp (Front Post Double Crochet): Yarn over and draw up a loop around the post of the indicated stitch by inserting hook from front to back to front around the vertical stem. (Yarn over and draw through 2 loops on hook) twice.
- Trfp (Front Post Treble Crochet): (Yarn over) twice and draw up a loop around the post of the indicated stitch, inserting hook from front to back to front around the stem. (Yarn over and draw through 2 loops on hook) 3 times.
- Skipped Stitches Behind Post Work: When working a post stitch around a stitch 2 rows below, always skip the corresponding stitch on the working row directly behind it to maintain an exact stitch count.
Step-by-Step Braided Cable Pattern Walkthrough
Foundation Chain: Chain 141 loosely.
Set-Up Row 1 (WS): 1 dc in 4th ch from hook (counts as 2 dc). 1 dc in each ch to end of chain. Turn. [139 dc total].
Set-Up Row 2 (RS): Ch 1. 1 sc in each of first 2 sts. (1 dcfp around post of next dc) twice. *1 sc in each of next 5 sts. Ch 1. Skip next st. 1 sc in each of next 5 sts.** (1 dcfp around post of next dc) 9 times. Repeat from * to last 4 sts, ending last repeat at **. (1 dcfp around post of next dc) twice. 1 sc in each of last 2 sts. Turn.
Set-Up Row 3: Ch 1. 1 sc in each st and ch-1 space across. Turn.

The Core 4-Row Cable Repeat Cycle
With your foundation established, proceed into the 4-row braided cable pattern:
Row 1 (RS – Cable Crossing Row): Ch 1. 1 sc in each of first 2 sts. (1 dcfp around post of next dcfp 2 rows below) twice. *1 sc in each of next 3 sts. Working in front of row, 1 tr in next skipped sc 2 rows below. Skip next sc (behind tr). 1 sc in next sc. Ch 1. Skip next sc. 1 sc in next sc. Working in front of row, 1 tr in same skipped sc 2 rows below as last tr. Skip next sc (behind tr). 1 sc in each of next 3 sts.** Cable Braid: Skip next 3 sts. (1 trfp around post of next dcfp 2 rows below) 3 times. Working in front of the 3 trfp just made, work 1 trfp around post of each of the 3 skipped dcfp 2 rows below. (1 dcfp around post of next dcfp 2 rows below) 3 times. Repeat from * to last 4 sts, ending last repeat at **. (1 dcfp around post of next dcfp 2 rows below) twice. 1 sc in each of last 2 sts. Turn.
Row 2 & All Alternate Rows (WS): Ch 1. 1 sc in each st and ch-1 sp across. Turn.
Row 3 (RS – Straight Cable Row): Ch 1. 1 sc in each of first 2 sts. (1 dcfp around post of next dcfp 2 rows below) twice. *1 sc in each of next 3 sts. Working in front of row, 1 tr in next skipped sc 2 rows below. Skip next sc (behind tr). 1 sc in next sc. Ch 1. Skip next sc. 1 sc in next sc. Working in front of row, 1 tr in same skipped sc 2 rows below as last tr. Skip next sc (behind tr). 1 sc in each of next 3 sts.** (1 dcfp around post of next post st 2 rows below) 9 times. Repeat from * to last 4 sts, ending last repeat at **. (1 dcfp around post of next dcfp 2 rows below) twice. 1 sc in each of last 2 sts. Turn.
Row 4: Ch 1. 1 sc in each st and ch-1 sp across. Turn.
Continuing Blanket Body: Repeat Rows 1 through 4 until work measures approximately 56 inches [142 cm] from the beginning foundation row, ending on a Row 3. Fasten off and weave in all yarn tails securely.
3 Atelier Secrets for Flawless Cable Tension
1. Maintain Consistent Post Height: When drawing up the initial loop for front-post treble stitches, pull the loop up to the height of the current working row before completing your yarn-overs. Pulling too tightly compresses the background single crochets, causing the blanket edges to curl inward.
2. Count Background Skipped Stitches: Every post stitch replaces one single crochet on the active row. Placing an extra single crochet behind a completed cable will increase your stitch count and distort the vertical alignment of your braided columns.
3. Steam Block with Grid Mats: Braided cables naturally pull the fabric horizontally. Pin your finished blanket to blocking mats, align the vertical cable ribs against the grid lines, and apply gentle steam from an iron (holding it 2 inches away—never touching acrylic fibers directly) to set the stitches permanently.
Adding the Custom Knotted Tassel Fringe
A handcrafted knotted fringe gives this blanket a polished, high-end department store finish:
- Cut lengths of yarn 10 inches [25.5 cm] long using a 5-inch piece of sturdy cardboard as a wrapping template.
- Taking 4 strands together, fold them in half to form a center loop.
- Insert your crochet hook from wrong side to right side through the foundation edge, draw the loop through, and pull the 8 yarn ends firmly through the loop.
- Space tassels evenly across both the top and bottom edges (approximately every 4 stitches). Trim ends evenly with sharp fabric shears.

Frequently Asked Questions
Is this braided cable blanket suitable for confident beginners?
Yes! If you have mastered single crochet, double crochet, and understand how to identify the post of a stitch, you can successfully make this blanket. Take the first cable crossing row slowly and use locking stitch markers to track your repeats.
Can I adjust the width or length of this blanket?
To adjust width, alter the foundation chain by multiples of 20 plus 21 stitches. To adjust length, simply add or subtract 4-row pattern repeats before working your final straight row.
How do I wash and care for this cable throw?
Machine wash gently in cold water using a mild wool-safe detergent. Tumble dry on low delicate heat or lay flat on a dry towel to preserve the loft and volume of the braided post stitches.
Pin This Pattern for Later
Save this cozy cable crochet throw blanket to your favorite crochet board so you have the stitch counts and video-quality photo tutorials ready whenever you sit down to craft!