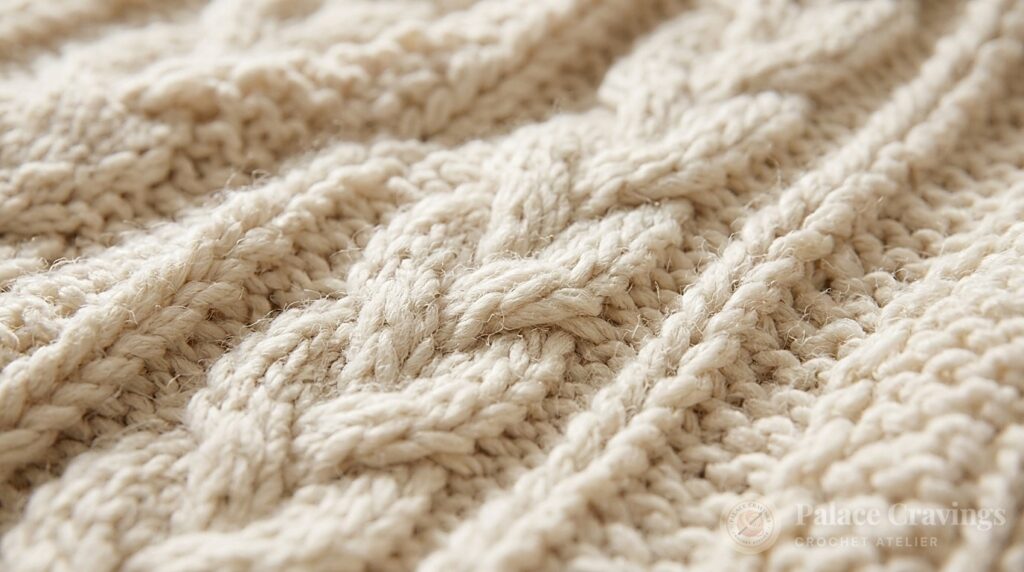
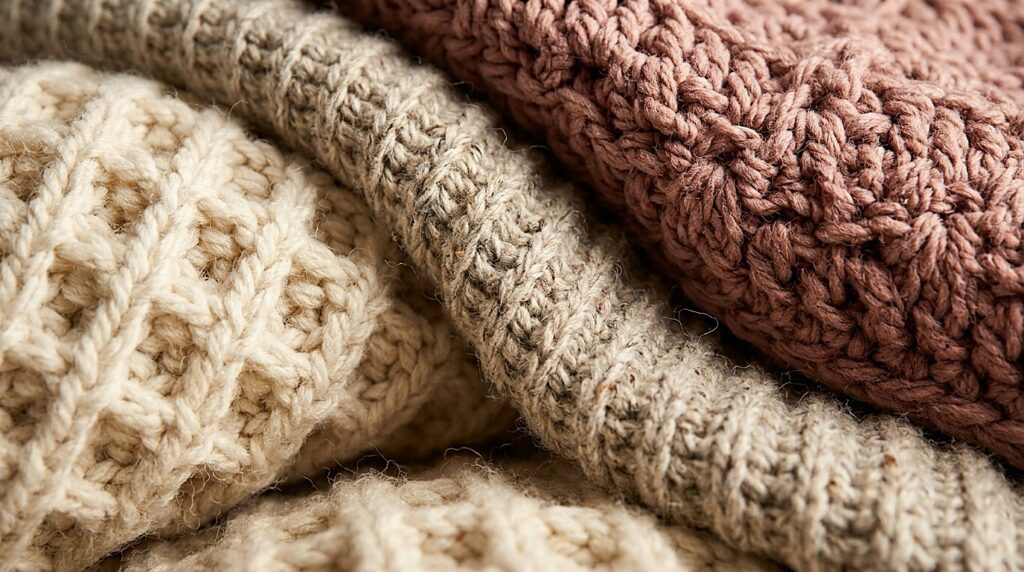
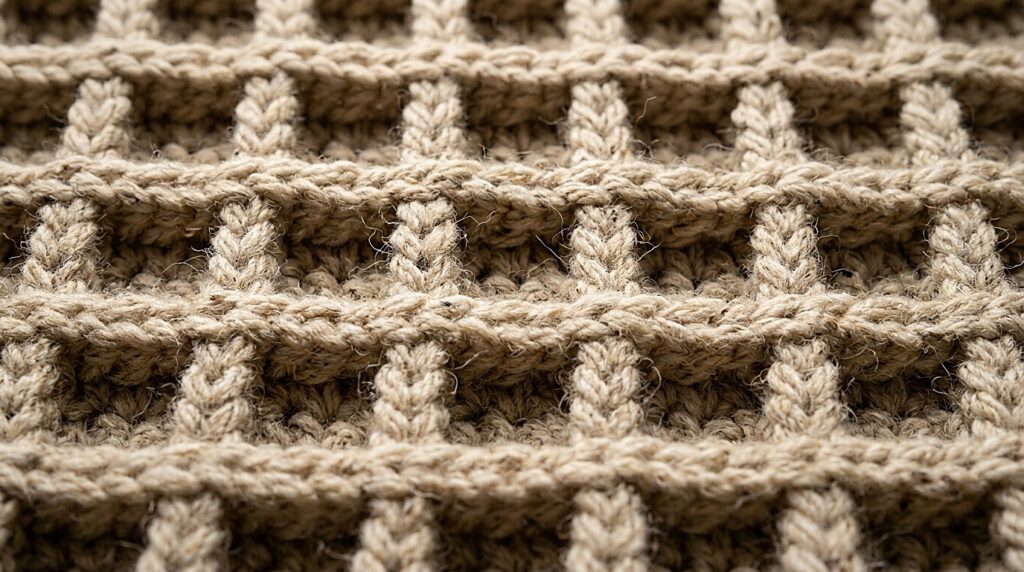
Few tactile experiences in fiber craft rival the decadent, heavy warmth of a giant textured throw blanket. This Giant Chunky Crochet Basketweave Throw Blanket takes the beloved geometric structure of traditional woven basketry and amplifies it to grand proportions using super bulky #6 velvet chenille yarn and a 10.0mm hook. By arranging alternating 12-stitch blocks of front-post and back-post double crochets, the fabric develops an architectural, three-dimensional relief that looks like a high-end designer textile from an upscale home boutique. Best of all, because the super bulky yarn works up rapidly at just 6 stitches per four inches, this heirloom-quality afghan comes together with surprising speed—giving you an irresistibly squishy, cloud-soft sanctuary for brisk winter evenings.
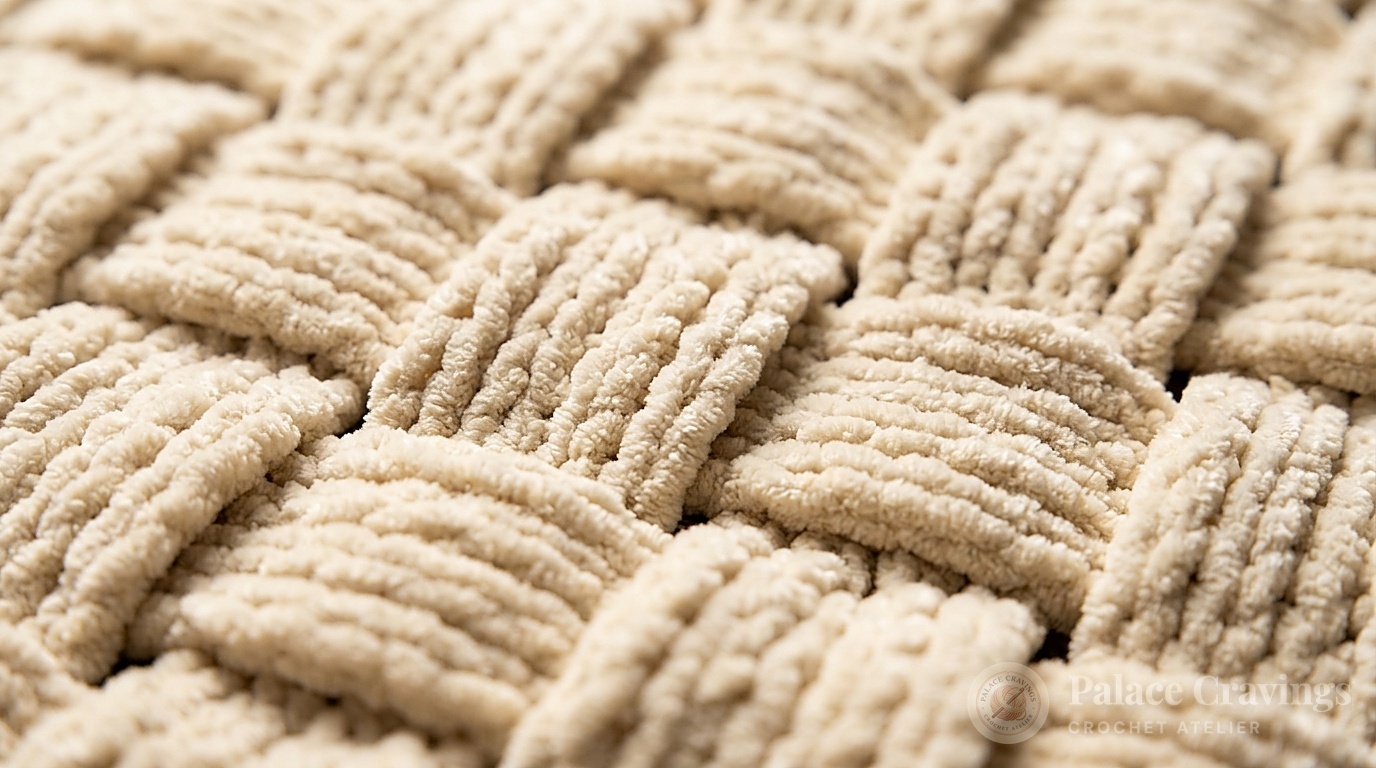
The basketweave stitch is renowned among crochet enthusiasts for its incredible thermal density. Unlike lace or openwork blankets that let drafts slip through, post stitches create a double-layered barrier of yarn that locks in body heat effortlessly. In this giant oversized edition, designed originally as a signature statement throw, each woven block spans a full 12 stitches across and 10 rows high, producing substantial, modern squares rather than tiny busy checks. Draped over a living room armchair, folded at the foot of a master bed, or wrapped around your shoulders during a quiet reading session, this afghan delivers pure sensory indulgence.
Why You’ll Love Working This Giant Basketweave Pattern
- Oversized Modern Aesthetic: Rather than dated miniature basketweave tiles, the 12-stitch repeating blocks generate bold, clean geometric panels that complement contemporary interior spaces.
- Remarkably Fast Super Bulky Progress: At a chunky gauge of 6 stitches and 5 rows per 4 inches, you add significant blanket height with every single pass of your 10mm hook.
- Reversible Depth & Tactile Squish: While one side showcases raised front-post tiles, the reverse exhibits corresponding recessed channels, ensuring both sides look utterly lavish when casually tossed on furniture.
- Zero Intricate Border Headaches: The natural rhythm of the post stitches creates neat, structured self-edgings, requiring only a simple, crisp single-round double crochet border to finish.
Key Materials, Yarn Specifications & Smart Substitutions

Working post stitches in super bulky yarn demands careful attention to fiber flexibility. Because front-post and back-post stitches wrap around the shaft of the stitch below rather than into the top loops, they pull slightly more yarn tension than regular double crochets. Choosing a supple, pliable yarn prevents the fabric from becoming uncomfortably stiff or board-like.
- Recommended Base Yarn: Bernat Velvet Plus (10.5 oz / 300 g; 78 yds / 71 m per ball) in shade Cream (56001). You will need 9 balls (approximately 702 yards / 642 meters). This ultra-soft chenille glides effortlessly across smooth wooden or aluminum hooks without snagging.
- Alternative Bulky Yarns: If velvet chenille is unavailable, you can substitute with Bernat Blanket (Super Bulky #6), Lion Brand Wool-Ease Thick & Quick (worked with an 11.5mm hook for added drape), or Premier Yarns Parfait Chunky XL.
- Crochet Hook: Size U.S. N/15 (10.0 mm) crochet hook. A hook with a smooth tapered throat and generous inline thumb rest ensures your hands remain comfortable over long crocheting sessions.
- Notions & Tools: Large bent-tip steel yarn needle (essential for weaving in thick chenille ends securely), locking stitch markers to mark 12-stitch block transitions, and heavy-duty fabric scissors.
Pattern Specifications & Sizing Dimensions
- Skill Level: Easy / Confident Beginner (Must be comfortable with Front Post Double Crochet and Back Post Double Crochet).
- Finished Measurements: Approximately 40.5 inches wide by 52 inches long (103 cm x 132 cm), the ideal generous living room couch throw.
- Gauge: 6 stitches and 5 rows = 4 inches (10 cm) worked in established Basketweave Pattern with a 10.0mm hook.
- Stitch Multiples: The pattern is worked over a multiple of 24 stitches plus 13 extra for symmetry and turning chains (12 FPdc + 12 BPdc + edge balance).
Special Stitch Guide: Mastering Front & Back Post Double Crochet
If you have never worked post stitches before, fear not—they are simply standard double crochets inserted into a different location on your previous row:
- Front Post Double Crochet (FPdc): Yarn over, insert your hook from front to back, and then back to the front around the vertical post of the stitch below (so the post rests on top of your hook). Yarn over, pull up a loop, and complete your double crochet as normal (yo, draw through 2 loops twice). This pulls the stitch forward, creating a prominent raised ridge.
- Back Post Double Crochet (BPdc): Yarn over, insert your hook from the back of your work to the front, and then back to the back around the post of the stitch below (so the hook lies across the front of the post). Yarn over, pull up a loop to the back of the work, and finish your double crochet. This pushes the stitch backward, forming the recessed basket channel.
- Crucial Alignment Note: In every row, your initial turning chain (Ch 2) counts as the edge stitch. Always skip the very first post stitch under the turning chain and work your first FPdc or BPdc around the second post of the row below.

Step-by-Step Row-by-Row Blanket Instructions
Foundation Chain: Leaving an 8-inch yarn tail for neat edge weaving, loosely chain 64.
Row 1 (Foundation Double Crochet Row): Work 1 dc into the 4th chain from your hook (the skipped 3 chains count as 1 dc plus turning chain). Work 1 dc into each chain stitch across to the very end of your foundation chain. Turn your work. (Total: 61 double crochets plus turning chain = 62 effective stitches).
Row 2 (Establishing First Block Orientation): Ch 2 (counts as turning chain). Skip the first stitch. *Work 1 FPdc around each of the next 12 stitches. Work 1 BPdc around each of the next 12 stitches.* Repeat from * to * across until 12 stitches remain before the turning chain. Work 1 FPdc around each of the last 12 stitches. Work 1 dc into the top of the turning Ch-2. Turn your work.
Row 3 (Working Matching Posts on Reverse): Ch 2 (counts as turning chain). Skip the first stitch. *Work 1 BPdc around each of the next 12 stitches (matching the stitches facing you). Work 1 FPdc around each of the next 12 stitches.* Repeat from * to * across to the last 12 stitches. Work 1 BPdc around each of the last 12 stitches. Work 1 dc into the top of the Ch-2 turning chain. Turn your work.
Rows 4 to 11 (Building First Block Height): Repeat Rows 2 and 3 sequentially 4 more times. You will now have 10 consecutive rows of established post stitches forming tall, bold rectangular tiles of woven relief.
Row 12 (Inverting the Basketweave Grid): Now we shift the tiles to create the true basketweave cross-hatch. Ch 2. Skip the first stitch. Work exactly as Row 3: *1 BPdc around each of the next 12 stitches, 1 FPdc around each of the next 12 stitches.* Repeat to last 12 stitches. 1 BPdc around each of last 12 stitches. 1 dc into top of Ch-2. Turn.
Row 13: Work exactly as Row 2: Ch 2. Skip first stitch. *1 FPdc around each of the next 12 stitches, 1 BPdc around each of the next 12 stitches.* Repeat to last 12 stitches. 1 FPdc around each of last 12 stitches. 1 dc into top of Ch-2. Turn.
Rows 14 to 21: Repeat Rows 12 and 13 four more times. This completes your second tier of inverted woven blocks.
Repeating the Master Sequence: Repeat the complete block cycle (Rows 2 through 21) twice more. You will have a total of 6 horizontal bands of giant woven blocks. Do not fasten off after your final row—we proceed immediately to the perimeter border.
Clean Perimeter Double Crochet Border
A minimalist border provides a clean, tailored frame without competing with the bold geometry of the blanket body:
Border Round: Ch 1 (does not count as a stitch). Work 1 dc into each stitch across the top edge. In the first corner space, work 3 dc to create a smooth 90-degree turn. Rotate your work and double crochet evenly down the side of the blanket, placing approximately 2 dc per row edge. In the next corner, work 3 dc. Work 1 dc into each foundation chain loop across the bottom edge, 3 dc into the third corner, and work evenly up the remaining side. Work 2 dc into the starting corner to complete the final 3-dc corner cluster. Join with an invisible slip stitch into the top of the first dc. Fasten off and weave in all yarn ends.

3 Atelier Secrets for Flawless Giant Post Stitches
1. Lift the Front-Post Stitches High: When pulling up your yarn-over loop around a post stitch in super bulky yarn, gently pull upward to match the working height of the row. If your post loops are choked too tightly against the hook, the blanket width will buckle and contract unevenly.
2. Keep Your Turning Chains Taut: Working a Ch-2 rather than a Ch-3 at the beginning of rows prevents sloppy, looped gaps along the outer edges of the blanket. Ensure the edge double crochet at the end of each row enters the top of this chain securely.
3. Splice Chenille Ends with Hidden Knots: Chenille and velvet yarns have slippery synthetic core threads that can unravel if simply woven through loose stitches. When joining a new ball of yarn, use a secure surgeon’s knot tucked between the thick post stitches, and weave the yarn tails through multiple opposite directions.
Washing, Care & Fluffing Guidelines
- Washing: Machine wash separately in cold water on the delicate/gentle cycle. Use a mild liquid wool or knitwear detergent. Avoid fabric softeners which can coat velvet microfibers and cause matting.
- Drying: Tumble dry on low heat or delicate air cycle for 15–20 minutes to restore loft, then lay completely flat on clean towels to dry thoroughly. Never iron velvet or chenille!
- Daily Refresh: Give the blanket a brisk shake by the corners once a week to redistribute the bulky fibers and refresh the dimensional bounce of the woven blocks.
Pin This Giant Basketweave Throw for Later
Planning your next weekend cozy afghan project? Save these Pins to your crochet blanket and home decor boards on Pinterest!