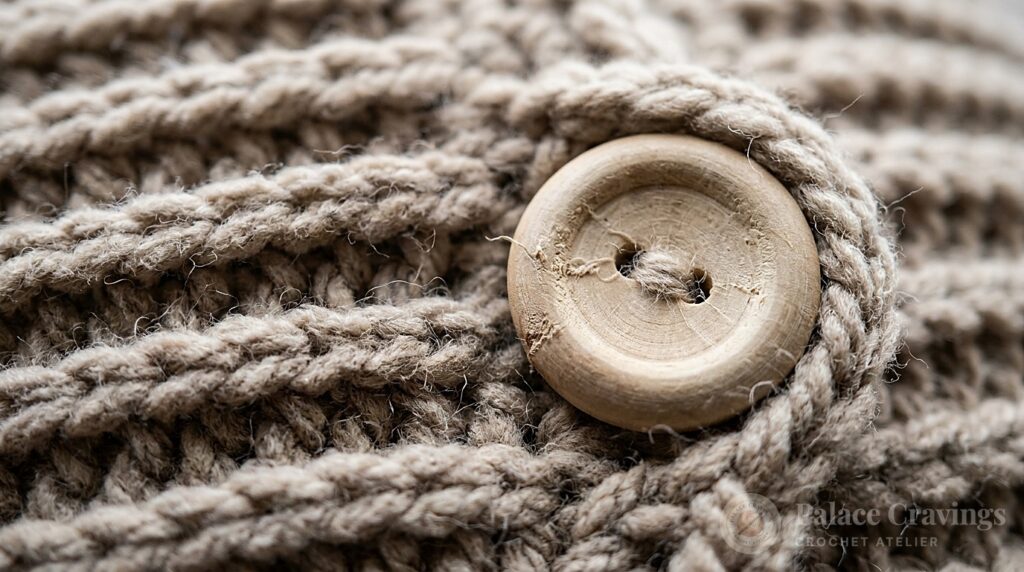
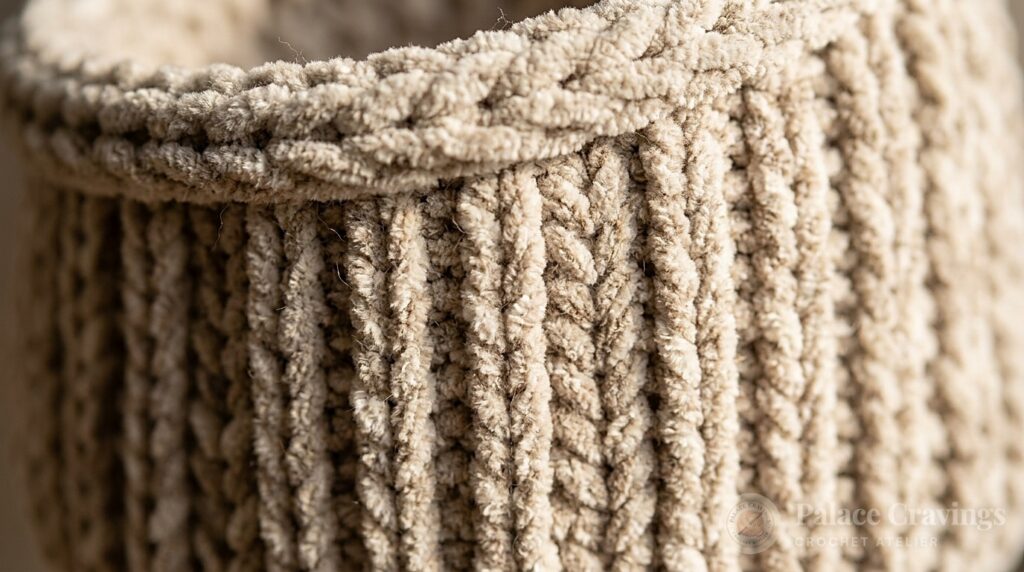
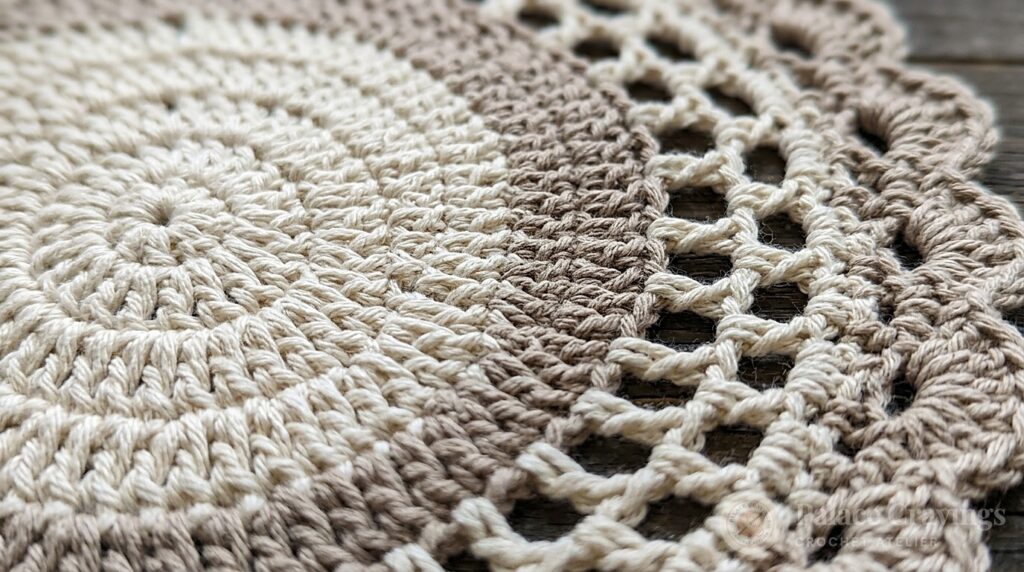
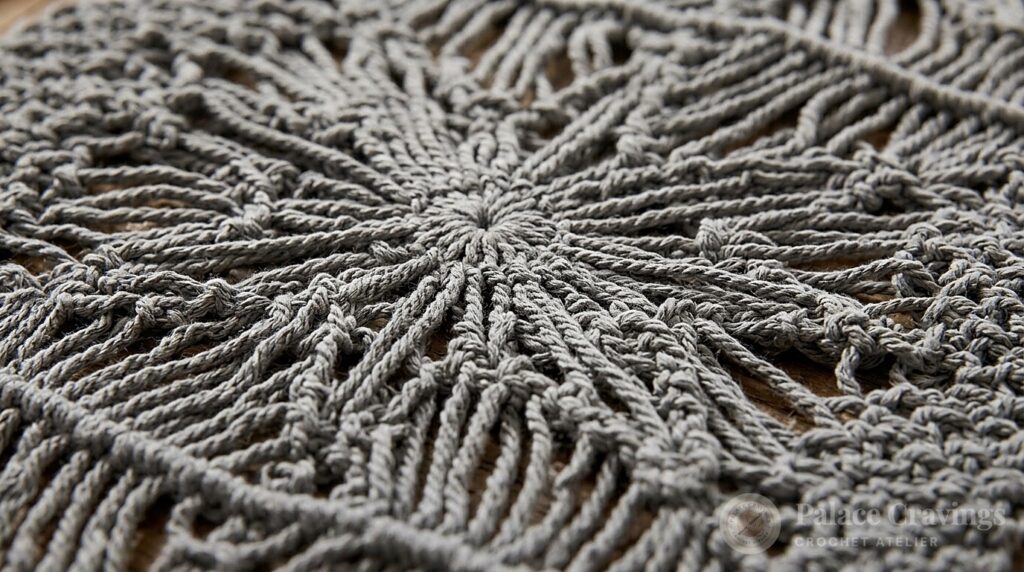
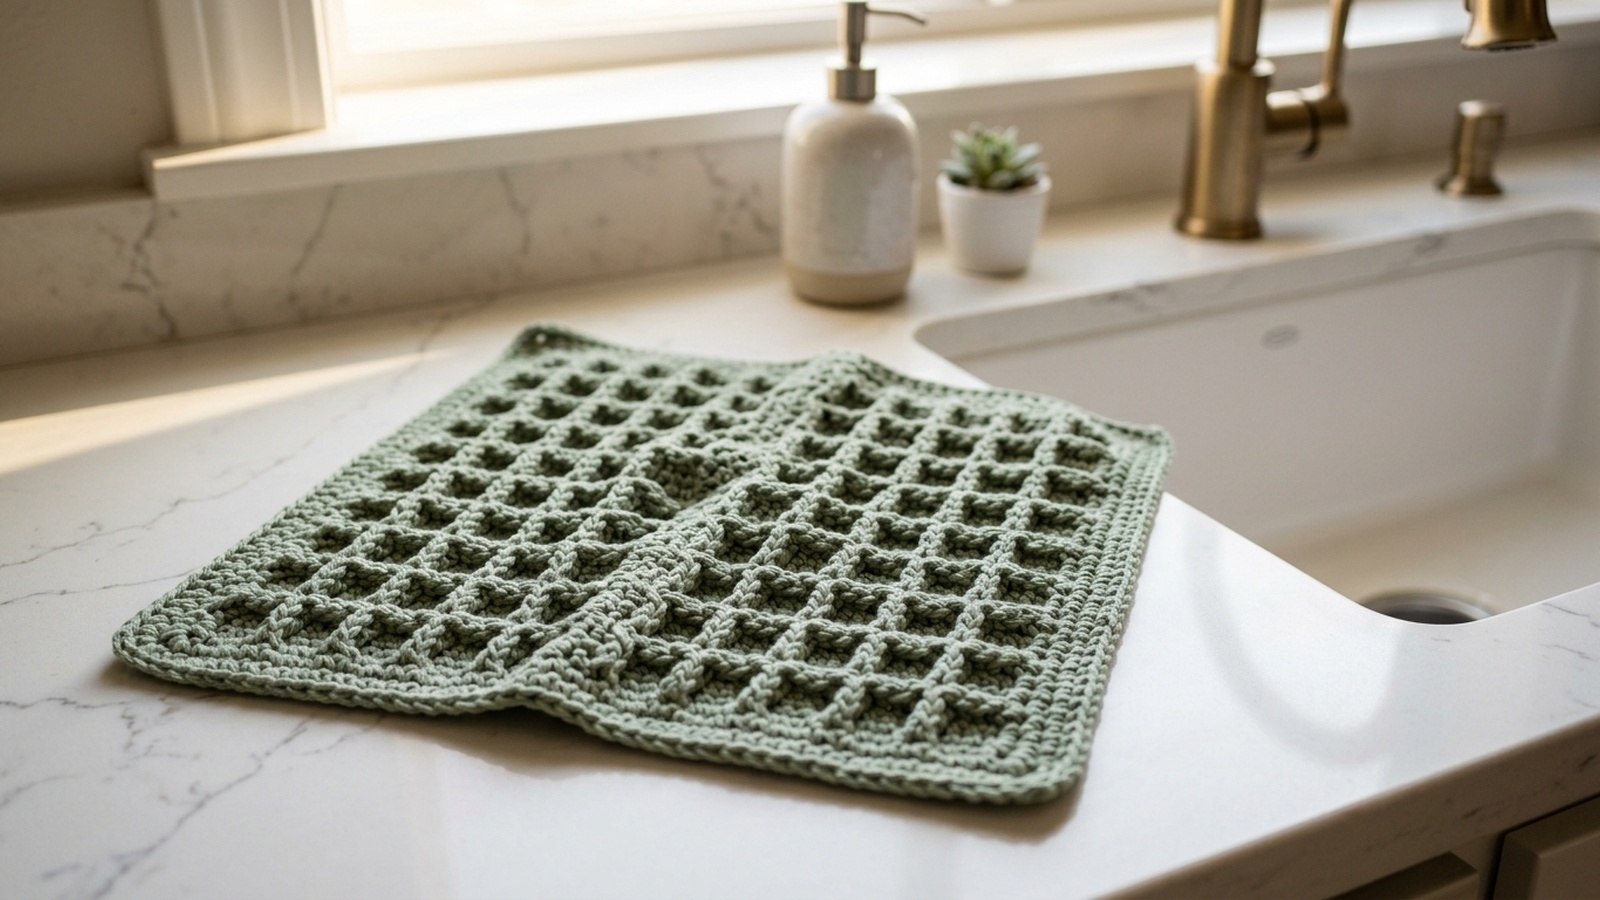
Turning a single skein of worsted cotton into a textured waffle dishcloth brings a quiet, practical rhythm to your kitchen. The three-dimensional grid creates raised ridges and recessed pockets that trap lather, wipe countertops clean, and dry comfortably between uses. Below, you will find the complete free pattern, stitch guide, and sizing details to crochet your own.
Skip straight to the stitch counts, foundation chain, and row instructions.
Quick Project Specifications
- Skill Level: Confident Beginner (uses basic double crochet and front-post double crochet).
- Crochet Terminology: US Standard Terms.
- Yarn: Approximately 85–90 yards / 78–82 meters (~50 grams) of #4 Worsted Weight 100% Cotton Yarn (such as Lily Sugar ‘n Cream or KnitPicks Dishie). (Calculated design estimate; actual consumption may vary based on individual tension).
- Crochet Hook: 5.0 mm (US H-8) ergonomic aluminum hook, or size needed to obtain gauge.
- Notions: Tapestry yarn needle, sharp snips, and flexible measuring tape.
- Estimated Finished Dimensions: Approximately 20 × 20 cm (8 × 8 inches) square, including perimeter border. (Calculated from stitch gauge; individual tension, yarn loft, and washing will influence final dimensions).
- Design Gauge: 16 stitches × 10 rows = 10 × 10 cm (4 × 4 inches) in waffle stitch pattern, measured flat and un-stretched. (Calculated estimate; swatch your piece to confirm tension).
- Stitch Multiple: Multiple of 3 stitches + 3 (for foundation chain: multiple of 3 + 4).
Pattern Abbreviations
- ch: chain
- st(s): stitch(es)
- sc: single crochet
- dc: double crochet
- FPdc: front-post double crochet
- sl st: slip stitch
- RS: right side
- WS: wrong side
- [ ]: stitch counts at the end of the row
- * to *: repeat instructions between asterisks as indicated
Materials & Yarn Selection
Selecting the right fiber is essential for functional household linens that will be used with water and soap on a daily basis:

- Cotton Fiber Selection: Choose a #4 worsted-weight 100% cotton yarn intended for kitchen dishcloths and household linens. Cotton provides the structural durability and heat resistance needed for daily dishwashing and cleaning.
- Unmercerized vs. Mercerized Cotton: Traditional unmercerized carded cottons (such as Lily Sugar ‘n Cream or KnitPicks Dishie) have a matte, soft texture widely favored for utility dishcloths. Mercerized cottons (such as Lion Brand 24/7 Cotton) have been treated under tension in a sodium hydroxide bath, giving the yarn a smooth luster and crisp stitch definition. If absorbency is important for your intended use, compare a washed swatch of your chosen yarn before crocheting, and always check the manufacturer’s care label.
- Synthetic Yarns (Avoid for Dishcloths): Petroleum-derived fibers like acrylic do not absorb moisture effectively and can melt or scorch if they come into contact with hot cookware. Always choose 100% cotton for kitchen washcloths.
- Hook Sizing Tip: We recommend a 5.0 mm (US H-8) hook. If you tend to crochet tightly, size up to a 5.5 mm (US I-9) hook to prevent the waffle pockets from feeling stiff.
Beginner Technique: How to Work Front-Post Double Crochet (FPdc)
The textured grid of the waffle stitch is created by working Front-Post Double Crochets. Rather than inserting your hook under the top loops of the stitch below, you work around the vertical body (post) of the stitch:

- Yarn over your hook as you would for a standard double crochet.
- Insert your hook from the front of the fabric to the back on the right side of the indicated stitch’s vertical post, then bring the hook tip out to the front on the left side of that same post. The post now rests directly across your hook.
- Yarn over and pull up a loop around the post, drawing it up to the working height of your current row. (3 loops on hook).
- [Yarn over and pull through 2 loops] twice to finish the stitch, exactly like a normal double crochet.
Step-by-Step Dishcloth Pattern
Foundation Chain: Chain 31 loosely.
Row 1 (Foundation Row – WS): Work 1 dc in the 3rd chain from the hook (the 2 skipped chains count as your first dc). Work 1 dc in each remaining chain across to the end. Turn. [30 total stitches: 29 worked dc + 1 counted turning chain].

Row 2 (Right Side – RS): Ch 2 (counts as first dc). *Work 1 FPdc around the post of the next stitch, work 1 dc in each of the next 2 stitches*. Repeat from * to * across until 2 stitches remain. Work 1 FPdc around the post of the next-to-last stitch, then work 1 dc into the top of the turning chain. Turn. [30 total stitches: 10 FPdc, 20 regular dc].
Row 3 (Wrong Side – WS): Ch 2 (counts as first dc). *Work 1 dc in the next stitch, work 1 FPdc around each of the next 2 posts*. Repeat from * to * across until 2 stitches remain. Work 1 dc in the next stitch, then work 1 dc into the top of the turning chain. Turn. [30 total stitches: 18 FPdc, 12 regular dc].

Working the Waffle Repeat & Sizing Rule
Primary Sizing Rule — Measure for Squareness: At the stated gauge of 16 stitches and 10 rows per 10 cm, your 30 stitches span approximately 18.75 cm wide before the border, while 18 rows reach approximately 18.0 cm tall. Because individual row height and yarn elasticity vary, Row 18 serves as an illustrative benchmark rather than a guaranteed square.
To ensure a balanced square, lay your dishcloth completely flat on a table (without stretching) after reaching Row 16 or 18. Measure the width across the stitches and the height from the foundation chain. Continue repeating Rows 2 and 3 sequentially until your measured height matches your width, always finishing on an even-numbered row (a Row 2 repeat, such as Row 18 or Row 20). Finishing on a Row 2 repeat ensures that the raised vertical ribs and perimeter frame align symmetrically before you begin the border.
Rows 4 onwards: Repeat Rows 2 and 3 sequentially, stopping on whichever even-numbered row (Row 2 repeat) achieves your target square height.
Perimeter Border
Adding a single-crochet border frames the dimensional waffle texture and ensures clean, stable edges on all four sides. The border is constructed from 4 designated corner anchor points and 4 intermediate edge runs between them:
- Right Side (RS) Orientation: When you complete your final even-numbered row (RS), your working loop is at the Top Left corner (Stitch 30). Facing the RS, the four physical perimeter corners are:
- Top Left: Stitch 30 of your final row (where your working loop is located).
- Top Right: Stitch 1 of your final row (the beginning ch-2 turning chain).
- Bottom Left: The foundation turning-chain end (the base of the 2 skipped foundation chains of Row 1).
- Bottom Right: The base of Row 1’s last worked double crochet (worked into foundation chain 1, at the slip-knot end).
- Foundation Chain Loop Mapping (Bottom Edge): The foundation chain began with 31 chains. Chains 31 and 30 served as the 2 skipped chains that formed Stitch 1 (turning chain) of Row 1, anchored at the Bottom Left corner. Foundation chain 1 (at the slip knot) received the 29th worked double crochet (Stitch 30 of Row 1), anchored at the Bottom Right corner. Between these two outer anchors lie foundation chains 2 through 29 inclusive (29 − 2 + 1 = 28 chains), each of which received one double crochet in Row 1. Working into the remaining underside loop of each of these chains yields exactly 28 intermediate bottom loops across.
- Top Edge Intervening Stitches: The final row contains 30 total stitches. Stitch 1 is the Top Right corner anchor, and Stitch 30 is the Top Left corner anchor. Between them lie Stitches 2 through 29 = exactly 28 intervening stitches.
- Side Row-End Edges: Work single crochets around the double-crochet row posts between corner anchors (approximately 2 sc per row end; e.g. approx. 36 intermediate sc across an 18-row piece, or approx. 40 sc across a 20-row piece), adjusting stitch spacing as needed so the border lies flat without rippling or cupping.

- Transition & Corner 1 Anchor (Top Left): At the end of your final row (an even-numbered Row 2 repeat, having completed Stitch 30 at the top left), do not turn. Ch 1, which does not count as a stitch. In the top of Stitch 30 (Corner 1 anchor), work
(1 sc, ch 1, 1 sc). - Side 1 (Left Row-End Edge): Rotate your work 90 degrees clockwise to face the left row-end edge. Work intermediate single crochets evenly down the side into the row-end posts (approximately 2 sc per double-crochet row post, giving approx. 36 intermediate sc across an 18-row sample, or approx. 40 sc across a 20-row sample; adjust spacing as needed so the border lies completely flat). Neither Corner 1 nor Corner 2 is included in this side count.
- Corner 2 Anchor (Bottom Left): In the foundation turning-chain end (the base of the 2 skipped foundation chains of Row 1), work
(1 sc, ch 1, 1 sc)to pivot 90 degrees. - Side 2 (Bottom Foundation Edge): Rotate work 90 degrees to face the underside of the foundation chain. Work 1 sc into each of the 28 intermediate underside chain loops (the underside loops of chains 2 through 29, lying between the turning-chain end and the final chain) across to the opposite corner.
- Corner 3 Anchor (Bottom Right): In the base of Row 1’s last worked double crochet (at the foundation chain 1 slip-knot end), work
(1 sc, ch 1, 1 sc)to pivot 90 degrees. - Side 3 (Right Row-End Edge): Rotate work 90 degrees to face the right row-end edge. Work intermediate single crochets evenly up the side into the row-end posts (approximately 2 sc per row post; adjust spacing so the edge lies flat). Neither Corner 3 nor Corner 4 is included in this side count.
- Corner 4 Anchor (Top Right): In Stitch 1 of your final row (the top of the beginning ch-2 turning chain), work
(1 sc, ch 1, 1 sc)to pivot 90 degrees. - Side 4 (Top Edge): Rotate work 90 degrees to face the top row. Work 1 sc in each of the 28 intervening stitches (Stitches 2 through 29) across the top edge.
- Join: Join with a slip stitch into the first single crochet of Corner 1 (or finish with an invisible needle join). Fasten off, leaving a 15–20 cm tail for weaving.
Finishing & Care Guidelines

- Secure Ends: Thread your yarn tail onto a tapestry needle and weave it back and forth in three opposing directions through the dense base of the edging stitches before trimming flush.
- Washing Instructions: Machine wash in warm water with mild laundry detergent and similar colors. Follow the manufacturer’s care label on your specific cotton yarn.
- Avoid Liquid Fabric Softener: Fabric softeners coat natural cotton fibers with a thin film that repels moisture and reduces absorbency.
- Drying: Tumble dry on low heat or reshape and lay flat on a clean dry towel. Machine drying will gently compact the waffle cells, refreshing the springy 3D texture.
Beginner Troubleshooting & FAQ
Why are my side edges uneven or leaning?
The most common cause is losing or adding stitches at the row ends. Remember that your beginning ch 2 counts as Stitch 1; you should never work into the base of that ch 2. At the end of the row, always place your final double crochet into the top of the turning chain. Counting your stitches periodically—confirming exactly 30 stitches on every row—keeps the edges perfectly straight.
Why is my border wavy and rippling?
A wavy or ruffled border happens when too many single crochet stitches are squeezed into the row ends. Space your stitches evenly, placing approximately 2 single crochets around each double crochet row post. If your edges still ripple, skip every fourth or fifth stitch along the sides to balance the tension.
Why are the corners cupping or pulling tight?
If the corners curl forward into a bowl, make sure you are working the full (1 sc, ch 1, 1 sc) into the exact designated corner space. The chain-1 space provides the extra slack needed to pivot 90 degrees around the corner cleanly.
Save This Dishcloth Pattern to Pinterest
Planning your next quick weekend kitchen make? Pin these official tutorials to your crochet home decor or kitchen crafts board on Pinterest.