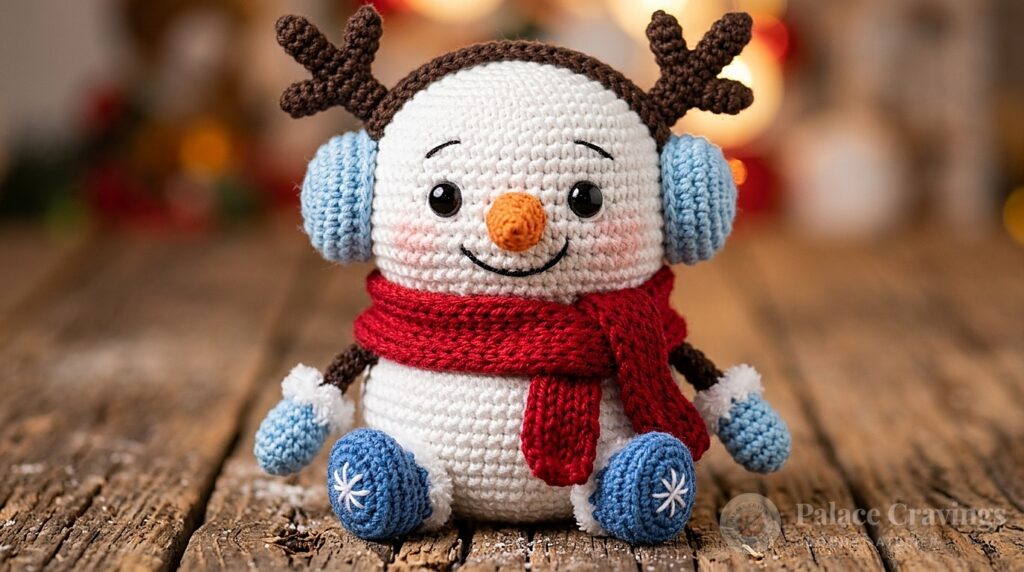
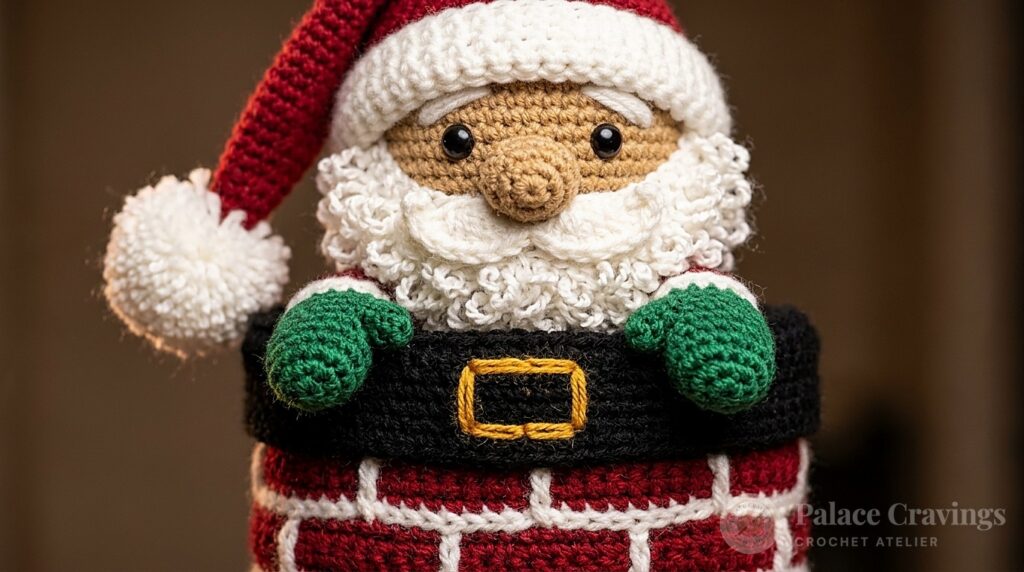
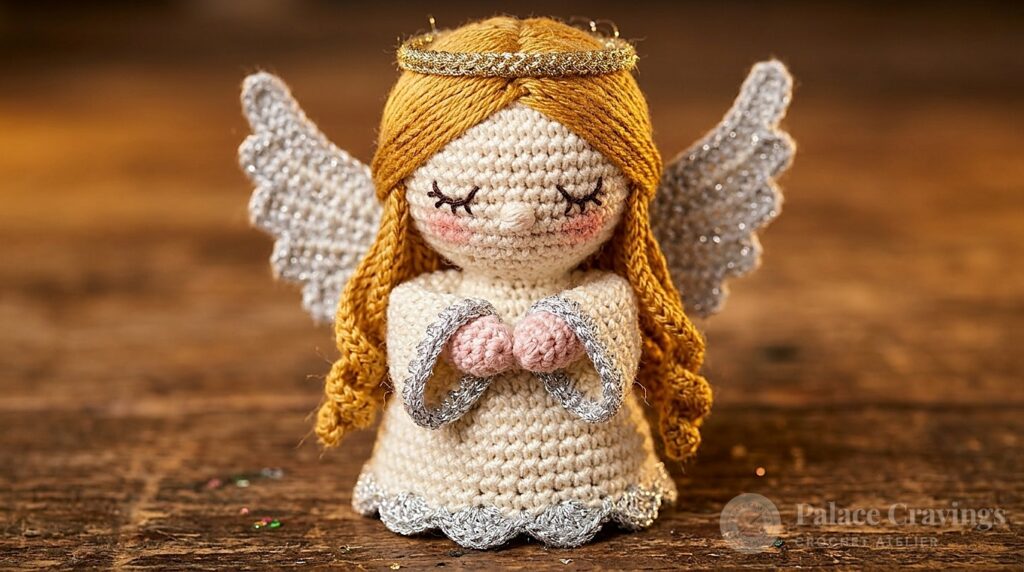
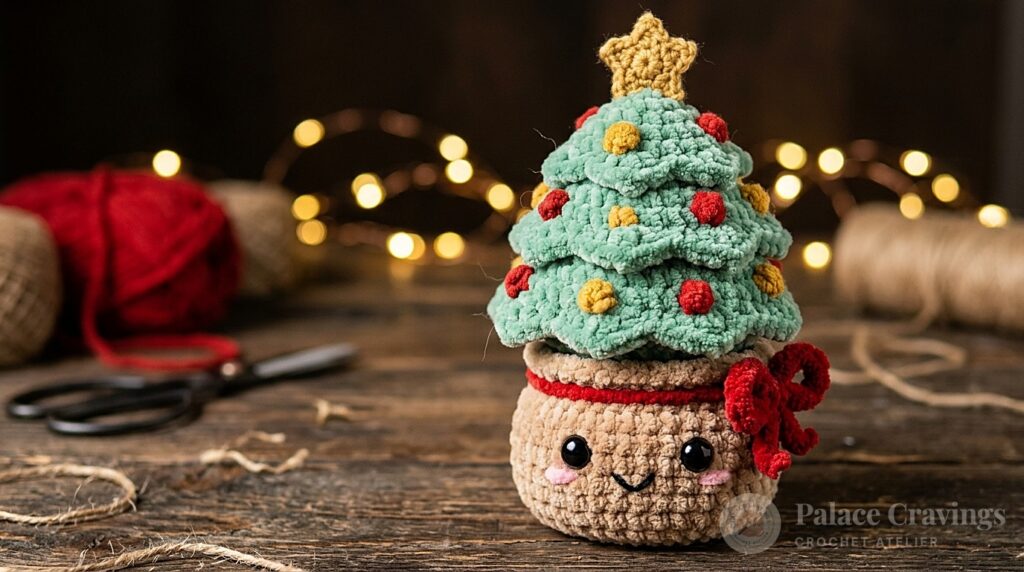
There is nothing quite as magical as trimming the Christmas tree with handcrafted ornaments that carry warm holiday memories year after year. This Festive Crochet Christmas Bell Ornament brings vintage holiday nostalgia into the modern home. Worked in vibrant golden yellow worsted yarn and crowned with a delightful emerald green bow, this charming amigurumi bell is quick to crochet, perfectly lightweight for tree branches, and makes a heartwarming stocking stuffer or holiday gift topper!
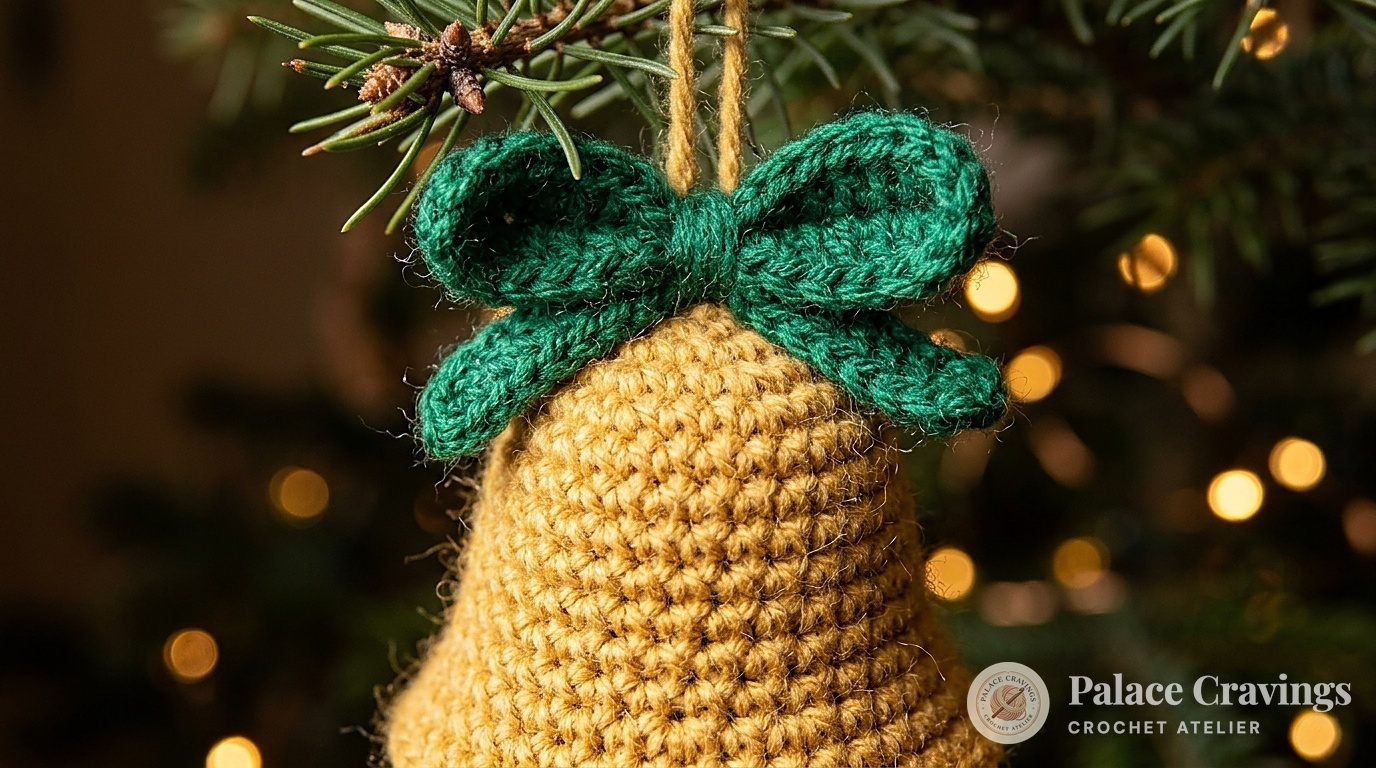
Crocheted seamlessly in continuous spiral rounds from the crown down to the bell mouth, this pattern utilizes simple single crochet stitches with strategically placed increases and decreases to achieve its iconic fluted bell flare. Working through the back loops only on rounds 5 and 6 creates a crisp architectural ridge that allows the bell rim to stay firm and circular. Finished with an adorable flat-worked bow and optional embroidered face or inner jingle bell, it is an addictive one-skein holiday project you can whip up in under an hour.
Why You’ll Love Crocheting This Christmas Bell
- Quick Weekend Wonder: Takes just 45 to 60 minutes from start to finish, making it the ideal project for craft markets, gift exchanges, and ornament swaps.
- Ultimate Stash Buster: Requires only 16 yards of gold yarn and 6 yards of green yarn, allowing you to transform small yarn scraps into dazzling festive décor.
- Shatterproof & Family Friendly: Unlike fragile glass heirloom baubles, this soft amigurumi bell is completely child- and pet-safe for lower branches on family trees.
- Versatile Holiday Styling: Hang it on the Christmas tree, tie it onto wrapped kraft paper gifts, weave it into garland, or attach a lobster clasp for a cheerful holiday keychain.
Key Materials & Smart Swaps

- Worsted Weight Yarn (#4 Medium): Contrast A (Gold / Mustard) requires approx 16 yds [14.5 m]; Contrast B (Emerald Green) requires approx 6 yds [5.5 m]. Smart Swaps: Red Heart Super Saver, Caron Simply Soft, Bernat Super Value, or Lion Brand Wool-Ease.
- Crochet Hook: Size U.S. G/6 (4.0 mm) ergonomic crochet hook, or size needed to obtain gauge. A smooth ergonomic inline hook helps maintain firm, tight stitches so stuffing never peeks through.
- Polyester Fiberfill: A small handful of dense polyester stuffing to give the bell its three-dimensional firmness.
- Locking Stitch Marker: Absolutely vital for marking the end of continuous spiral rounds without joining slip stitches.
- Tapestry Needle: For cinching the bottom closed and sewing the bow to the crown.
- Optional Accents: Small gold metal jingle bell to place inside the stuffing for real ringing holiday sound, or black embroidery floss for sweet sleepy eyes.
Tested Studio Essentials for Holiday Crochet
★ 4.9 (48k+ reviews)
Clover Amour 4.0mm (Size G/6) Ergonomic Hook
Comfortable rubber grip relieves tension while working tight amigurumi spiral rounds, producing immaculate stitch uniformity.
★ 4.8 (12k+ reviews)
Fairfield Poly-Fil Premium Polyester Stuffing
Ultra-smooth, hypoallergenic fiberfill that packs evenly without clumping, maintaining the bell’s crisp amigurumi curvature.
★ 4.9 (24k+ reviews)
Clover Locking Quick-Lock Stitch Markers
Locking pins ensure you never lose your place during continuous rounds, guaranteeing accurate counts at every increase.
As an Amazon Associate, Palace Cravings earns from qualifying purchases.
Step-by-Step Pattern Walkthrough
Pattern Specifications & Notes:
• Gauge: 18 sc and 20 rows = 4 inches [10 cm]. Take time to check your gauge.
• Finished Size: Approximately 3 inches [7.5 cm] tall (excluding hanging loop).
• Construction Method: The bell body is worked in continuous spiral rounds. Do not join with a slip stitch at the end of rounds; move your stitch marker up to the last stitch of each round as work progresses.
• Abbreviations: Ch = Chain; Sc = Single Crochet; Sc2tog = Single Crochet 2 Stitches Together (decrease); Sl St = Slip Stitch; St(s) = Stitch(es); Tog = Together.

Bell Body (Worked from Top Crown Downward):
With Color A (Gold), make a magic adjustable ring.
1st Round (RS): Ch 1. Work 8 sc into the magic loop. Place stitch marker in the last stitch. Pull ring tail firmly to cinch center closed. (8 sc).
2nd Round: Work 2 sc in each sc around. (16 sc).
3rd Round: [2 sc in next sc, 1 sc in next sc] 8 times around. (24 sc).
4th Round: [1 sc in each of next 3 sc, 2 sc in next sc] 6 times around. (30 sc).
5th and 6th Rounds: Working in back loops only (BLO), 1 sc in each sc around. (30 sc per round). Working in BLO here creates a crisp architectural edge that forms the bell’s flared lip.
7th Round: [1 sc in each of next 4 sc, sc2tog] 5 times around. (25 sts).
8th Round: [1 sc in each of next 3 sc, sc2tog] 5 times around. (20 sts).
9th to 11th Rounds: Work 1 sc in each sc around. (20 sc per round).
12th Round: [1 sc in each of next 3 sc, sc2tog] 4 times around. (16 sts).
13th Round: Work 1 sc in each sc around. (16 sc).
Firm Stuffing: Stuff the bell firmly with polyester fiberfill. (If adding an inner jingle bell, tuck it into the exact center of the stuffing now so it rings merrily when shaken!).
14th Round: [Sc2tog] 8 times around. (8 sts).
15th Round: [Sc2tog] 4 times around. Fasten off, leaving an 8-inch yarn tail. (4 sts).
Using a tapestry needle, weave the tail through the front loops of the remaining 4 stitches, pull snugly to close the base flat, knot securely, and bury the tail inside the bell body.
Integrated Hanging Loop:
Cut a strand of Color A approximately 5 inches [12.5 cm] long. Fold strand in half and knot the ends together to form a secure loop. Insert crochet hook from the inside of the bell crown through the top magic ring center, pull the loop halfway through, then pass the knot through the loop to form a secure cow-hitch lark’s head knot. Pull tight.
Keychain Alternative: You can also whipstitch a small metal lobster claw keychain clasp directly to the top crown using a tapestry needle.
Emerald Green Bow:
With Color B (Emerald Green), ch 5.
1st Row: 1 sc in 2nd ch from hook, 1 sc in each ch to end of chain. Turn. (4 sc).
2nd and 3rd Rows: Ch 1, 1 sc in each sc across. Turn. (4 sc).
4th Row: Ch 1, [sc2tog] twice. Turn. (2 sts).
5th Row: Ch 1, 1 sc in each sc across. Turn. (2 sc).
6th Row: Ch 1, 2 sc in each sc across. Turn. (4 sc).
7th to 11th Rows: Ch 1, 1 sc in each sc across. Turn. (4 sc).
Repeat 4th to 8th rows once more, do not fasten off. Fold the bow in half so the starting chain meets the final row. Working through both thicknesses together, work 4 sl st evenly across the seam to join into a bow loop. Fasten off.
Bow Center Band & Assembly:
With Color B, ch 6.
1st Row: 1 sl st in 2nd ch from hook, 1 sl st in each ch across. Fasten off, leaving a long sewing tail.
Wrap the band tightly around the cinched center rows of the Bow. Join ends with a slip stitch or overcast stitch to form the bow knot. Using the remaining tail, sew the bow firmly to the top crown of the Bell, right at the base of the hanging loop.
Optional Embroidered Face:
For an adorable kawaii holiday amigurumi look, split a strand of black worsted yarn into 2 individual plies. Using a fine tapestry needle, embroider two French knots for eyes and a small curved straight stitch for a cheerful smile on the front upper curved surface of the bell.
3 Crafter Secrets for Picture-Perfect Holiday Bells
1. Maintain Firm Amigurumi Tension:
Amigurumi stitches need to be slightly tighter than standard garment stitches. Using a 4.0mm hook with worsted yarn ensures that the fabric is dense and opaque, guaranteeing that white poly-fil stuffing stays completely invisible beneath the golden stitches.
2. Don’t Skip the Back-Loop (BLO) Ridge:
Rounds 5 and 6 are worked strictly in the back loops. This horizontal ridge provides essential structural support, forcing the flared lip of the bell to hold its crisp concave bell flare naturally without drooping or sagging over time.
3. Insert a Jingle Bell in the Core:
Tuck a 15mm metal gold craft bell right inside the poly-fil core before closing round 14. When your family brushes past the Christmas tree branches, the ornament will chime with an authentic holiday ring that delight kids and guests alike!
How to Style & Display Your Christmas Bells

- Fraser Fir Tree Accents: Disperse 6 to 8 bells evenly around your Christmas tree, pairing them with warm white fairy lights, wooden bead garland, and natural burlap ribbon for an organic modern farmhouse aesthetic.
- Mantelpiece Garlands: String 10 bells along a length of jute twine interspersed with dried orange slices and cinnamon sticks for an aromatic, cozy fireplace display.
- Luxury Gift Toppers: Tie a finished bell onto a wrapped present using velvet emerald ribbon. The ornament doubles as a second keepsake gift the recipient will treasure for years!
- Festive Dinner Place Settings: Place a bell in the center of folded linen napkins at your holiday dinner table as an artisanal personalized favor for every guest.
Care & Long-Term Storage Guidelines
- Spot Cleaning: If the bell gathers dust over the season, gently dab the surface with a damp microfiber cloth and mild wool wash. Do not submerge or machine wash.
- Off-Season Storage: Store flat in a hard-sided plastic storage container padded with acid-free tissue paper to prevent crushing. Avoid airtight plastic bags where moisture can gather.
- Reshaping After Storage: When unpacking your holiday decorations next winter, simply fluff the bell with your fingertips and gently pinch the bow wings to restore full dimensional perkiness!
Frequently Asked Questions
Can I use different yarn weights for this pattern?
Yes! You can crochet mini bell charms using DK (#3) or fingering weight yarn with a 2.5mm or 3.0mm hook, perfect for earrings or advent calendar pockets. Conversely, using bulky chenille yarn with a 6.0mm hook produces an oversized plush centerpiece bell.
How do I prevent the bell base from puckering?
When closing round 15, ensure you don’t over-stuff the very bottom tip. Leaving a slight hollow at the base allows the cinch to pull flush and flat inside, ensuring the bell rests upright when set on a mantel or tabletop.
What is the best way to secure the bow so it doesn’t flop forward?
When sewing the bow to the bell crown, take two small tacking stitches through the back of each bow loop directly into the crown stitches. This keeps both bow loops perked up and firmly facing forward!
Save This Free Holiday Pattern on Pinterest
Love this festive project? Save it to your Christmas Crochet or Holiday DIY Ornaments board on Pinterest so you have it ready for holiday crafting all season long!