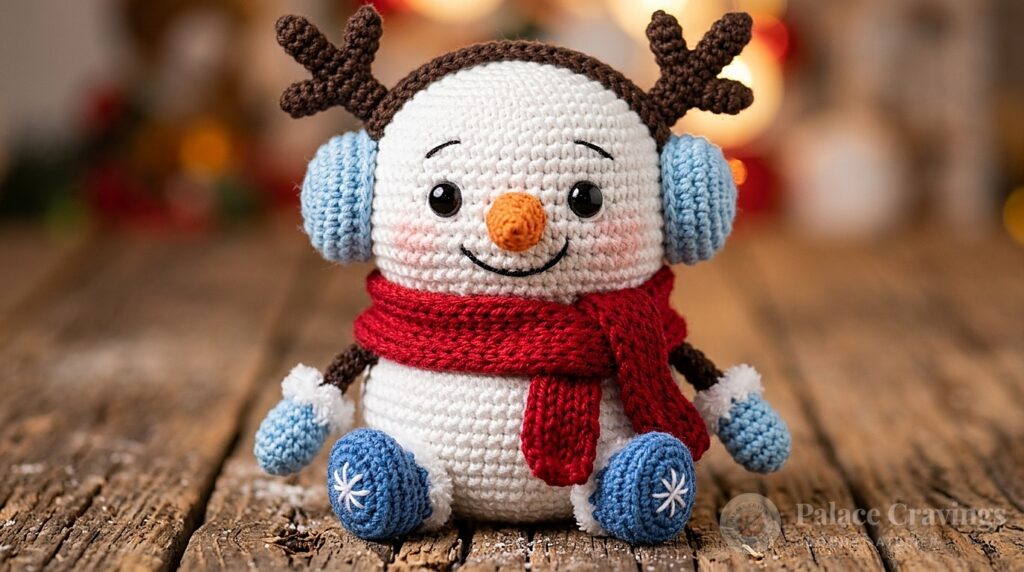
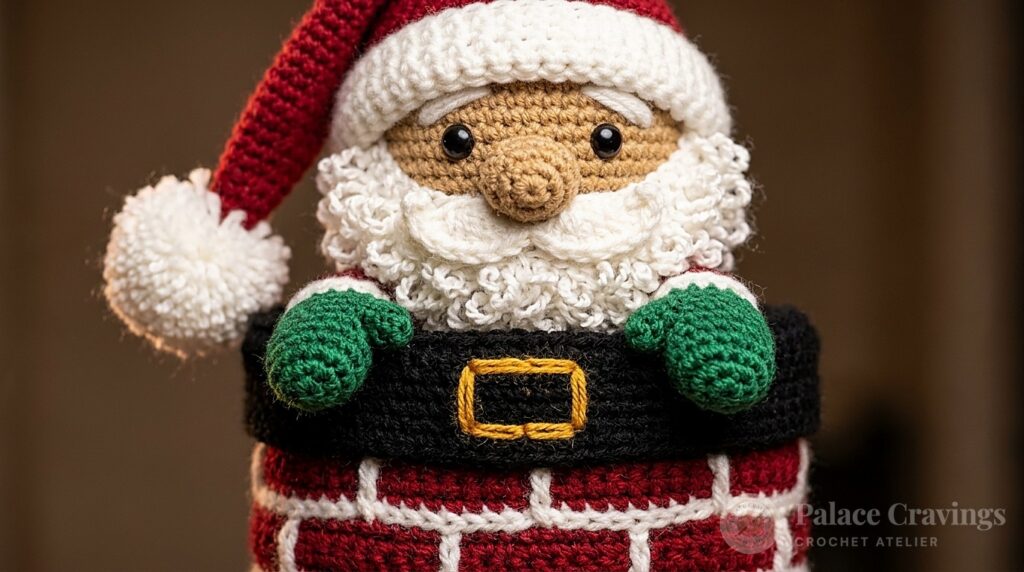
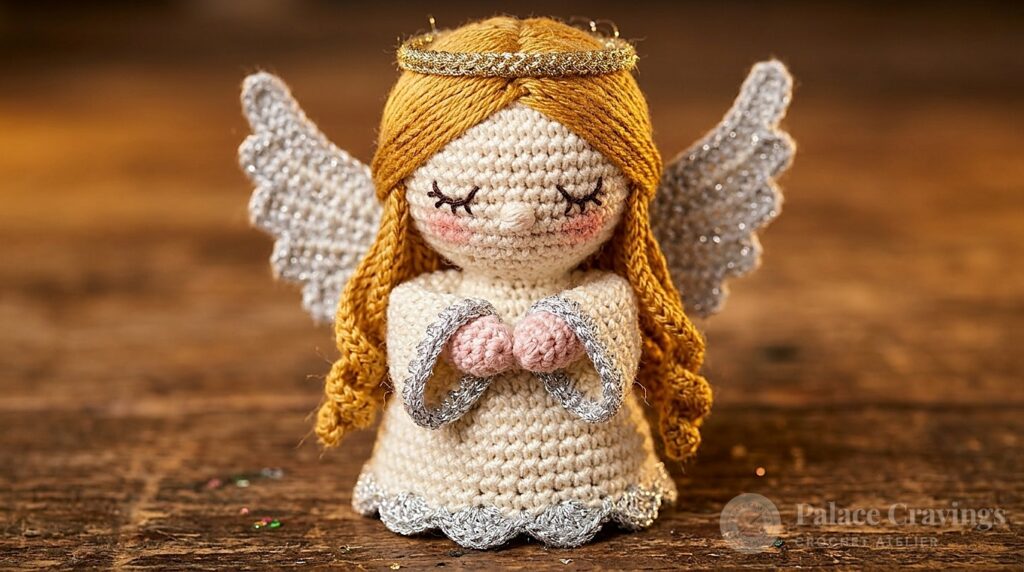
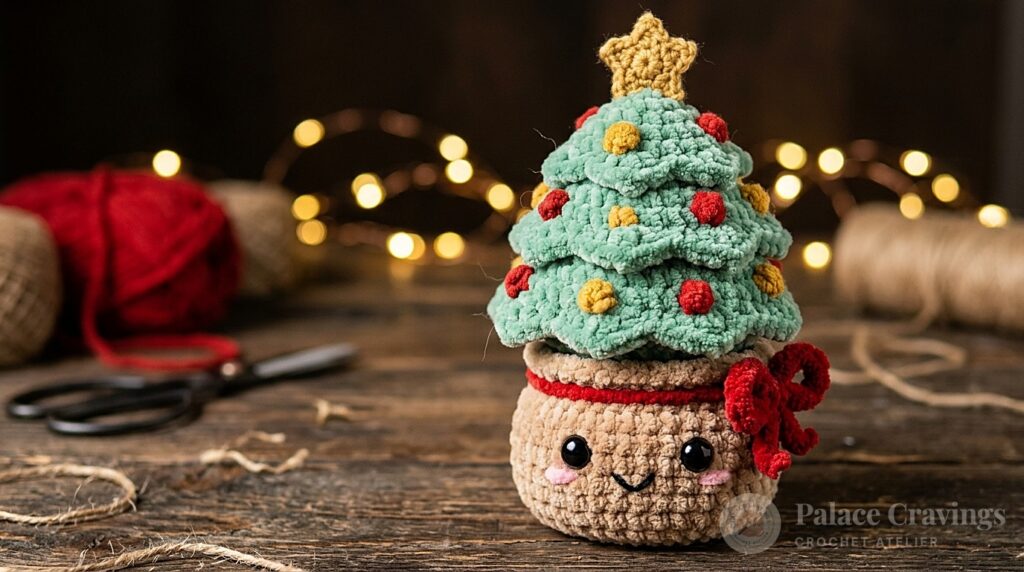
There is nothing quite as evocative of winter holiday cheer as freshly baked gingerbread cookies, and this handcrafted crochet gingerbread man brings that festive sweetness to life in charming amigurumi form. Standing at an adorable 12.5 cm (4.9 inches) tall, this sweet pocket-sized plush is crowned with a sculpted royal icing glaze cap dotted with colorful embroidered sprinkles, a cozy forest green I-cord neck scarf, and fair-isle icing cuffs along his hands and feet. Featuring seamless joined-leg construction and beginner-friendly stitches, this project makes an unforgettable holiday stocking stuffer or tree ornament.
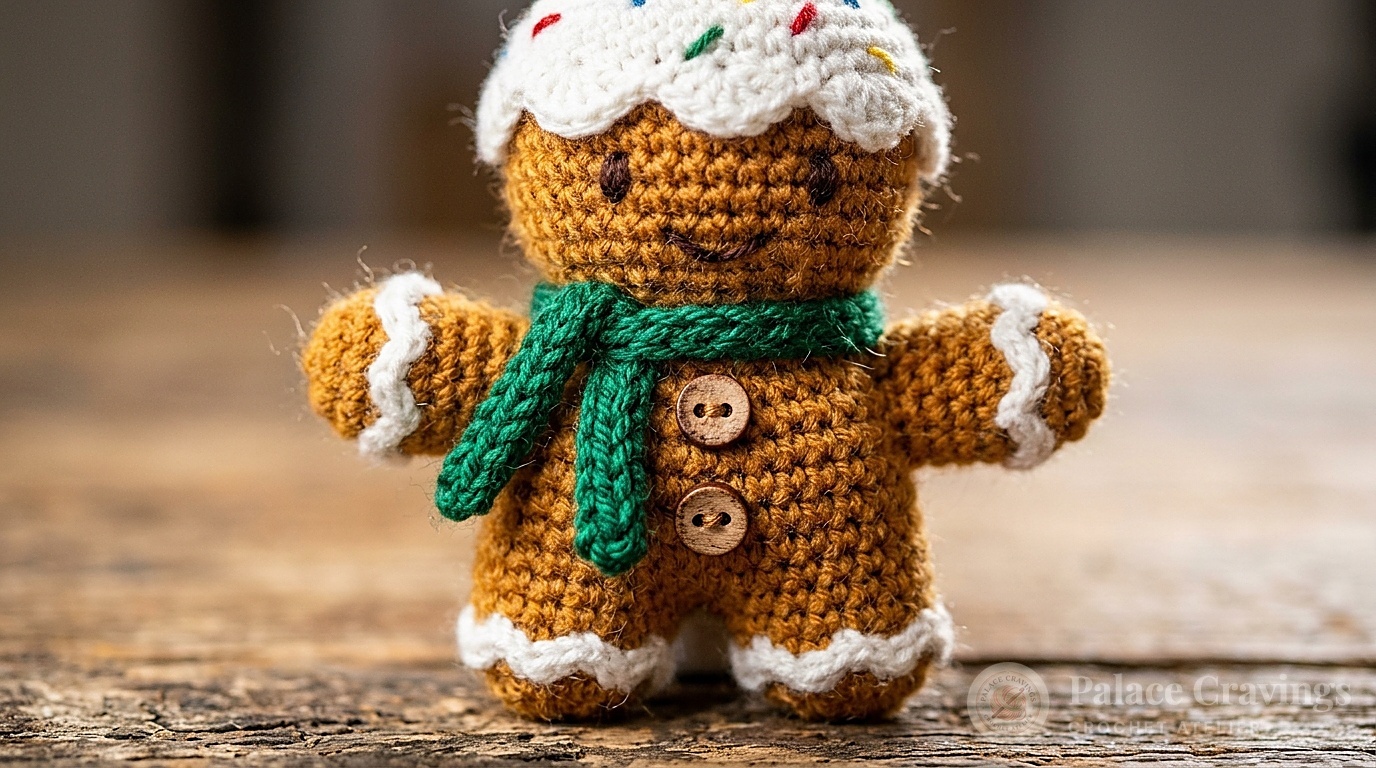
Unlike traditional amigurumi toys that require hours of fiddly limb attachment, this clever gingerbread pattern is engineered with an efficient bottom-up design. The two round cookie feet and lower legs are worked with alternating fair-isle colorwork cuffs, then seamlessly united across a brief center bridge chain to create the torso and head in one continuous flow. The wavy frosting cap is crocheted as a removable or sew-on crown with sculpted picot drips that drape over the forehead like real confectioners’ sugar. It is the ultimate feel-good holiday afternoon make for beginners and seasoned yarn crafters alike.
Why You’ll Adore This Gingerbread Pattern
- Seamless Joined Construction: No stressful limb sewing—legs join directly into the lower torso, ensuring sturdy stability and symmetrical proportions.
- Intricate Textural Details: Features two-tone fair-isle icing zig-zags on the wrists and ankles, realistic wooden belly buttons, and dimensional sprinkle embroidery.
- Versatile Holiday Keepsake: Ideal size for hanging as a Christmas tree heirloom, perching on a tiered kitchen display tray, or tucking into holiday gift baskets.
- Quick Scrap-Busting Delight: Uses minimal yardage of warm cookie brown, crisp white, and pine green yarn—easily completed in a single cozy evening.
Essential Materials & Smart Substitutions

- Sport or DK Weight Yarn: YarnArt Jeans (55% cotton, 45% acrylic; 50g/160m) in Warm Honey Beige (or Rich Cocoa Brown) for the cookie base, Milk White for the icing cap and cuffs, and Forest Pine Green for the I-cord scarf. The smooth cotton-acrylic blend guarantees sharp, fuzz-free stitch definition that withstands holiday handling.
- Crochet Hook: 2.5 mm (US B-1 / C-2) ergonomic aluminum hook. Sizing down ensures firm, compact stitches with zero fiberfill peek-through.
- Embroidery Floss & Buttons: Stranded cotton embroidery thread in cherry red, bubblegum pink, lemon yellow, and mint green for the confectionery sprinkles and smiling mouth; plus two 10mm rustic natural wood or peppermint buttons.
- Notions & Stuffing: Premium hypoallergenic polyester fiberfill, blunt steel tapestry needle, stitch markers, and sharp embroidery stork scissors.
Curated Atelier Essentials: To achieve neat, fatigue-free amigurumi tension, we recommend working with a precision ergonomic hook set and ultra-smooth sport-weight yarn:
Ergonomic Crochet Hooks Set with Soft Rubber Grips (2.0mm – 8.0mm)
Smooth aluminum tips glide effortlessly through tight amigurumi stitches without splitting yarn plies, while cushioned grips prevent hand strain during extended holiday crafting sessions.
Step-by-Step Gingerbread Construction Walkthrough
1. Legs with Fair-Isle Icing Cuffs: In Honey Brown yarn, work 6 sc in a magic ring, increase to 12, then 18 sts. In Round 4, introduce Milk White yarn to create the fair-isle icing cuff: alternate (1 sc brown, 1 sc white) across the round. Repeat for Round 5, then fasten off the first leg. Crochet the second leg identically, but do not cut the brown yarn!

2. Seamless Body Join & Belly Buttons: From the second leg, chain 3, then join with a slip stitch to the first leg. Work 18 sc around the first leg, 3 sc along one side of the chain, 18 sc around the second leg, and 3 sc along the remaining side of the chain (42 sts total). Work upward in rounds while tapering gradually toward the neck. Before stuffing firmly, securely sew two rustic wooden buttons onto the belly at Rounds 13 and 20.
3. Arms & Head Shaping: Crochet two small tubular arms featuring matching white fair-isle wrist cuffs. At Round 24 of the torso, crochet directly through both the arm edges and body stitches simultaneously for an unbreakable, completely stitchless join. Continue upward from the neck into the round head dome (expanding to 42 sts), insert 6mm safety eyes or embroider sleeping crescents, and embroider a happy smile with rosy French knot cheeks.
4. Sculpting the Wavy Icing Glaze Cap: In Milk White yarn, work a circular dome to 36 sts. To create the melted confectionery glaze effect along the brim, alternate varied stitch heights: work (slip stitch, single crochet, half double crochet, 2 double crochet in next st, picot point, half double crochet, slip stitch) around the perimeter. Using colorful embroidery floss, stitch delicate straight-stitch rainbow sprinkles scattered across the top before tacking the cap securely onto the head.
5. Cozy Knitted-Look I-Cord Scarf: Using Forest Pine Green yarn, create a neat 3-stitch crochet I-cord (or chain 45 and slip stitch along the back bumps) measuring approximately 18 cm. Wrap the scarf snugly twice around the neck seam and secure with a discreet tack or tiny decorative red button.
3 Master Tips for Confectionery Perfection
1. Maintain Float Tension During Fair-Isle Cuffs: When alternating brown and white yarn across the icing cuffs, keep the carried strands along the inside loose and relaxed. Tight floats will pinch the limb circumferences, making leg stuffing uneven.
2. Pack the Neck Firmly to Prevent Wobble: As you transition from the body into the head, pause to pack the neck cavity extra firmly with small pinches of fiberfill. A dense neck core prevents the head from tilting once the heavier icing cap is attached.
3. Embroider Sprinkles Before Securing the Cap: Stitch all colorful rainbow sprinkles onto the white frosting cap while it is still loose in your hands. This allows you to knot all threads cleanly on the wrong side where they will be permanently hidden.
Cozy Holiday Styling & Display Inspirations

- Hot Cocoa Station Accent: Perch your gingerbread man next to your winter beverage cart alongside cocoa canisters, candy canes, and ceramic mugs.
- Rustic Holiday Tree Ornament: Attach an 8 cm loop of metallic gold thread to the apex of the icing cap to suspend your plush directly from evergreen boughs.
- Handmade Gift Box Charm: Tie the gingerbread man to holiday cookie tins or baked gift boxes with baker’s twine for a delightful handmade keepsake.
Care, Storage & Toy Longevity
- Gentle Surface Cleaning: Cotton-acrylic amigurumi toys with wooden notions should only be surface-cleaned using a damp cloth with mild liquid baby detergent. Never submerge in water.
- Fluff & Re-Shape: If compressed during gift transport, gently squeeze the limbs and torso from side to side to redistribute the internal fiberfill evenly.
- Seasonal Preservation: Store in a sealed airtight tin or fabric dust bag with a natural cedar ring to keep yarn fresh and protected from moisture between holiday seasons.
Frequently Asked Questions
Can I make this gingerbread plush completely baby-safe?
Yes! To make this toy suitable for infants and toddlers, omit the wooden belly buttons and plastic safety eyes. Instead, cleanly embroider both the eyes and buttons with dark brown and red cotton embroidery thread.
What yarn makes the most realistic cookie brown shade?
YarnArt Jeans shade #07 (Warm Caramel/Beige) or Schachenmayr Catania shade #179 (Camel) provide the most authentic golden baked gingerbread appearance.
How do I keep the icing cap from sliding off?
While the cap fits snugly over the head crown, we recommend using a few small whipstitches with white yarn around the inner brim edge to anchor the cap permanently to the head stitches.
Save & Pin This Festive Pattern
Love this holiday design? Save these pins to your holiday craft board so you always have the step-by-step instructions ready when you need them!