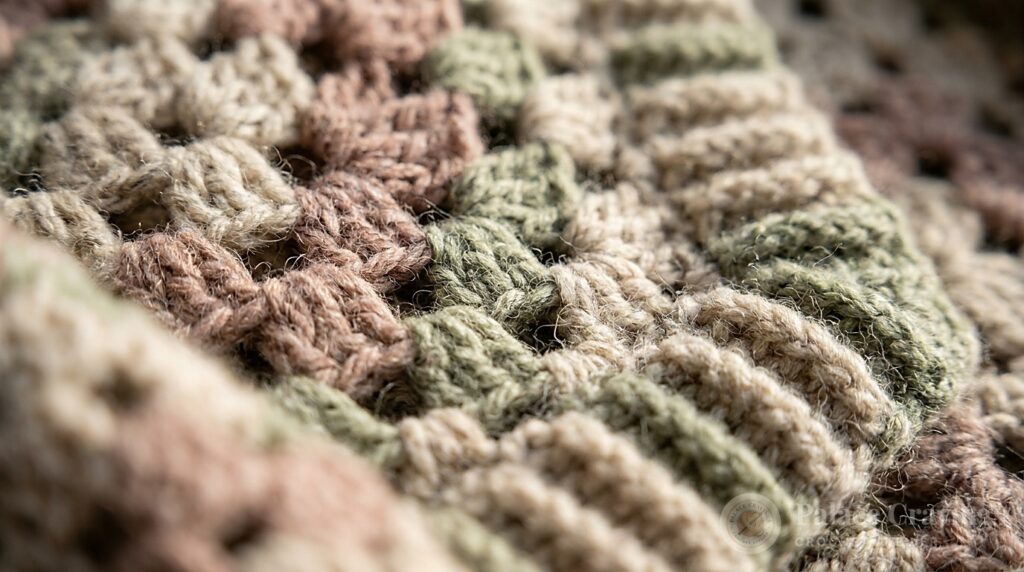
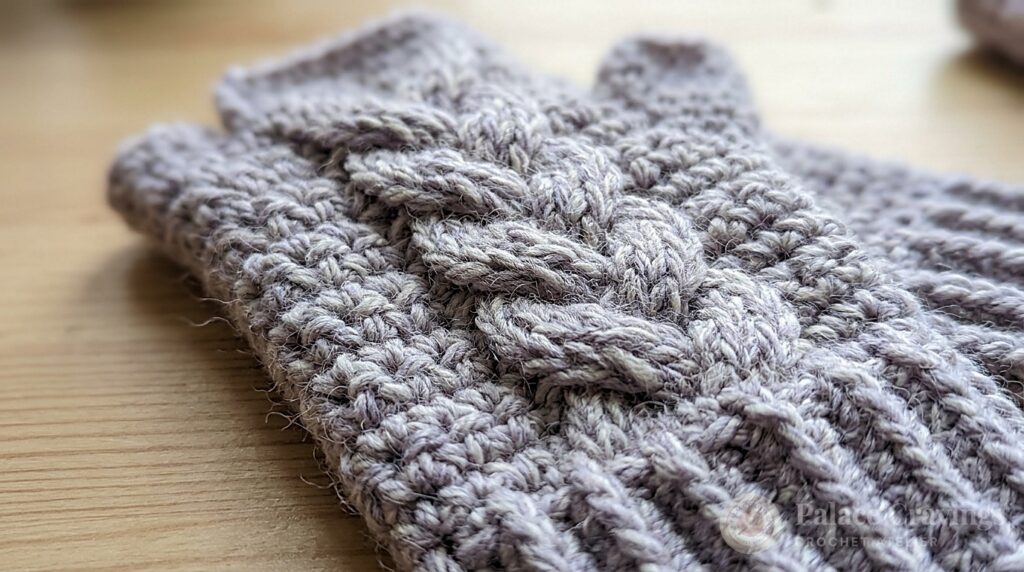
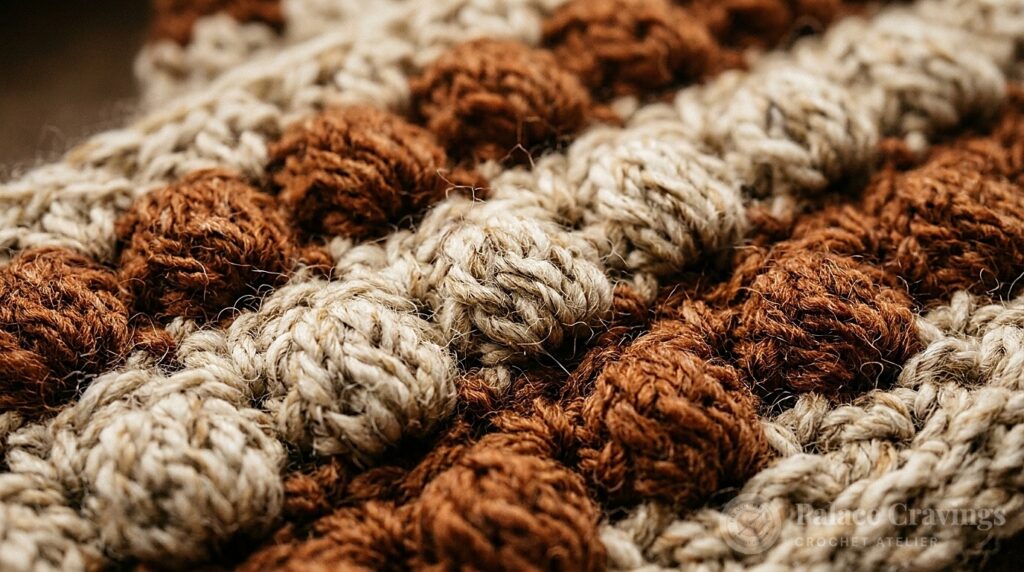
A well-constructed infinity scarf is an essential cold-weather layer, balancing thermal insulation with comfortable drape. This chunky ribbed infinity scarf is worked flat in rows of half double crochet through the back loop only, producing a deeply textured, accordion-like fabric that stretches gently along its circumference. Once the long rectangle reaches its target pre-seaming length, the short ends are joined to create an unbroken double-loop cowl designed to sit neatly around the collarbone without excess bulk.
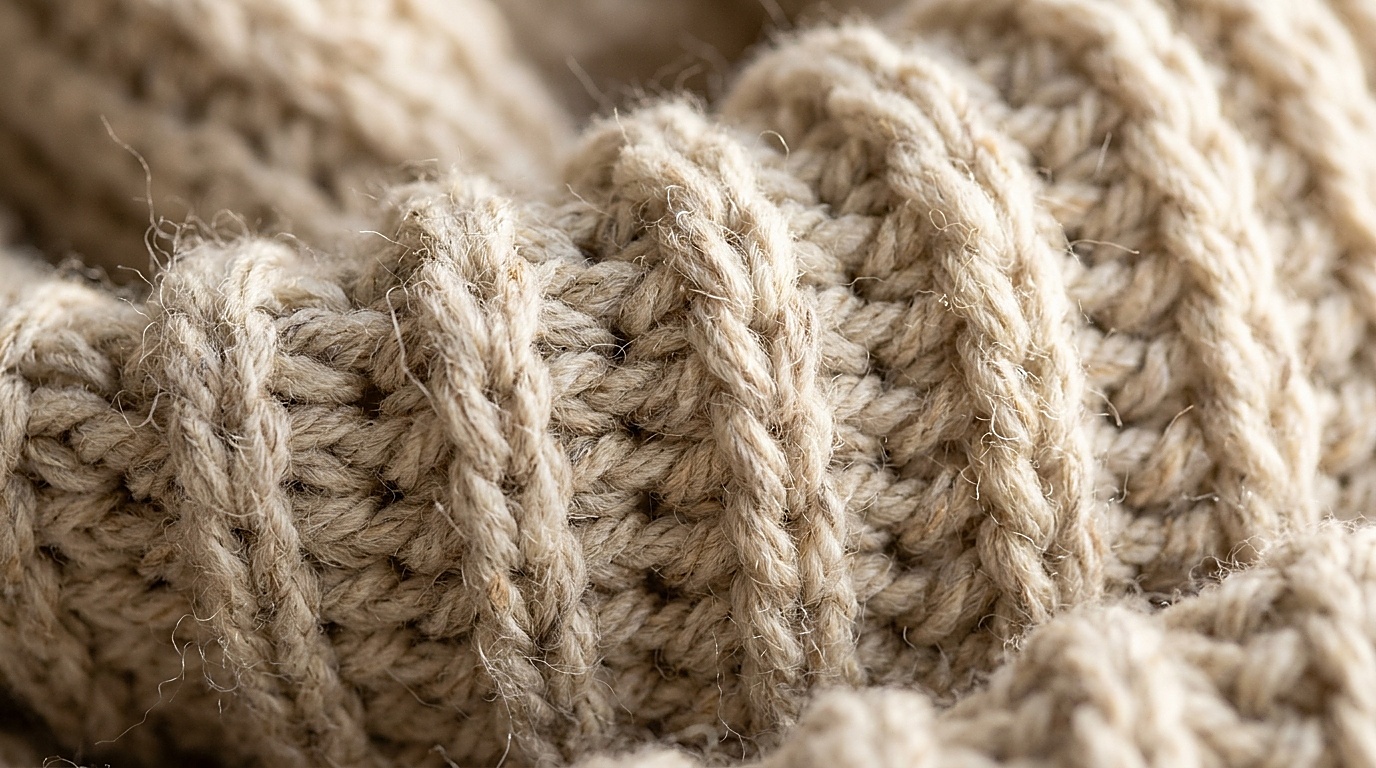
Working ribbing in crochet requires careful attention to hook sizing and yarn weight. When worked with standard hooks, thick yarns can quickly become stiff and board-like. In this pattern, we establish Category #5 as the single reference category paired with a 9.0 mm hook, allowing the stitches room to bloom so the finished loop folds, gathers, and wraps comfortably against the neck.
Pattern Architecture & Construction Orientation
Understanding the directional flow of this project makes assembly straightforward from the first row:
- Width Direction: The foundation chain establishes the width of the scarf (expected width from the target gauge: approx. 9.9 to 10 inches / 25 cm), measuring from the chin down towards the base of the neck.
- Length Direction: Working repeated rows builds the length / circumference (approximate pre-seam length: 60 inches / 152 cm), wrapping twice around the neck when completed.
- Ribbing Alignment: Because stitches are worked back and forth across the short edge, the ridges run transversely (across the width). This orientation provides elasticity along the length of the loop, allowing it to stretch comfortably over the head during wear.
- Final Assembly: The scarf is crocheted entirely flat as an open rectangle. When the target length is reached, the foundation edge and the final row are joined with a low-profile seam to form the continuous circle.
Reference Yarn & Target Gauge Specifications

To ensure consistent sizing and drape, this pattern is built strictly with Category #5 as the single reference category. Do not assume different yarn weights can be substituted without working an individual swatch and recalculating stitch counts.
- REFERENCE_YARN_CATEGORY: Category #5 Bulky (e.g., Lion Brand Hue + Me; 80% Acrylic / 20% Wool; 137 yd / 125 m per 125g skein).
- REFERENCE_HOOK: 9.0 mm (US Size M/N-13), or size needed to obtain gauge.
- REFERENCE_STITCH_PATTERN: Half double crochet worked in the back loop only (hdc BLO).
- REFERENCE_GAUGE: [Target Pattern Standard — GAUGE: NEEDS PHYSICAL VERIFICATION for maker tension]
target gauge 10.5 hdc BLO × 7 rows = 10 × 10 cm (4 × 4 inches), measured flat on an un-stretched swatch after resting. - Notions: Steel tapestry needle (bent tip recommended), scissors, flexible tape measure.
| Dimensional Parameter | Calculated Gauge Formula | Technical Derivation |
|---|---|---|
| Expected Width from Target Gauge | 26 active stitches ÷ 2.625 sts/inch ≈ 9.9 inches (25.1 cm) | Ch 28 → 26 active stitches produces an expected width of approx. 10 inches flat. |
| Calculated Row Estimate for Length | 60 inches × 1.75 rows/inch ≈ 105 rows | approximately 105 rows for 60 inches (secondary calculated row estimate). |
Sizing Options & Theoretical Yardage Estimates
Choose your size based on how you prefer to wear your cowl. Every yarn quantity below is a THEORETICAL ESTIMATE / NEEDS PHYSICAL VERIFICATION based on mathematical stitch volume and standard bulky skein yardage. Do not treat these values as tested physical consumption; purchase an extra skein if your personal tension is looser than target gauge.
| Style / Size | Expected Width from Target Gauge | Approximate Pre-Seam Length | Foundation Chain | Active Stitches | Estimated Yardage (Category #5 Bulky) |
|---|---|---|---|---|---|
| Single Loop Snood | ~8.8 in (22.5 cm) | 32 in (81 cm) | Ch 25 | 23 hdc | ~220–240 yds (THEORETICAL ESTIMATE / NEEDS PHYSICAL VERIFICATION) |
| Standard Double Loop (Featured) | ~9.9 in (25.1 cm) | 60 in (152 cm) | Ch 28 | 26 hdc | ~390–420 yds (THEORETICAL ESTIMATE / NEEDS PHYSICAL VERIFICATION) |
| Long Double Loop / Oversized | ~11.4 in (29.0 cm) | 68 in (173 cm) | Ch 32 | 30 hdc | ~500–540 yds (THEORETICAL ESTIMATE / NEEDS PHYSICAL VERIFICATION) |
Foundation & Turning Chain Rules
Consistent stitch counts are critical to prevent side edges from tapering or flaring. Follow these strict conventions throughout:
- Ch 28 → 26 active stitches: Chain 28 loosely for the standard double loop cowl.
- SKIPPED_CHAINS: 2 chains skipped at the start of Row 1.
- ch-2 does NOT count: The turning ch-2 does NOT count as a stitch throughout the entire pattern.
- First Stitch Placement: Work the first hdc of every row directly into the very first stitch at the base of the turning chain.
- Last Stitch Placement: Work the final hdc of every row into the last real hdc of the previous row. Never work into the turning ch-2.
Step-by-Step Stitch Walkthrough
Foundation Row: Chain 28 loosely using the 9.0 mm hook. If your initial chain pulls tight, work the chain with a 10.0 mm hook before returning to the 9.0 mm for Row 1.
Row 1 (Right Side): Half double crochet into the 3rd chain from the hook (the 2 skipped chains do not count as a stitch). Hdc into each chain across to the end. Turn. (26 active stitches)

Row 2: Chain 2 (ch-2 does NOT count as a stitch). Work 1 hdc into the back loop only of the first stitch. Work 1 hdc into the back loop only of each stitch across. The final hdc is worked into the back loop of the last true stitch. Turn. (26 active stitches)
Primary Length Stopping Rule: Repeat Row 2 until the flat rectangle reaches the measured length as primary stopping rule (60 inches / 152 cm for standard double loop, or your selected target size), measured flat on a table without stretching along its length. At the target row gauge of 7 rows per 10 cm, this yields approximately 105 rows for 60 inches as a secondary calculated estimate. Always use the physical measured length as your primary stopping rule rather than an arbitrary row number.
Joining the Short Ends: Low-Profile Seam Method
Because an infinity scarf physically contains a seam, our goal is a flat, low-profile seam that does not form an uncomfortable, rigid ridge against the neck or disrupt the ribbed furrow.
- Preparation: When your scarf reaches the target pre-seaming length, cut yarn leaving a tail approximately 30 inches (76 cm) long. Pull through the final active loop to fasten off.
- Alignment: Lay the rectangle flat without twisting. Bring the foundation edge and the final row edge together, right sides facing. Ensure 1-to-1 stitch correspondence (stitch 1 aligns with stitch 1, through stitch 26).
- Seaming Technique: Thread the yarn tail onto a blunt steel tapestry needle. Working from right to left, pass the needle through the remaining exposed loop of the foundation chain and the matching outer loop of the final row’s stitches to construct a low-profile seam.
- Tension Management: Pull the seaming yarn with moderate, uniform tension that matches the elasticity of the surrounding ribbed fabric. Avoid pulling too tight, which can cinch the edge narrower than the body of the scarf.
- Finishing: Secure with a discreet knot inside the furrow and weave in the yarn tail along the parallel ridges using your tapestry needle.
Styling & Proportions

A 60-inch pre-seam length provides enough circumference to wrap twice around the neck with comfortable ease:
- Balanced Double Wrap: Loop once loosely, then wrap the second pass closer to the neck. Fluff the ribbed folds outward to create structured, architectural volume that frames the face.
- Coordinated Layering: The clean lines of hdc-BLO ribbing coordinate naturally with other handmade pieces. Pair this cowl with our Modern Hexagon Crochet Cardigan for tonal winter warmth, or complement it with our Modern Ribbed Crochet Beanie.
Super Bulky Substitution: Gauge-Driven Calculation Method
Category #6 Super Bulky yarns (such as Lion Brand Wool-Ease Thick & Quick) can produce very different gauges depending on fiber composition, yarn structure, hook size, and individual maker tension. Therefore, Category #6 remains a substitution requiring recalculation, not a pre-calculated alternate version. Do not use an unverified stitch count. Instead, follow this step-by-step gauge-driven method:
- Work a Gauge Swatch: Using your substitute Category #6 yarn and a hook that produces pleasing fabric drape (often 10.0 mm or larger), crochet a swatch of at least 15 stitches and 10 rows in hdc BLO.
- Measure Measured Stitches: Lay the swatch flat un-stretched. Measure how many stitches fit across 10 cm (4 inches) to determine your measured stitches per cm (or per inch).
- Decide Target Width: Determine your desired scarf width (for example, target width = 25 cm / 10 inches).
- Calculate Active Stitches:
(Round to the nearest whole integer).required active stitches = target width × measured stitches per cm - Establish Foundation Chain: Add 2 non-counting foundation chains to your calculated active stitch count:
foundation chain = required active stitches + 2 - Execute to Measured Length: Follow the same stitch instructions (hdc into 3rd ch from hook, hdc BLO across, ch-2 does NOT count as a stitch) and work rows until the scarf reaches your target flat length (e.g. 60 inches / 152 cm) before seaming.
Care & Blocking Recommendations
- Washing: Hand wash in lukewarm water with a mild, no-rinse wool wash. Avoid excessive agitation, wringing, or twisting, which can stretch or distort ribbed stitch definition.
- Drying: Press out excess water by rolling the scarf inside a dry cotton bath towel. Lay flat on blocking mats or a mesh drying rack.
- Blocking: Gently pat the ribs into parallel alignment. Do not over-stretch the width during blocking, as the fabric needs to retain its accordion pleats to function as an elastic cowl.
Save This Pattern to Pinterest
Planning your next winter crochet project? Pin the official patterns below to your Pinterest crochet boards to reference the sizing chart and stitch instructions.