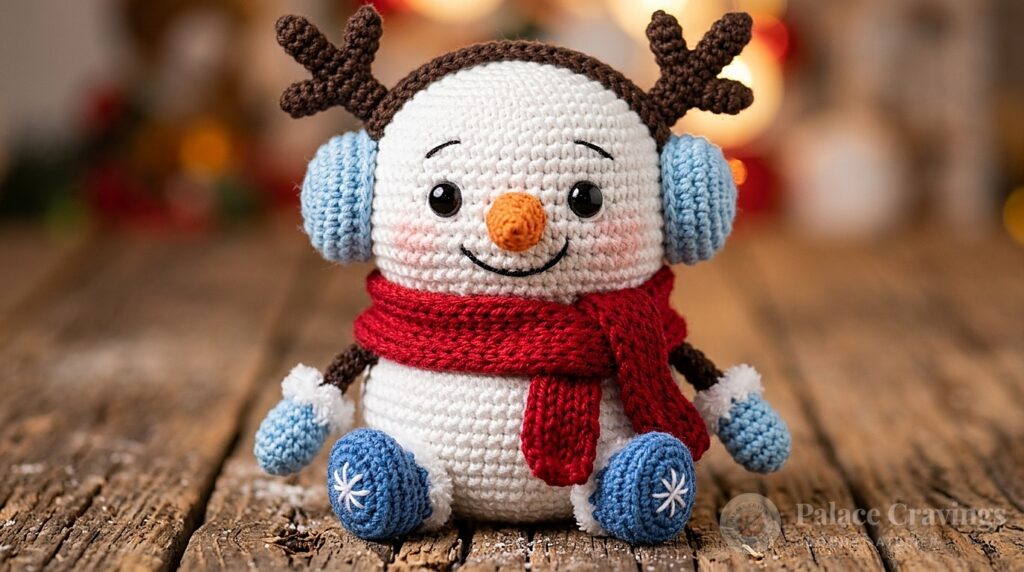
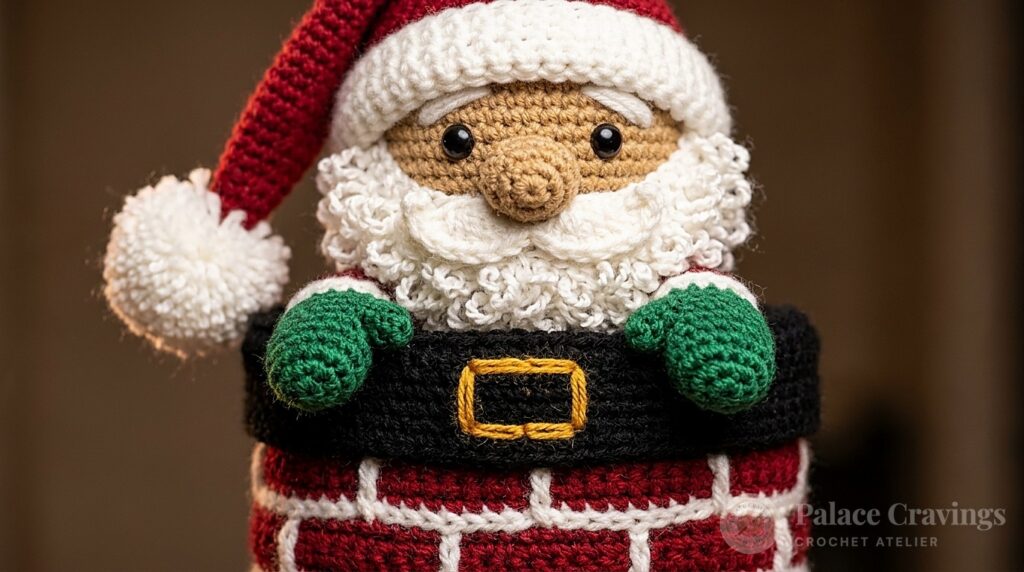
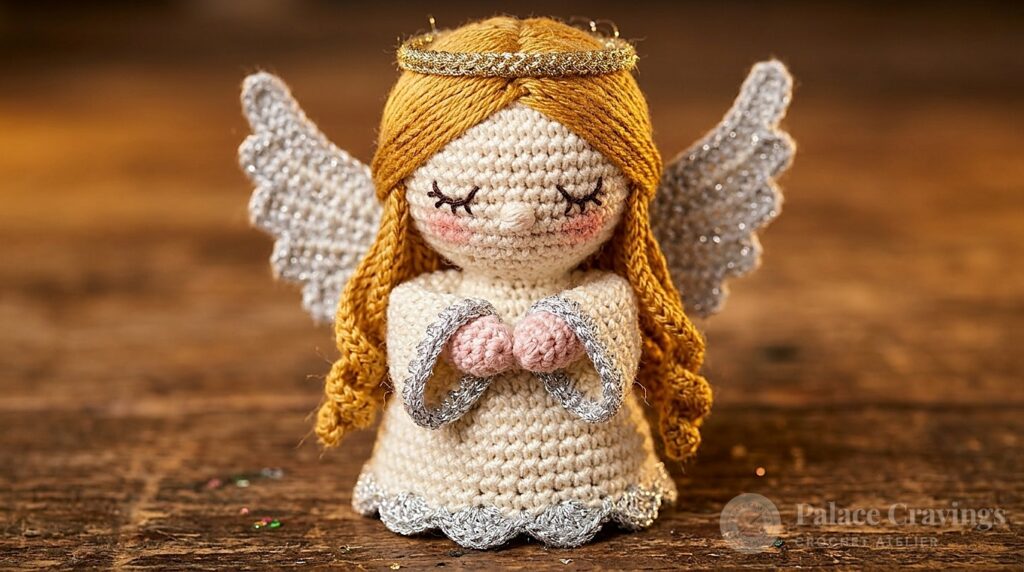
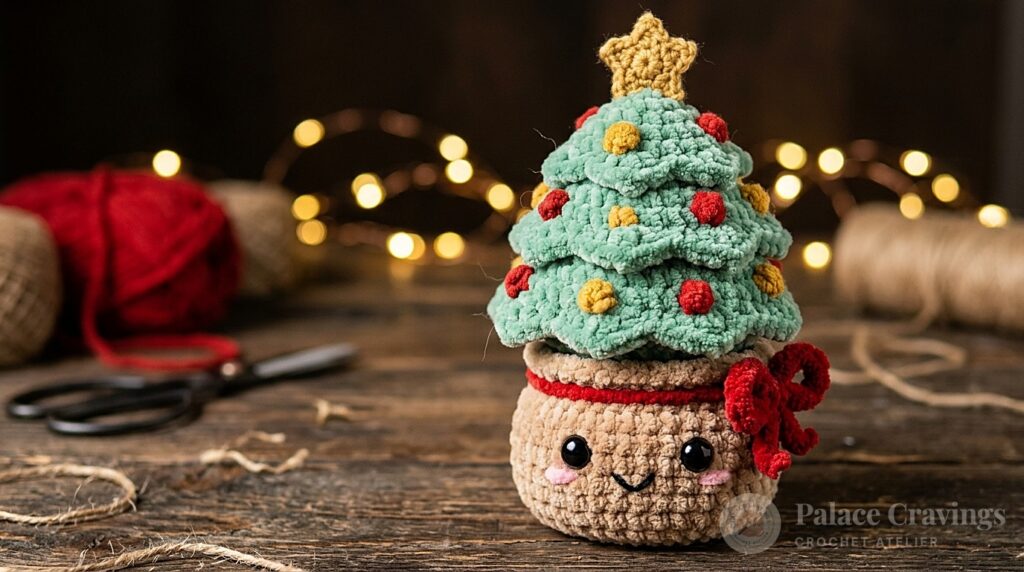
Few handcrafted holiday keepsakes bring as much nostalgic warmth to a Christmas tree as a whimsical handmade angel. This Festive Crochet Amigurumi Angel Ornament stands just 5 inches tall, pairing charming Japanese-style amigurumi shaping with delicate vintage lace wings and a sweet golden halo. Worked with worsted-weight yarn and a 3.75mm hook, this quick-to-make heirloom comes together in just a single cozy afternoon. Whether you are adorning your evergreen branches, creating thoughtful handmade stocking stuffers, or tying a personalized accent onto holiday gift boxes, this sweet little angel radiates timeless handcrafted cheer.
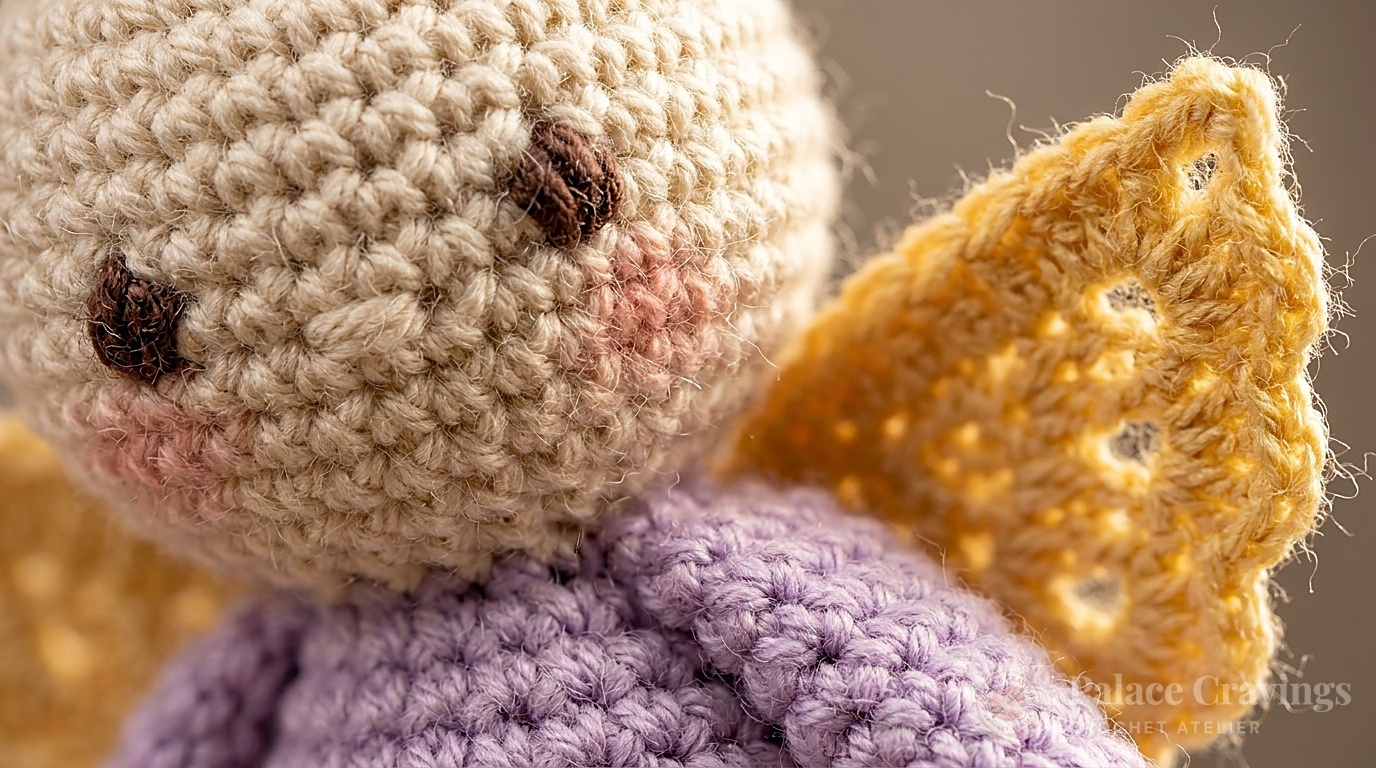
Originally created by acclaimed crochet designer Michele Wilcox for Red Heart, this pattern is celebrated for its clever proportions and beginner-friendly unjoined spiral construction. Because the entire body and head are worked in continuous rounds of simple single crochet, there are no unsightly seam lines down the back. A small dab of red crayon blush gives the angel her cheerful winter-flushed cheeks, while embroidered French knots provide safe, durable facial features that will never loosen over decades of holiday decorating.
Why You’ll Love Crocheting This Angel Ornament
- Fast 90-Minute Afternoon Project: At just 5 inches in height, each angel takes less than an hour and a half from foundation loop to hanging ribbon.
- The Ultimate Scrap-Yarn Buster: Only small remnants of worsted yarn are needed for the head, gown, wings, and halo—making it ideal for using up leftover holiday stash.
- Seamless Continuous Spiral Construction: Working in unjoined rounds eliminates visible seam steps, producing a smooth, professional amigurumi finish.
- Multi-Purpose Holiday Keepsake: Ideal as tree ornaments, festive table place-setting favors, hostess gifts, or sweet package tie-ons that recipients treasure year after year.
Key Materials, Yarn Specifications & Notions

Amigurumi requires a dense, firm stitch gauge so that polyester stuffing does not peek through the stitches when the piece is firmly shaped. Using a 3.75mm hook with medium worsted yarn ensures tight, clean fabric integrity:
- Recommended Base Yarn: Red Heart Super Saver (Worsted Weight #4; 100% Acrylic). You will need small amounts of:
- Color A: Aran (Cream for head and hands) — approx. 20 yards.
- Color B or C: Pale Plum (Soft lilac) or Aruba Sea (Aqua turquoise for gown body and arms) — approx. 35 yards.
- Color D: Cornmeal (Soft golden yellow for wings and halo) — approx. 25 yards.
- Crochet Hook: Size U.S. F-5 (3.75 mm). A slightly downsized hook relative to yarn weight ensures your stitches remain tightly closed.
- Stuffing: Premium polyester fiberfill (small handful).
- Embroidery & Finishing Notions: Medium blue six-strand embroidery floss (for French knot eyes), white embroidery floss or metallic gold cord (for hanging loop), bent-tip steel yarn needle, locking stitch marker, and a standard red crayon for cheek blush.
Pattern Specifications & Working Notes
- Skill Level: Easy (Comfortable with working in continuous spiral rounds, basic increases, and decreases).
- Finished Measurements: Approximately 5 inches tall (12.5 cm) from bottom of gown to top of halo.
- Gauge: 4 sc = 1 inch (2.5 cm); 4 rounds = 1 inch (2.5 cm). Exact gauge is not critical, provided stitches are tight enough to contain stuffing.
- Spiral Round Rule: Do not join rounds with a slip stitch unless explicitly noted. Always place a locking stitch marker in the first stitch of the round and advance it upward as you work.
- Special Stitch (sc2tog): Insert hook in next stitch, yarn over and pull up a loop (2 loops on hook). Insert hook in following stitch, yarn over and pull up a loop (3 loops on hook). Yarn over and draw through all 3 loops.

Step-by-Step Crochet Instructions
PART 1: THE ANGEL HEAD
Beginning at the top of the crown with Color A (Aran), Ch 2.
- Round 1: Work 6 sc in the 2nd ch from hook. Place marker in first st to mark round beginning. (6 sc)
- Round 2: Work 2 sc in each sc around. (12 sc)
- Round 3: *Sc in next sc, 2 sc in next sc; repeat from * around. (18 sc)
- Round 4: *Sc in next 2 sc, 2 sc in next sc; repeat from * around. (24 sc)
- Round 5: Sc in each sc around. (24 sc)
- Round 6: *Sc in next 3 sc, 2 sc in next sc; repeat from * around. (30 sc)
- Rounds 7–11: Sc in each sc around for 5 plain rounds. (30 sc)
- Round 12: *Sc2tog; repeat from * around. (15 sc)
- Round 13: Sc in each sc around; join with slip st in first sc. Fasten off, leaving an 18-inch yarn tail for sewing. (15 sc)
Facial Embroidery & Blush: Before stuffing, thread medium blue embroidery floss onto your needle. Embroider two French knot eyes spaced 4 stitches apart on Round 10. Using a standard red crayon, lightly rub the crayon tip onto a scrap piece of paper, then dab the pigment onto the cheeks using your fingertip or a cotton swab for a soft rosy glow. Firmly stuff the head with fiberfill.
PART 2: THE GOWN BODY
Beginning at the bottom base of the gown with Color B or C (Pale Plum / Aruba Sea), Ch 2.
- Rounds 1 & 2: Work exactly as Rounds 1 and 2 of the Head. (12 sc)
- Round 3: *Sc in next 3 sc, 2 sc in next sc; repeat from * around. (15 sc)
- Rounds 4–8: Sc in each sc around for 5 plain rounds. (15 sc)
- Round 9: *Sc in next 3 sc, sc2tog; repeat from * around. (12 sc)
- Round 10: Sc in each sc around. Firmly stuff the body cone with fiberfill. (12 sc)
- Round 11: *Sc2tog; repeat from * around; join with slip st in first sc. (6 sc)
- Fasten off, leaving a tail. Thread tail onto needle, weave through the remaining 6 stitches, and pull tightly closed.
PART 3: THE ARMS (Make 2)
With Color B or C (or Color A for little mittens), Ch 2.
- Round 1: Work 6 sc in 2nd ch from hook. (6 sc)
- Round 2: *Sc in next sc, 2 sc in next sc; repeat from * around. (9 sc)
- Rounds 3–6: Sc in each sc around for 4 plain rounds; join with slip st in first sc. (9 sc)
- Fasten off, leaving an 8-inch tail. Do not stuff the arms (this allows them to lay naturally flat against the sides of the gown).
PART 4: THE SCALLOPED WINGS (Make 2)
With Color D (Cornmeal), Ch 6.
- Round 1: Sc in 2nd ch from hook and in next 3 ch, work 3 sc in the last ch. Working along the opposite side of foundation chain: skip first ch, sc in next 3 chs, work 2 sc in the last ch. Place marker in first st. (12 sc)
- Round 2: Work 2 sc in next sc, sc in next 3 sc, 2 sc in next 3 sc, sc in next 3 sc, 2 sc in next 2 sc. (18 sc)
- Round 3 (Scalloped Edging): Sc in next 3 sc, slip st in next sc, [ch 1, 3 dc in next sc, ch 1, slip st in next sc] 5 times, sc in next 4 sc; join with slip st in first sc. Fasten off, leaving a long tail for sewing.
PART 5: THE GOLDEN HALO
With Color D (Cornmeal), Ch 4.
- Round 1: Work 11 dc in the 4th ch from hook (skipped 3 ch counts as first dc); join with slip st in top of beginning ch. (12 dc)
- Round 2: Ch 3 (counts as first dc), dc in same st as join, work 2 dc in each remaining dc around; join with slip st in top of beginning ch. (24 dc)
- Round 3: Ch 3, 2 dc in next dc, *dc in next dc, 2 dc in next dc; repeat from * around; join with slip st in top of beginning ch. (36 dc)
- Fasten off, leaving an 8-inch tail for attaching.
Assembly & Final Finishing
1. Attaching the Arms: Flatten the top open round of each arm. Thread the yarn tail onto your needle and whipstitch the top of each arm securely to either side of the top of the body (Round 10).
2. Joining Head to Body: Fit Round 13 of the head over the gathered top of the body. Using the long tail from the head, stitch firmly around the neckline, catching stitches from both pieces to prevent any head wobble.
3. Sewing the Wings: Arrange the two scalloped wings with right side facing forward behind the angel’s shoulders, overlapping them slightly at the center back. Stitch securely to the upper back of the body.
4. Securing the Halo & Hanging Loop: Position the golden halo behind the upper crown of the head. Stitch the lower edge of the halo to the back of the head. Cut an 8-inch strand of white embroidery floss or metallic gold cord, thread through the top center of the head, and tie ends in a sturdy overhand knot for hanging. Weave in all loose yarn ends.

3 Atelier Secrets for Picture-Perfect Amigurumi Angels
1. Invisible Decreases for Flawless Head Shaping: Instead of working standard sc2tog decreases which leave tiny bumps, work invisible decreases on the head by inserting your hook only through the front loops of the two decrease stitches. The resulting slope will be velvety smooth.
2. Firm Head Stuffing Prevents Wrinkles: Add fiberfill in small coin-sized tufts, pushing them outward against the head walls before filling the core. A firmly stuffed head maintains its spherical proportions when the halo and hanging loop are attached.
3. Starch Wings for Crisp Display: If you want the scalloped wings to remain perfectly erect and flat on your tree, lightly spray them with fabric stiffener or hairspray and pin them flat on a blocking mat until dry before sewing to the body.
Pin This Angel Ornament for Later
Love this quick holiday project? Save these Pins to your Christmas crochet and amigurumi boards on Pinterest so you have the tutorial ready whenever you need it!