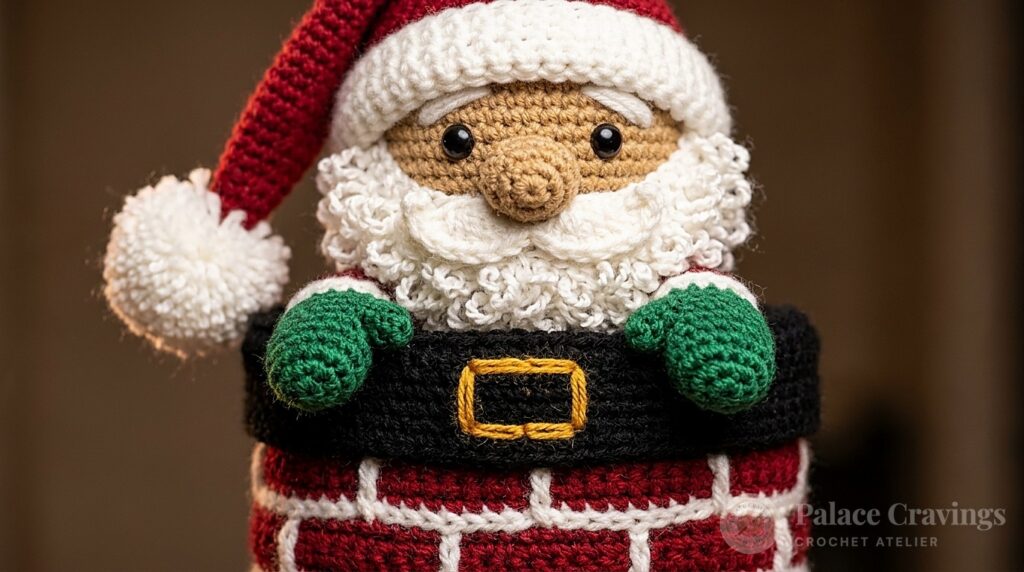
No Christmas tree is quite complete without the cheerful, rosy-cheeked presence of Santa Claus. This Mini Crochet Santa Amigurumi Ornament stands just 5 inches tall, featuring a traditional Cherry Red coat and pointed stocking cap, a plush sculpted white beard, soft peachy skin tones, and an embroidered belt. Worked in continuous spiral rounds with worsted-weight yarn and a 3.75mm hook, this quick-to-make heirloom comes together in under two hours. Whether you are crafting personalized stocking stuffers, festive gift bag toppers, or heirloom tree ornaments, this sweet little Santa radiates nostalgic holiday cheer.
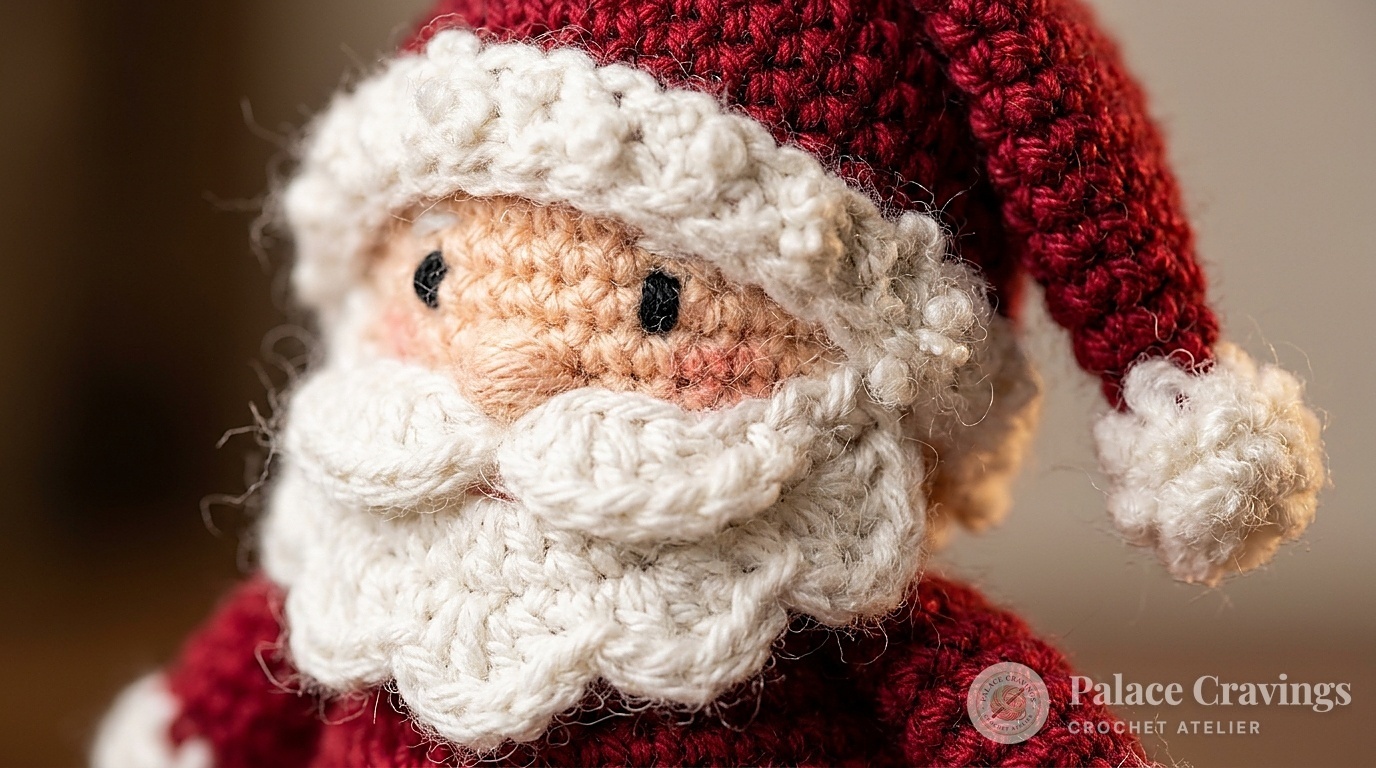
Designed originally by Michele Wilcox for Red Heart Super Saver, this cherished holiday pattern balances seamless amigurumi construction with charming vintage detailing. By working the head and body in seamless spiral rounds, the figure maintains tidy, unbroken curves without unsightly seam lines. The pointed stocking cap and textured layered beard are worked separately and securely stitched in place, creating wonderful three-dimensional tactile depth that catches the warm glow of Christmas tree lights.
Why You’ll Love Making This Santa Ornament
- Fast Afternoon Holiday Make: Takes only about 90 to 120 minutes from magic ring to final pom-pom attachment, making it perfect for quick gifting.
- Scrap Yarn Friendly: Uses less than 50 yards total of worsted-weight yarn, letting you put holiday yarn scraps in red, white, buff, and black to wonderful use.
- Shatterproof Heirloom Quality: Crafted completely from durable yarn and hypoallergenic fiberfill with embroidered features, making it 100% pet-friendly and safe around young children.
- Multipurpose Holiday Decor: Looks gorgeous hung on tree branches, tied into holiday wreath foliage, perched on a fireplace mantel, or tied to luxury gift boxes.
Key Materials & Tools Needed

- Yarn Selection: Category 4 Worsted Weight Yarn (such as Red Heart Super Saver, Lion Brand Basic Stitch, or Caron Simply Soft) in Cherry Red (Color B), Buff/Peach (Color A), Aran/White (Color C), and Royal Blue or Black (Color D).
- Crochet Hook: 3.75 mm (US F-5) ergonomic hook. Sizing down from standard 5mm creates firm, compact stitches that prevent fiberfill stuffing from showing through.
- Stuffing: Premium hypoallergenic polyester fiberfill stuffing.
- Notions: Steel tapestry needle with wide eye, locking stitch marker, white/black embroidery floss, and small sharp embroidery scissors.
Step-by-Step Stitch Walkthrough
Part 1: The Head & Continuous Spiral (Rounds 1–11): With Buff (Color A), ch 2 or start with a magic ring. Round 1: Work 6 sc in ring (6 sc). Do not join; work in continuous spiral rounds using a locking stitch marker. Round 2: 2 sc in each sc around (12 sc). Round 3: *Sc in next sc, 2 sc in next sc; rep from * around (18 sc). Round 4: *Sc in next 2 sc, 2 sc in next sc; rep from * around (24 sc). Rounds 5–7: Sc in each sc around. Round 8: *Sc in next 2 sc, sc2tog; rep from * around (18 sc). Round 9: *Sc in next sc, sc2tog; rep from * around (12 sc). Stuff head firmly. Round 10: Sc2tog around (6 sc). Round 11: Sc in each sc around (6 sc) to form the sturdy neck join.
Part 2: The Red Coat & Belt Body (Rounds 12–22): Switch to Cherry Red (Color B). Round 12: 2 sc in each sc around (12 sc). Round 13: *Sc in next sc, 2 sc in next sc; rep around (18 sc). Round 14: *Sc in next 2 sc, 2 sc in next sc; rep around (24 sc). Round 15: *Sc in next 3 sc, 2 sc in next sc; rep around (30 sc). Rounds 16–17: Sc in each sc around. Switch to Royal Blue/Black (Color D) for belt: Round 18: Sc in each sc around. Switch back to Cherry Red: Round 19: *Sc in next 3 sc, sc2tog; rep around (24 sc). Round 20: *Sc in next 2 sc, sc2tog; rep around (18 sc). Stuff body firmly. Round 21: *Sc in next sc, sc2tog; rep around (12 sc). Round 22: Sc2tog around (6 sc). Fasten off, cinch tight through front loops, and weave in tail.

Part 3: The Sculpted White Beard: With White/Aran (Color C), ch 2. Row 1: 2 sc in 2nd ch from hook, turn (2 sc). Row 2: Ch 1, 2 sc in each sc, turn (4 sc). Rows 3–4: Ch 1, 2 sc in first sc, sc in each st across to last st, 2 sc in last st, turn (8 sc). Row 5: Ch 1, sc in each st across, turn. Round 6 (Edging & Shaping): Ch 1, sc2tog, sc in next 4 sc, sc2tog; work 6 sc evenly down the first side, 3 sc in the foundation tip, and 6 sc up the other side; sl st to join. Fasten off leaving a 10-inch tail. Pin beard beneath Santa’s eyes and whipstitch neatly to the chin and chest.
Part 4: The Pointed Stocking Cap & Pom-Pom: With Cherry Red (Color B), ch 2. Round 1: 4 sc in 2nd ch from hook. Round 2: *Sc in next sc, 2 sc in next sc; rep (6 sc). Round 3: Sc in each sc around. Round 4: *Sc in next 2 sc, 2 sc in next sc; rep (8 sc). Continue increasing 2 sts every 2nd round until you reach 24 sc. Work 2 rounds even. Switch to White (Color C) for brim: Work 2 rounds sc, then 1 round reverse single crochet (crab stitch) or slip stitch for plush fur trim. Fasten off, attach a 1-inch fluffy white pom-pom to the tip, and sew securely to the head, tilting gently to one side.
3 Amigurumi Secrets for Perfect Results
1. Invisible Color Changes at the Neckline: When transitioning from the Buff face to the Cherry Red body, work the final yarn-over of Round 11 with the new red yarn. Sl st into the back loop of the first stitch of Round 12 before continuing in single crochet. This creates a crisp, razor-sharp color transition without stair-stepping.
2. The Gentle Slouch on the Stocking Cap: To give Santa’s cap that classic whimsical holiday droop, take a single hidden stitch through the tip of the red cap and anchor it to the side brim before securing. This locks in the cozy slouch permanently so it never stands rigidly upright.
3. Rosy Cheeks with Real Pastel or Blush: For that charming chilly-winter glow, lightly swirl a dry makeup brush in a touch of powdered pink blush or cosmetic pastel and gently buff onto Santa’s cheeks right beside the beard line. It adds instant vintage personality.
Festive Tree Display & Holiday Gifting

- Classic Tree Hanging: Attach a 6-inch loop of metallic gold cord or natural jute twine through the top of the stocking cap behind the pom-pom for easy branch hanging.
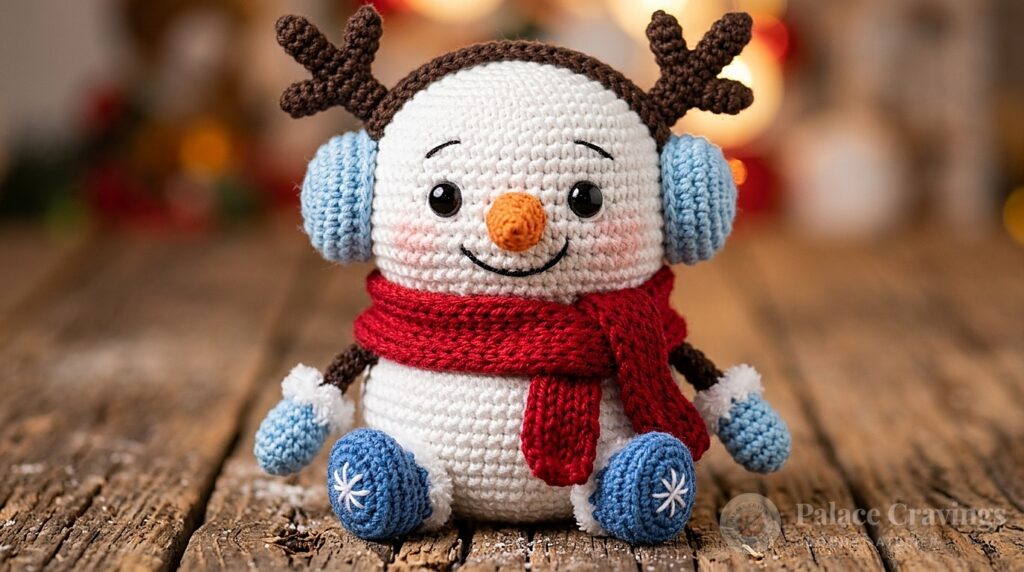
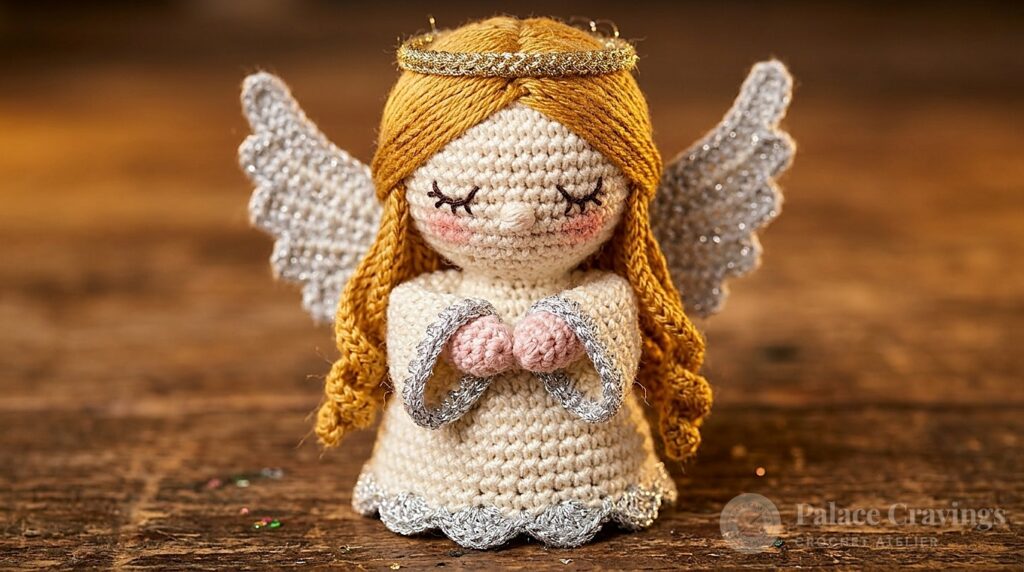
- Holiday Trio Pairing: Pair this mini Santa with our matching Mini Crochet Snowman and Amigurumi Angel patterns to create a cohesive handcrafted ornament collection.
- Stocking Stuffer & Gift Tag: Tie Santa to the ribbon of holiday gift packages with a kraft name card, giving your friends and family a keepsake they will treasure for years.
Storage, Washing & Care Guidelines
- Seasonal Storage: Place Santa in an airtight ornament bin or clean cotton drawstring pouch with a small cedar block. Keep away from direct sunlight to preserve the vibrant Cherry Red hue.
- Spot Cleaning: Dab gently with a damp cloth and mild dish soap to remove dust. Do not machine wash or soak in hot water to keep the fiberfill stuffing firm.
- Reshaping: When unpacking each holiday season, gently roll Santa between your palms and fluff the beard and pom-pom with your fingers.
Frequently Asked Questions
Can I make Santa with fluffy boucle yarn for the beard?
Yes! Using a textured boucle or sherpa fleece yarn for the beard and hat trim gives Santa an ultra-plush, realistic winter look. Just be sure to use a locking stitch marker since boucle stitches can be harder to count.
How do I add a tiny gold belt buckle?
Thread a 6-inch piece of gold metallic embroidery floss or mustard yellow yarn onto a tapestry needle and embroider a simple square outline over Round 18 directly on the front of the body.
What is the best way to attach the hanging loop?
Use a tapestry needle to pull both ends of a 6-inch gold thread through the very top of the red stocking cap, knot the ends securely inside before sewing the pom-pom over top to hide the knot.
Pin This Santa Pattern for Later
Love this quick holiday project? Save these Pins to your Christmas crochet and amigurumi boards on Pinterest so you have the tutorial ready whenever you need it!