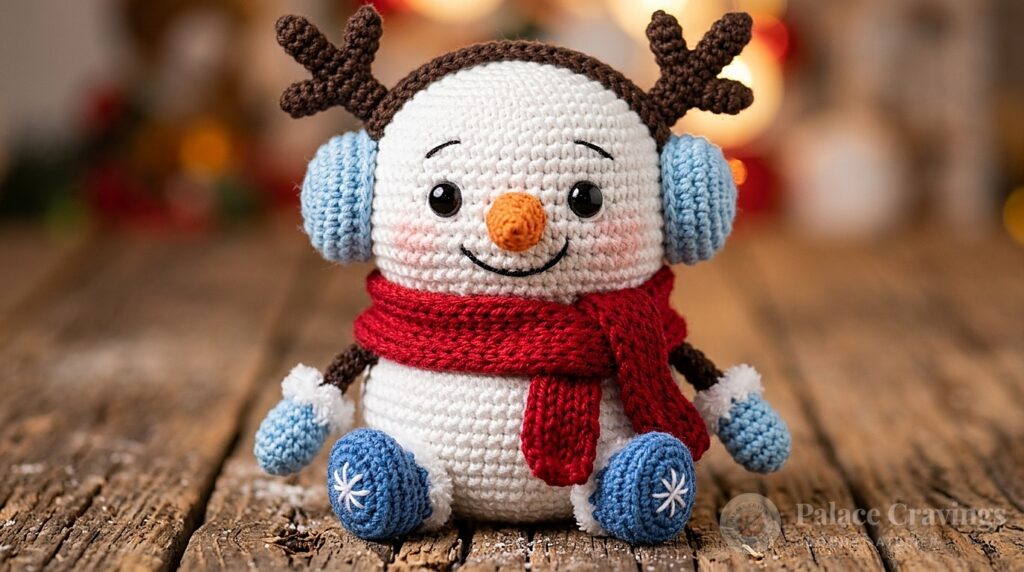
Few handmade decorations capture the pure nostalgia and joy of winter like a jolly little snowman nestled in the boughs of an evergreen tree. This Mini Crochet Snowman Amigurumi Ornament stands just 5 inches tall, featuring a plump single-crochet head and body, a tiny embroidered carrot nose, a textured ribbed winter beanie topped with a fluffy pom-pom, and a cozy fringed scarf wrapped snugly around his neck. Worked in worsted-weight yarn with a 3.75mm hook, this beginner-friendly holiday project works up in under two hours. Whether you are crafting personalized stocking stuffers, festive gift bag toppers, or heirloom tree ornaments, this cheerful snowman brings handcrafted magic to your home.
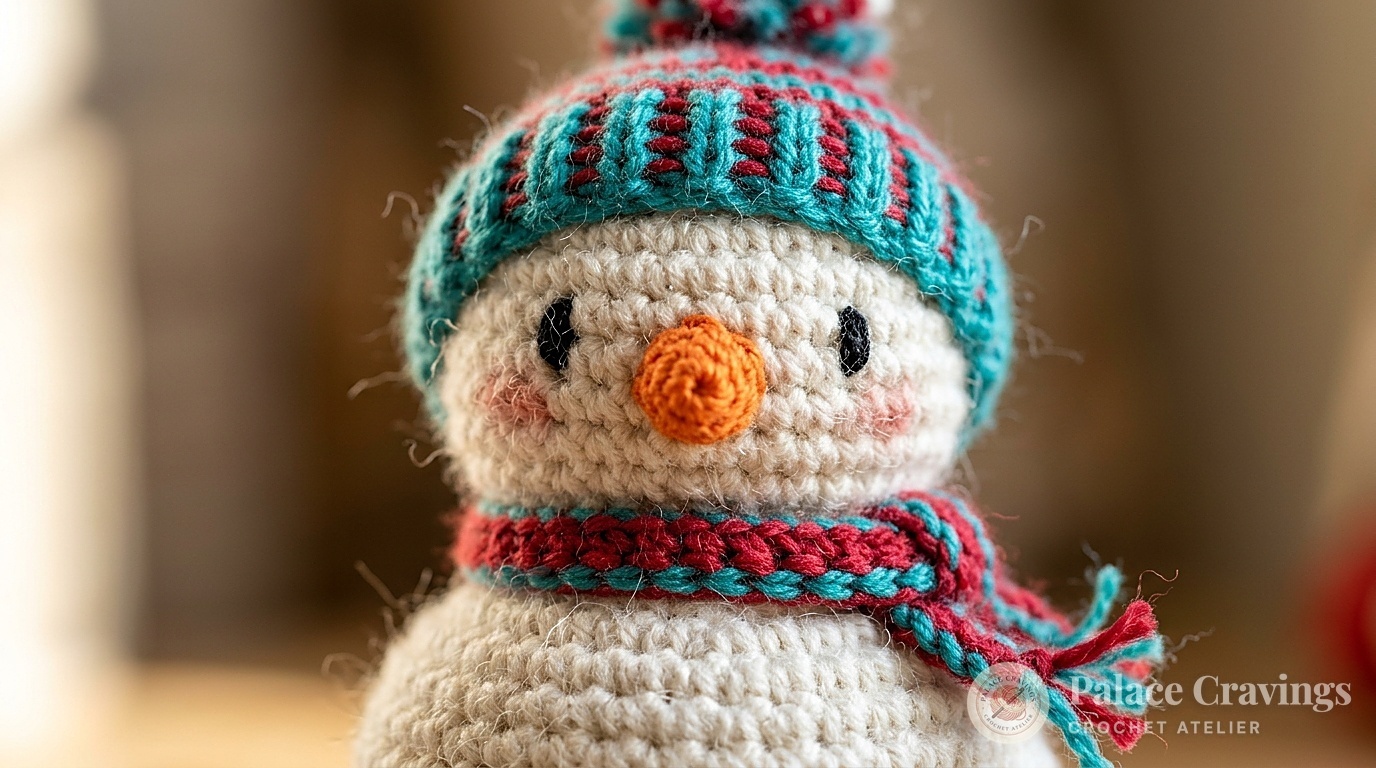
Designed originally by Michele Wilcox for Red Heart, this classic pattern balances compact amigurumi construction with charming miniature details. By working in continuous spiral rounds without joining slip stitches, the head and body maintain seamless, unbroken contours. The back-loop ribbed beanie and flat scarf are worked separately, allowing you to personalize the colors to match your holiday palette—whether you prefer traditional Cherry Red and Turqua, modern blush pink and gold, or rustic farmhouse neutrals.
Why You’ll Love Making This Snowman Ornament
- Ultra-Fast Holiday Craft: The entire snowman can be finished in a single cozy evening (about 90 minutes), making it ideal for quick gift batches.
- Stash-Busting Perfection: Requires only small scrap amounts (less than 40 yards total) of worsted-weight white, teal, red, and orange yarn.
- Child & Pet-Safe Design: Featuring embroidered French knot eyes and soft stitched buttons instead of plastic safety eyes, this ornament is 100% shatterproof and durable.
- Versatile Festive Display: Functions as a tree ornament, tabletop place card holder, wreath accent, or whimsical luggage tag for holiday travels.
Key Materials & Tools Needed

- Yarn Selection: Category 4 Worsted Weight Yarn (such as Red Heart Super Saver, Lion Brand Basic Stitch, or Paintbox Simply Aran) in White (Color A), Turqua/Teal (Color B), Cherry Red (Color C), and Carrot Orange (Color D).
- Crochet Hook: 3.75 mm (US F-5) ergonomic hook. Sizing down from the standard 5mm hook creates a dense, firm stitch tension that keeps the polyester fiberfill completely hidden.
- Stuffing: Premium hypoallergenic polyester fiberfill stuffing.
- Notions: Blunt-end steel yarn needle, black embroidery floss (for eyes and smile), locking stitch marker, and small sharp embroidery scissors.
Step-by-Step Stitch Walkthrough
Part 1: The Head & Continuous Spiral (Rounds 1–11): With White yarn, ch 2 or create a magic ring. Round 1: Work 6 sc in ring (6 sc). Do not join; work in continuous spiral rounds using a stitch marker to track the first stitch. Round 2: 2 sc in each sc around (12 sc). Round 3: *Sc in next sc, 2 sc in next sc; rep from * around (18 sc). Round 4: *Sc in next 2 sc, 2 sc in next sc; rep from * around (24 sc). Rounds 5–7: Sc in each sc around. Round 8: *Sc in next 2 sc, sc2tog; rep from * around (18 sc). Round 9: *Sc in next sc, sc2tog; rep from * around (12 sc). Stuff the head firmly with fiberfill. Round 10: Sc2tog around (6 sc). Round 11: Sc in each sc around (6 sc) to form the narrow neck collar.
Part 2: The Plump Lower Body (Rounds 12–21): Continue directly from the neck without fastening off. Round 12: 2 sc in each sc around (12 sc). Round 13: *Sc in next sc, 2 sc in next sc; rep from * around (18 sc). Round 14: *Sc in next 2 sc, 2 sc in next sc; rep from * around (24 sc). Round 15: *Sc in next 3 sc, 2 sc in next sc; rep from * around (30 sc). Rounds 16–18: Sc in each sc around. Round 19: *Sc in next 3 sc, sc2tog; rep from * around (24 sc). Round 20: *Sc in next 2 sc, sc2tog; rep from * around (18 sc). Stuff the body firmly. Round 21: *Sc in next sc, sc2tog; rep from * around (12 sc). Round 22: Sc2tog around (6 sc). Fasten off, weave tail through front loops of remaining 6 sts, pull tight to seal, and weave in end.

Part 3: The Little Arms (Make 2): With White yarn, ch 2. Round 1: 6 sc in 2nd ch from hook. Round 2: *Sc in next sc, 2 sc in next sc; rep around (9 sc). Rounds 3–6: Sc in each sc around; sl st in first st. Fasten off leaving a 6-inch tail for sewing. Do not stuff arms. Flatten and whipstitch to rounds 13–14 on either side of the body.
Part 4: Ribbed Beanie Hat & Fringed Scarf: For the hat ribbing: With Color B (Turqua), ch 5. Row 1: Sc in 2nd ch from hook and in each ch across (4 sc), turn. Rows 2–30: Ch 1, working in back loops only (BLO), sc in each st across, turn. Crown: Join with sl st to form a cylinder. Ch 1, work 30 sc evenly around the top row ends. Switch to Color C (Cherry Red). Round 2: *Sc in next 3 sc, sc2tog; rep around (24 sc). Round 3: *Sc in next 2 sc, sc2tog; rep around (18 sc). Round 4: *Sc in next sc, sc2tog; rep around (12 sc). Round 5: Sc2tog around (6 sc). Fasten off, cinch closed, and attach a 1-inch mini pom-pom. For the Scarf: With Color C, ch 51, sc in 2nd ch and each ch across (50 sc). Add tiny 1-inch fringe tassels on each short end.
3 Amigurumi Secrets for Perfect Results
1. Use the “Yarn Under” Technique for Crisp X-Stitches: When pulling up loops in single crochet, yarn under instead of over. This compacts the vertical grain into tidy cross-hatched ‘X’ stitches, eliminating unsightly stretching gaps where white stuffing might peek through.
2. The Secret to Symmetrical French Knot Eyes: Embroider the eyes with 6-strand black embroidery floss before attaching the hat. Place each French knot between Rounds 5 and 6, spaced exactly 3 stitches apart. Anchor your starting and ending threads deep in the back of the neck cavity so they are completely hidden beneath the scarf.
3. Tack the Hat and Scarf with Hidden Stitches: While you can leave the accessories removable, tacking the brim of the beanie to the crown with 3 tiny hidden stitches prevents it from slipping off when hanging on the tree or being handled by curious children.
Festive Tree Display & Holiday Styling

- Classic Tree Hanging: Thread a 6-inch loop of natural jute twine or thin red baker’s twine through the pom-pom base on the crown of the beanie for effortless branch hanging.
- Holiday Gift Topper: Tie the snowman into the center bow of a kraft-wrapped Christmas present as a charming bonus keepsake your recipient can hang on their tree immediately.
- Tabletop Place Card Setting: Make a set of four to six snowmen in varying hat colors to place beside each dinner guest’s napkin, slipping a handwritten name card into his little arms.
Storage, Washing & Care Guidelines
- Post-Holiday Storage: Store in an airtight plastic storage container or cotton storage bag with a cedar block to protect yarn fibers from dust and pests. Avoid squishing under heavy tree ornaments.
- Spot Cleaning: If dust collects over the seasons, dab gently with a damp microfiber cloth and mild wool wash. Do not submerge completely in hot water to keep the fiberfill plump.
- Fluffing: After taking out of seasonal storage, gently massage the body and roll between your palms to restore its perfect round shape.
Frequently Asked Questions
Can I use plastic safety eyes instead of embroidered floss?
Yes! If you prefer safety eyes, use 6mm black safety eyes inserted between Rounds 5 and 6 of the head before closing and stuffing. If gifting to toddlers or pets, embroidered French knots are the safer option.
How do I make the snowman stand upright on a flat mantel?
Instead of filling the base entirely with fiberfill, insert a small circular plastic disc (cut from an empty yogurt lid) or a small pouch of clean dry rice/poly-pellets into the bottom of the body before stuffing. This adds a weighted, flat foundation.
Can I make a larger snowman with chunky yarn?
Absolutely! Using the exact same stitch counts with a #6 Super Bulky chenille yarn (like Bernat Blanket) and an 8mm hook will scale this 5-inch mini ornament up into an adorable 11-inch plush cuddle pillow.
Pin This Snowman Pattern for Later
Love this quick holiday project? Save these Pins to your Christmas crochet and amigurumi boards on Pinterest so you have the tutorial ready whenever you need it!